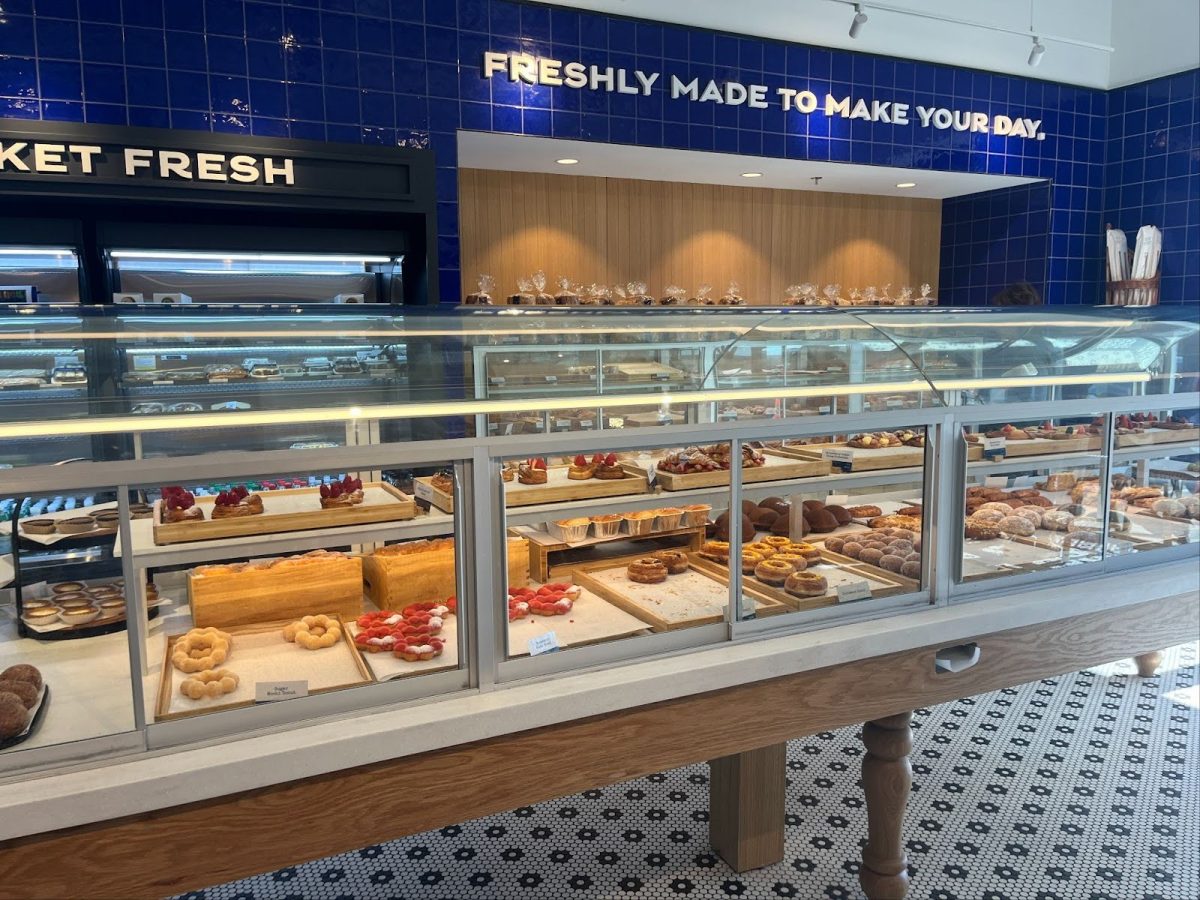
Delightful delicacies: A culinary journey through 5 Maverick-made recipes
The sweet smell and memories of chocolate chip cookies continue to bring relief to people all around the world. I reminisce about the first bite of the delicacy, recognizing the taste anywhere. To this day, the warmth of the cookies will never be forgotten as the comfort was like no other. From the kitchen of my childhood home, the taste of the chocolate chips would take over any struggles at the time. For a stress free future, let’s learn how to make the most delicious, nostalgic chocolate chip cookies with a touch of love and a hint of advice.
-
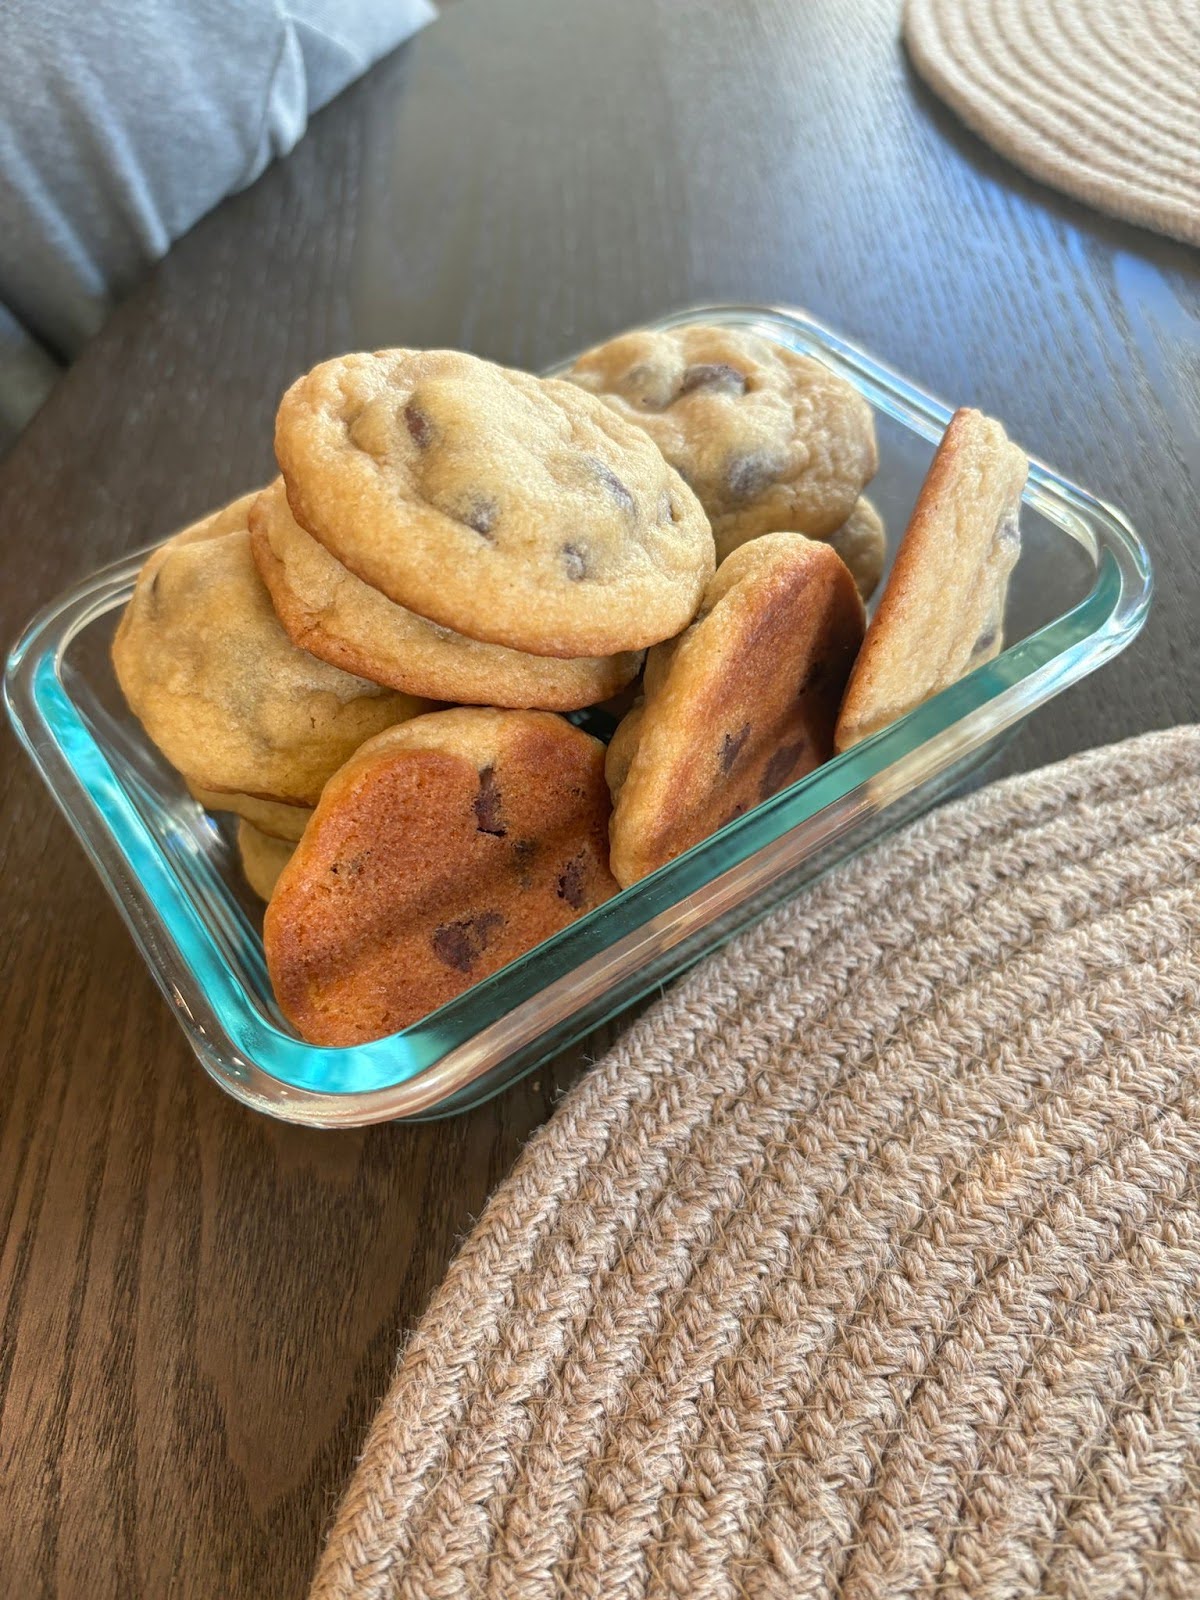
Anagha’s homemade chocolate chip cookies
'
-
Step 1: Gather your materials and ingredients.
'
-
Step 1: Gather your materials and ingredients.
'
-
Step 2: Prepare the butter.
'
-
Step 2: Prepare the butter.
'
-
Step 2: Prepare the butter.
'
-
Step 3: Pouring the sugars and mixing.
'
-
Step 3: Pouring the sugars and mixing.
'
-
Step 4: Crack the eggs above the mixer.
'
-
Step 5: Pour vanilla extract and mix.
'
-
Step 5: Pour vanilla extract and mix.
'
-
Step 6: Pour the dry ingredients in and mix.
'
-
Step 6: Pour the dry ingredients in and mix.
'
-
Step 6: Pour the dry ingredients in and mix.
'
-
Step 7: Chocolate Chips and Fold.
'
-
Step 7: Chocolate Chips and Fold.
'
-
Step 8: Preheat the oven and roll the dough.
'
-
Step 8: Preheat the oven and roll the dough.
'
-
Step 9: Bake the cookies.
'
-
Step 10: Let the cookies cool and enjoy.
'
Ingredients:
- Salted butter
- Granulated sugar
- Light brown sugar
- Pure vanilla extract
- 2 large eggs
- All-purpose flour
- Baking soda
- Baking powder
- Chocolate chips
Equipment:
- Measuring cups/spoons
- Baking sheet
- Parchment paper
- Mixer (optional)
- Spatula/folder
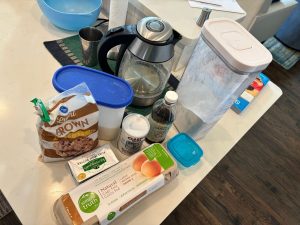
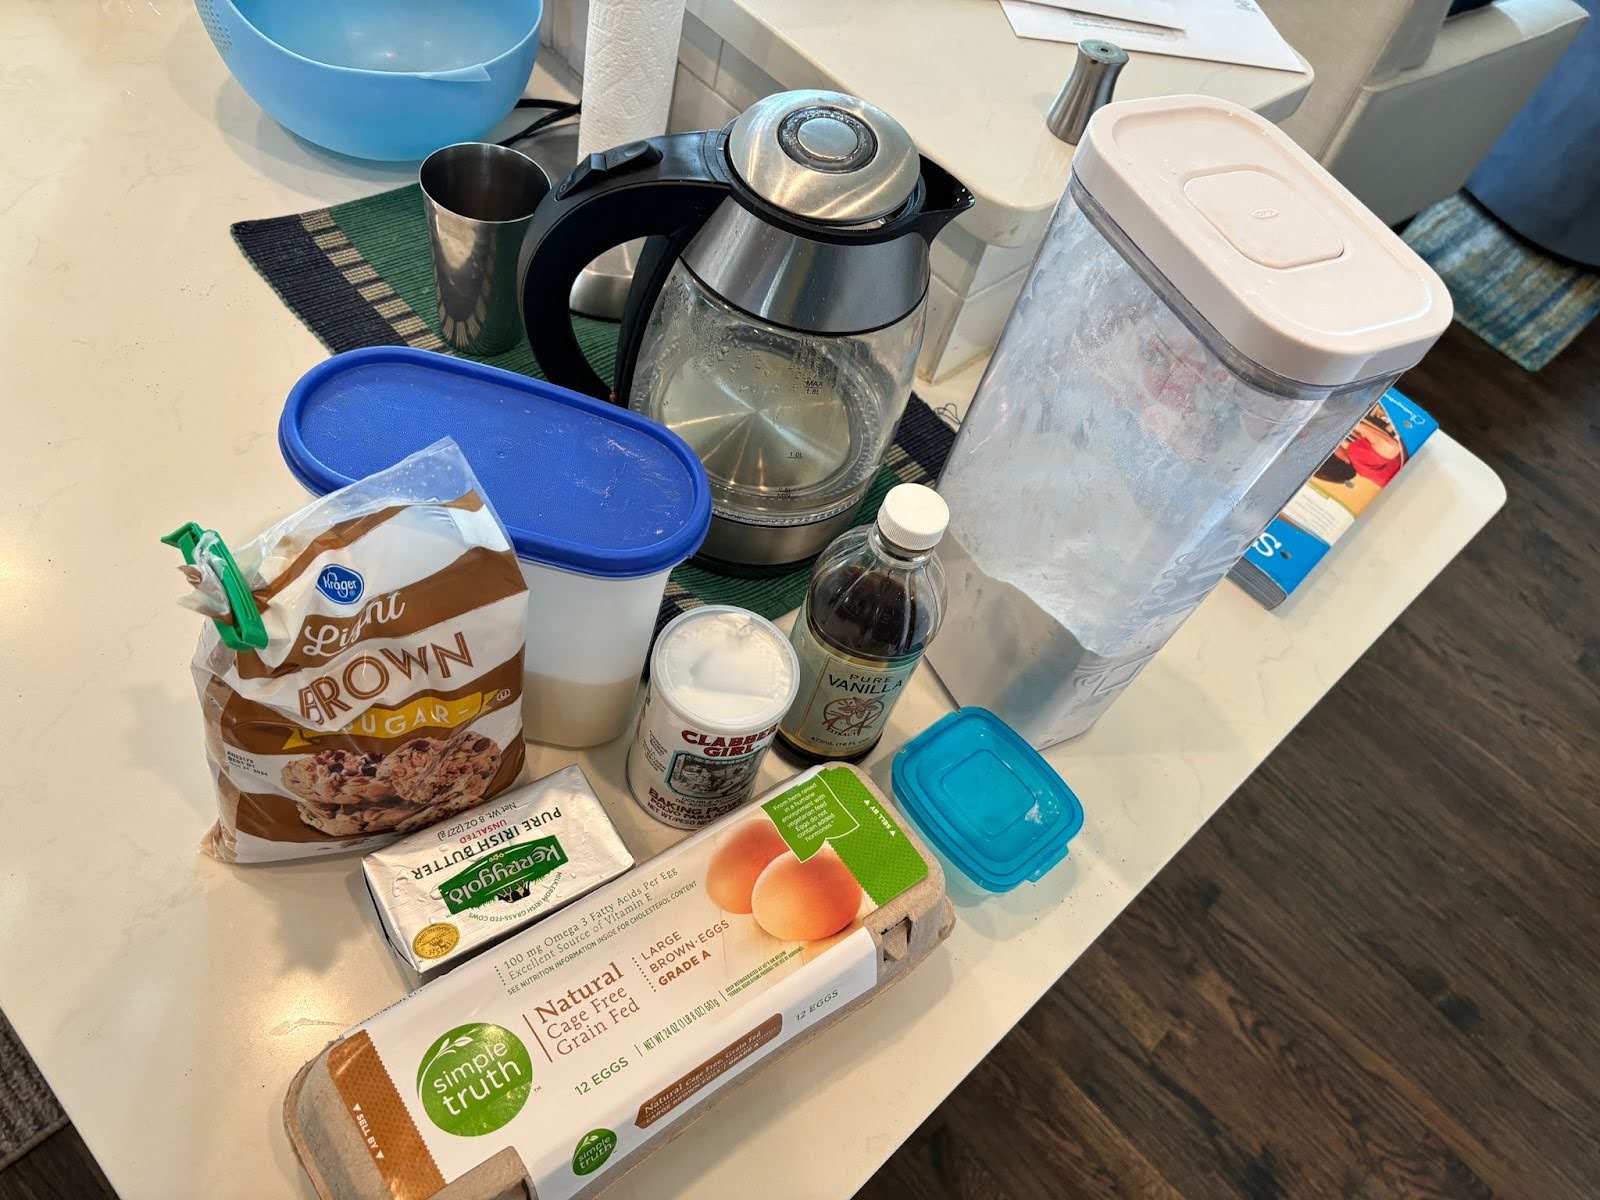
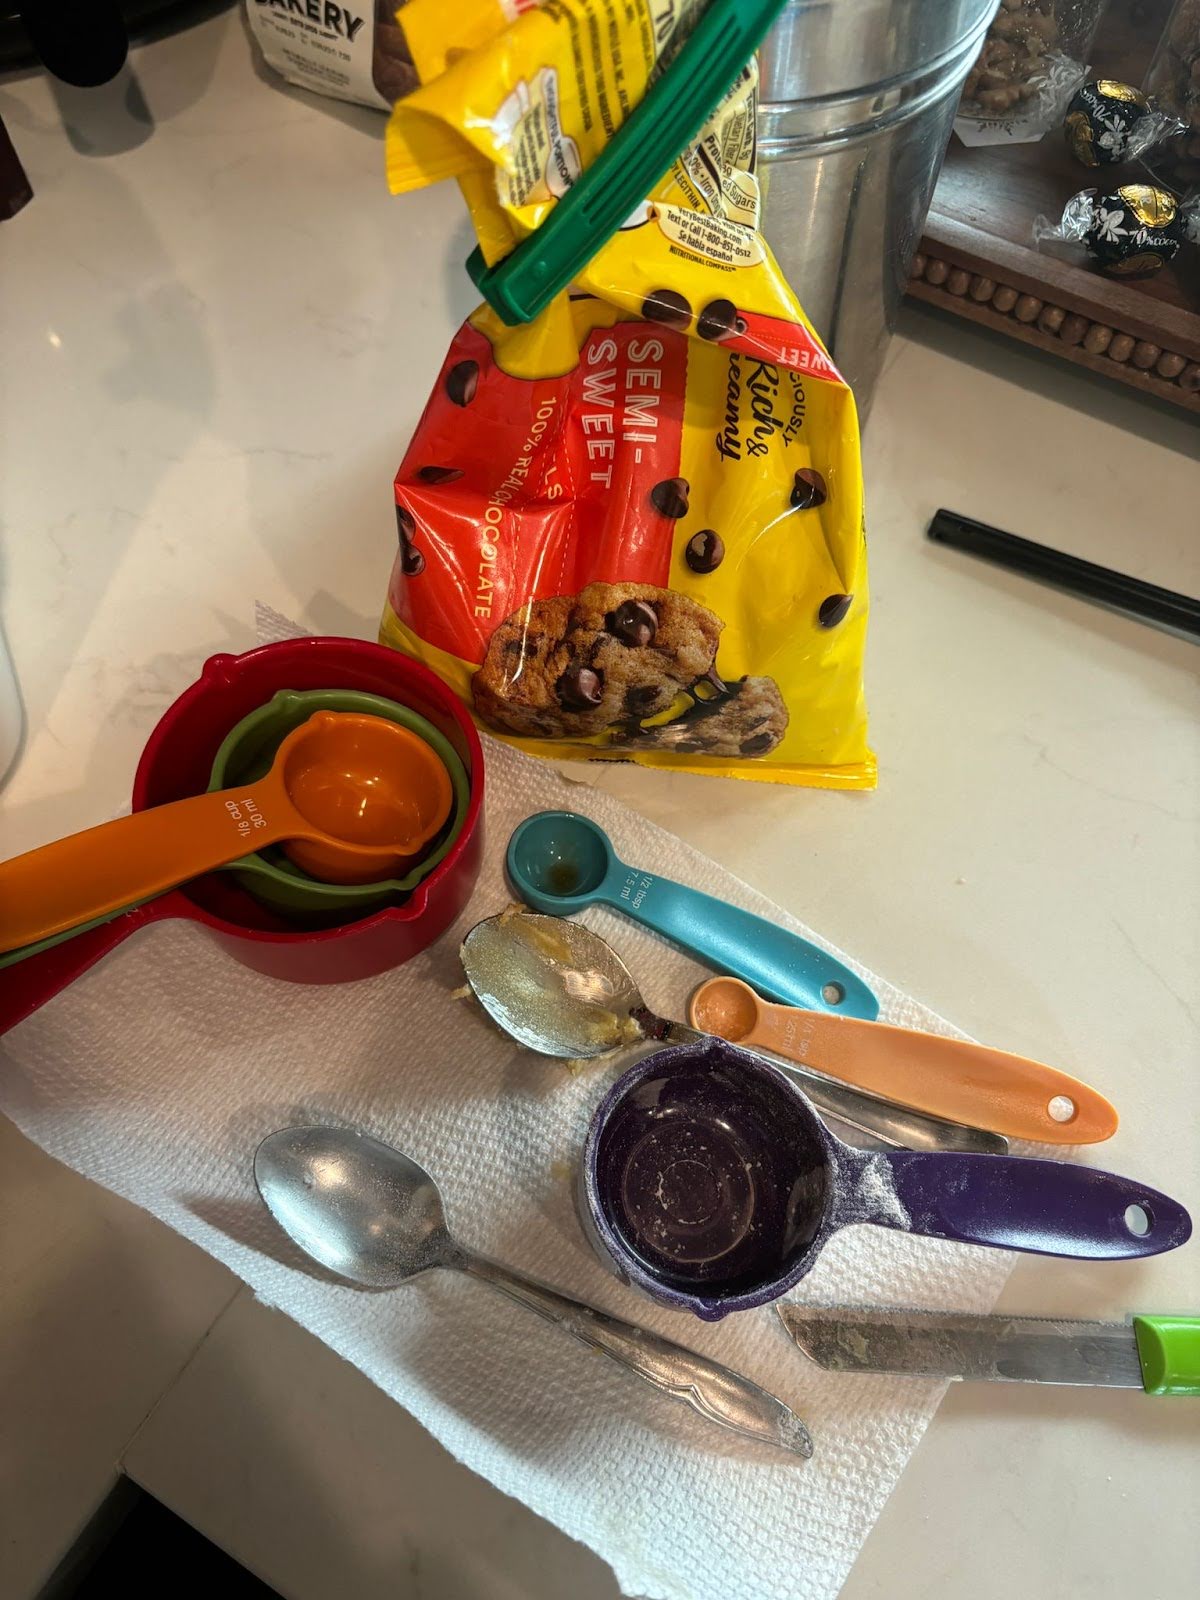
Step 1: Gather your materials and ingredients.
First, start off with gathering all the ingredients and materials needed. Lay out the salted butter, granulated sugar, light brown sugar, pure vanilla extract, all-purpose flour, baking soda, baking powder, chocolate chips, and the eggs separate from your equipment needed. Keep the measuring cups, baking sheet, parchment paper, and the folder to the side.
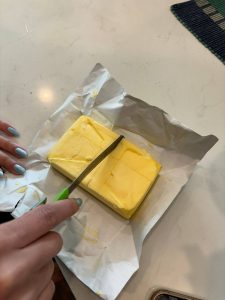
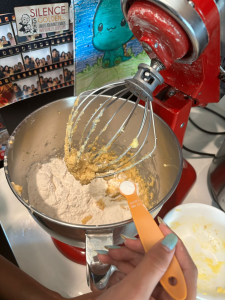
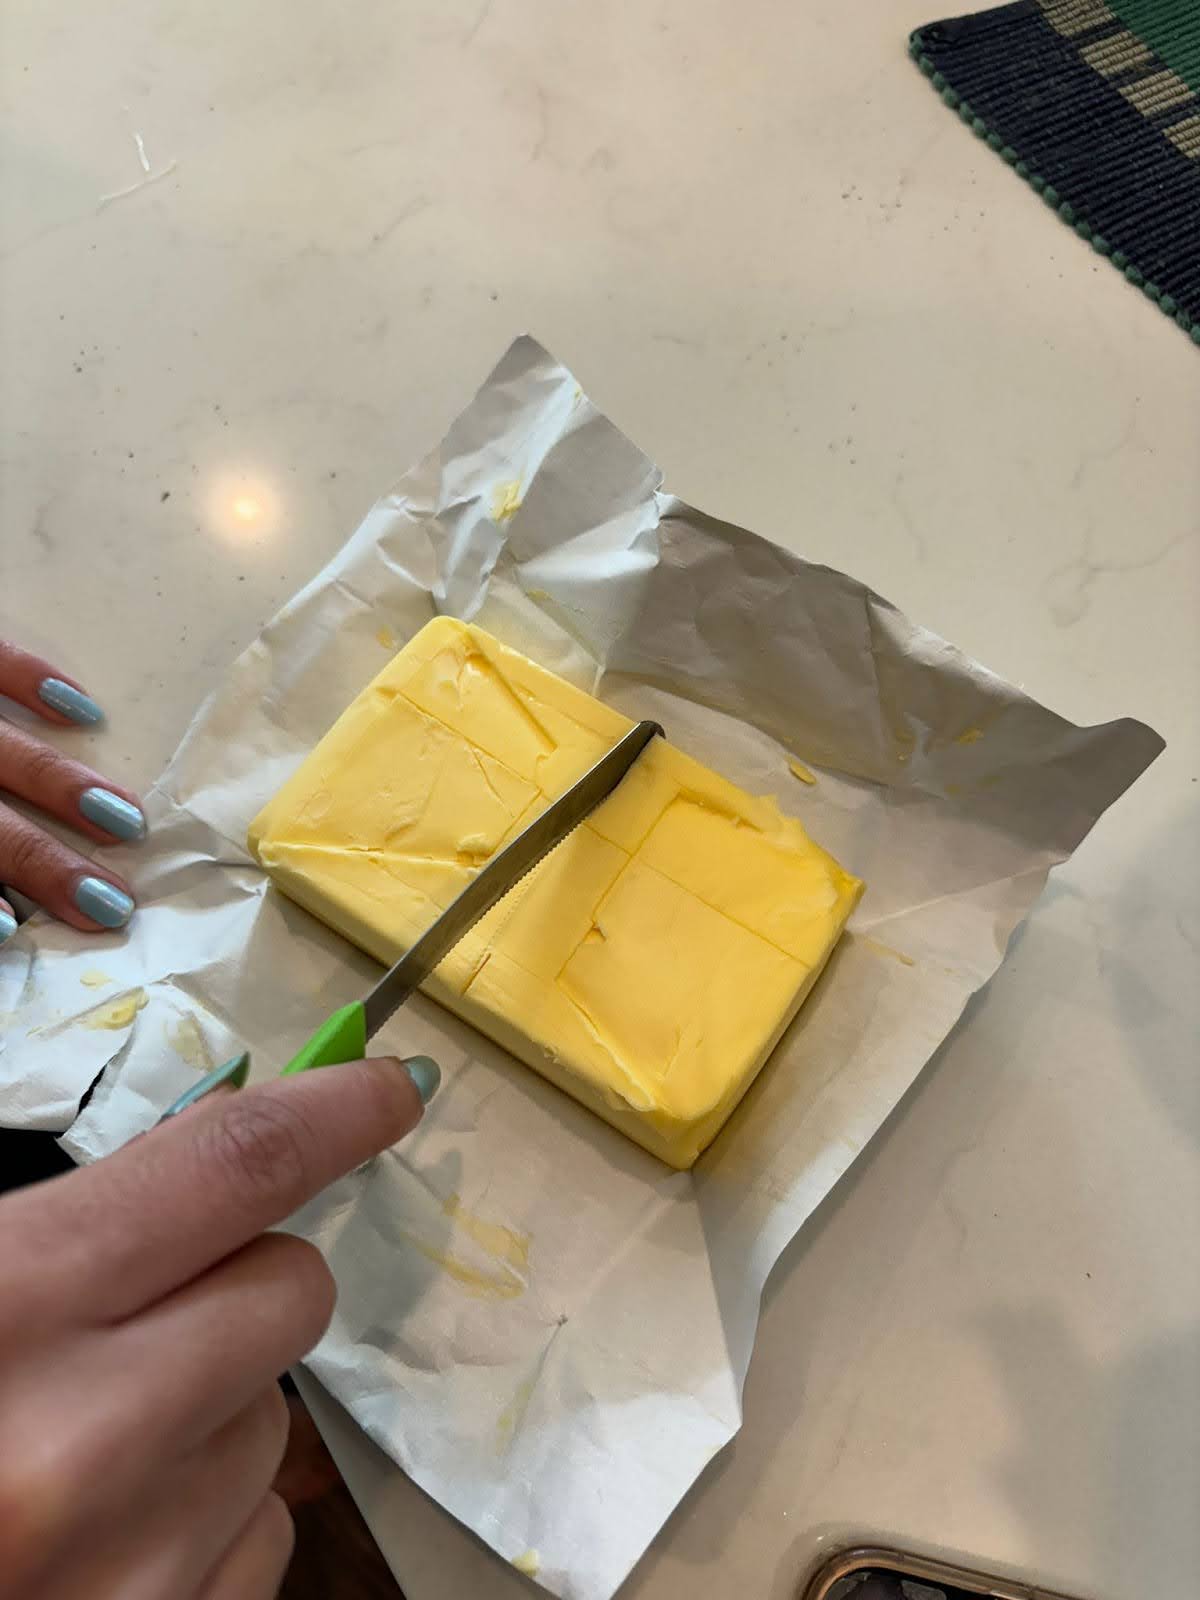
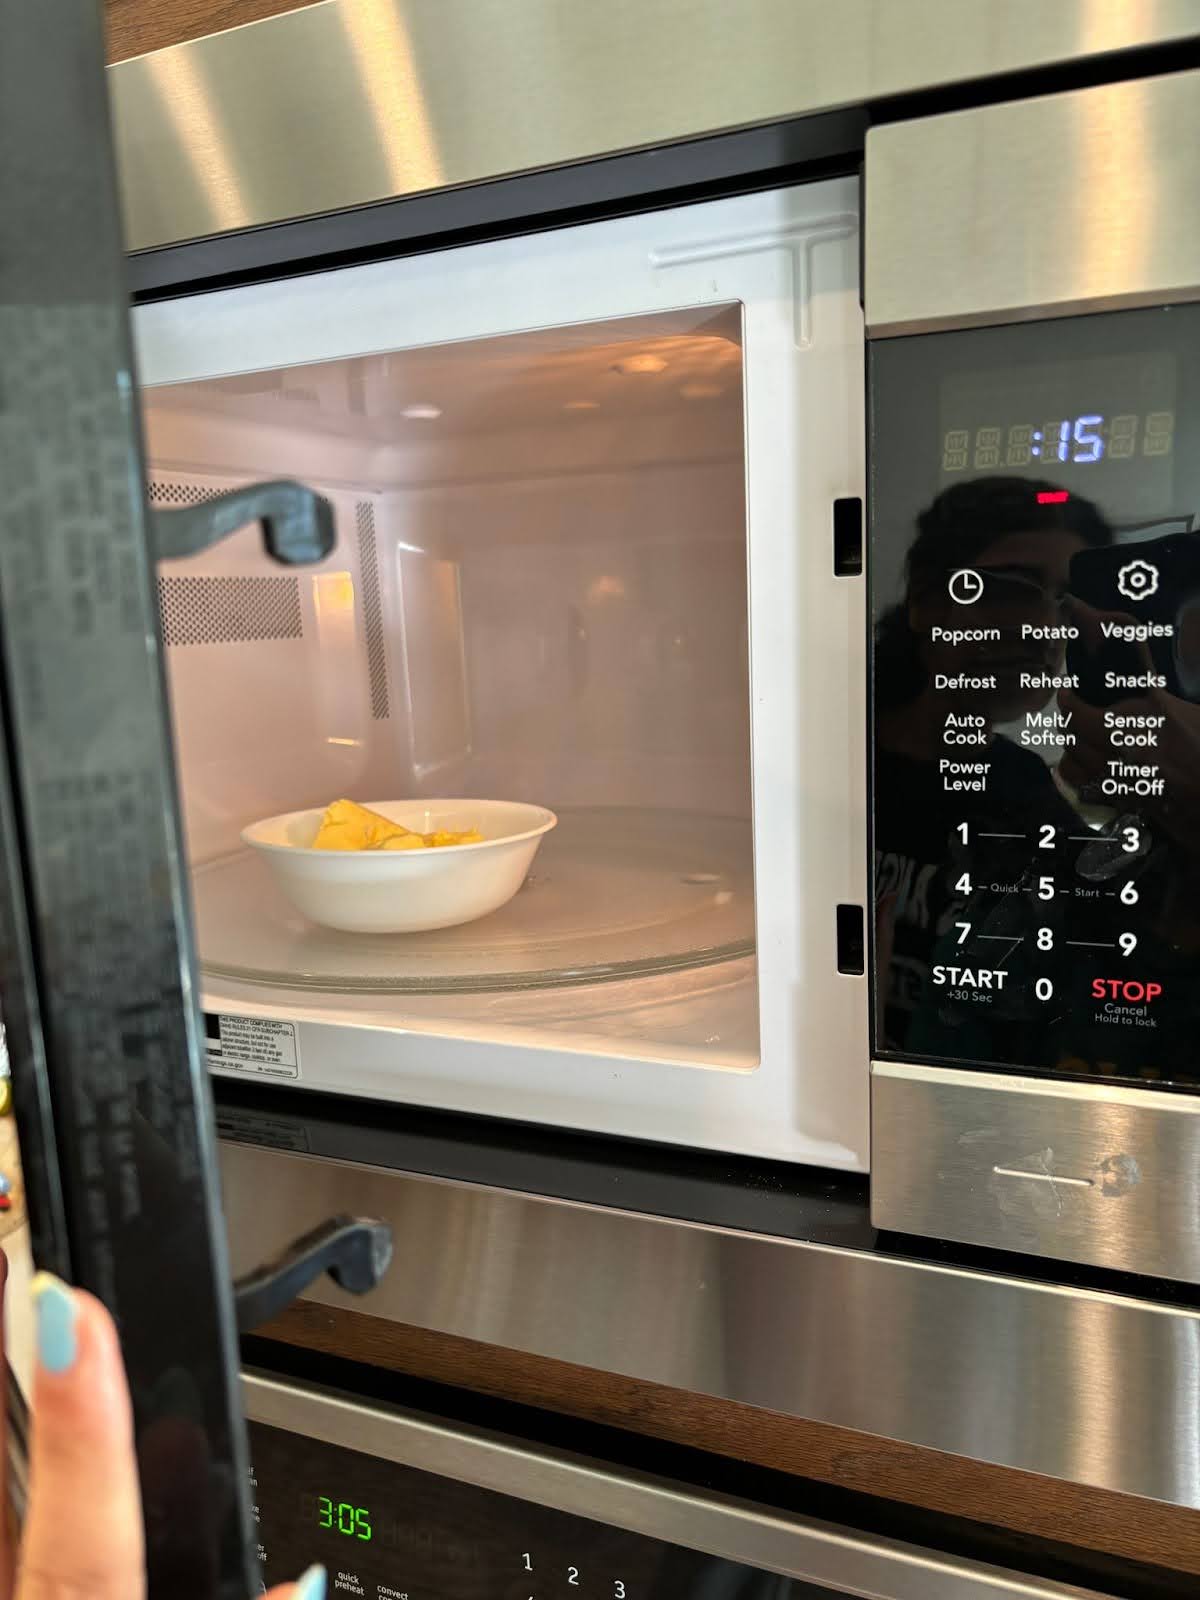
Step 2: Prepare the butter.
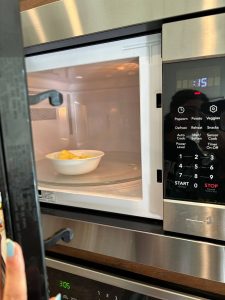
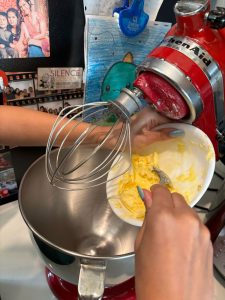
Cut the butter into two halves for it to be easily melted using a knife. As you cut it, be sure to carefully place 1 cup of the salted butter into a bowl. Melt it for 15 seconds and dump it into the kitchen mixer. If one is not available to you, be sure to place it into a larger bowl for an easier mix.
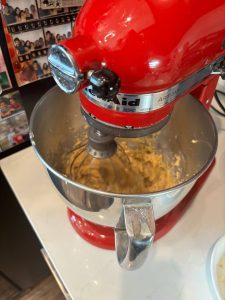
Step 3: Pouring the sugars and mixing.
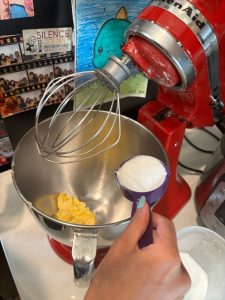
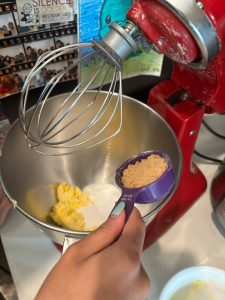
Pour 1 cup of granulated sugar and 1 cup of light brown sugar into the mix. If using an electronic mixer, make sure to only mix for around 45 seconds to avoid any clumps or an over mix.
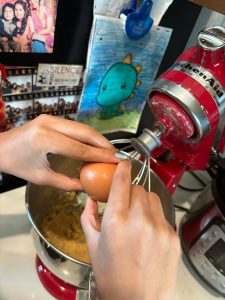
Step 4: Crack the eggs above the mixer.
As you take the eggs, crack two of them carefully above the mixer, allowing the insides to pour in without any shells falling into the mix. No one would like an egg shell with their cookie! Repeat this for the other egg.
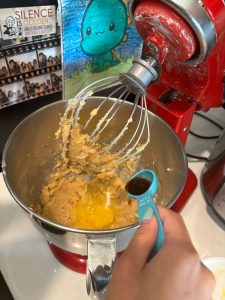
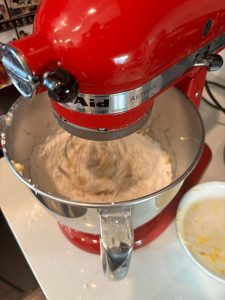
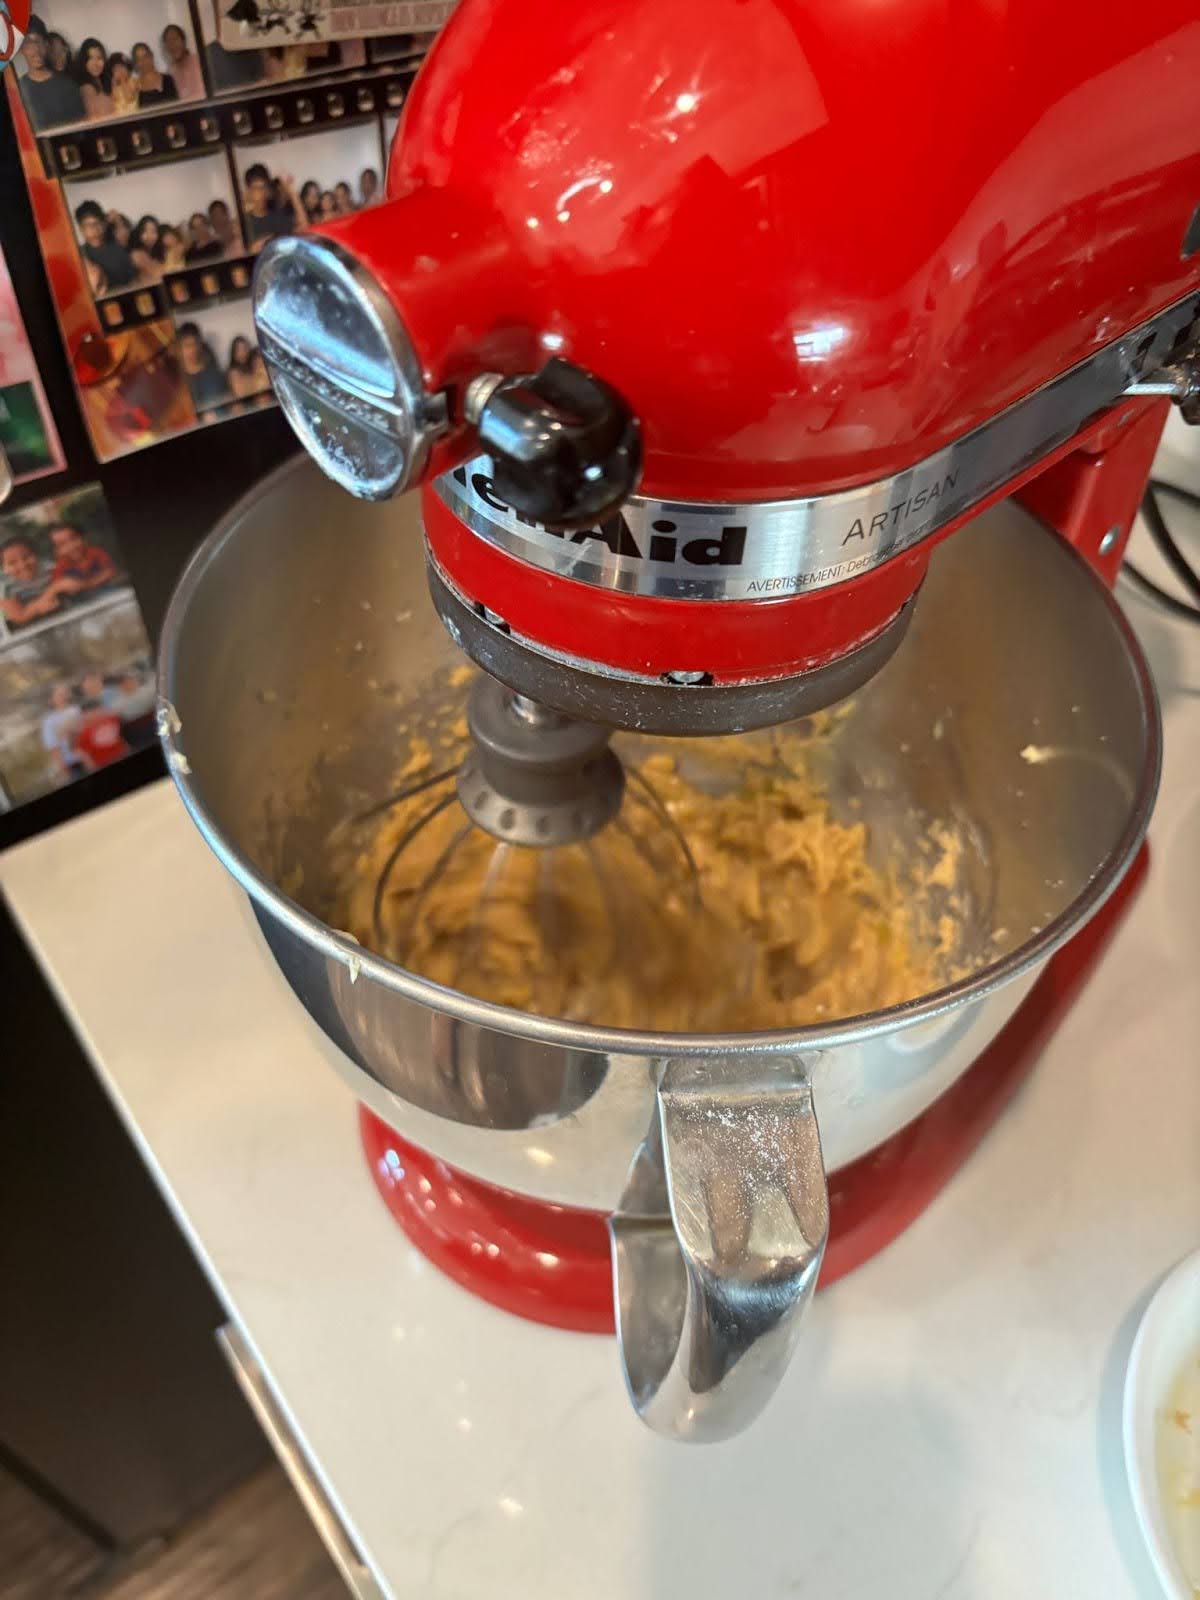
Step 5: Pour vanilla extract and mix.
Next, go ahead and grab the vanilla extract placed on the side. Pour two teaspoons of pure vanilla extract into the mix. If using the mixer, only mix for 45 seconds at a high speed, but longer if you are mixing it slower. Make sure to only mix until the ingredients are combined well, but do not let the mixture become thin.
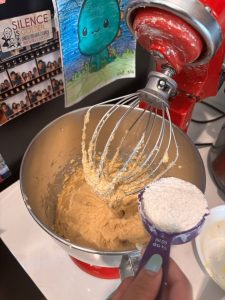
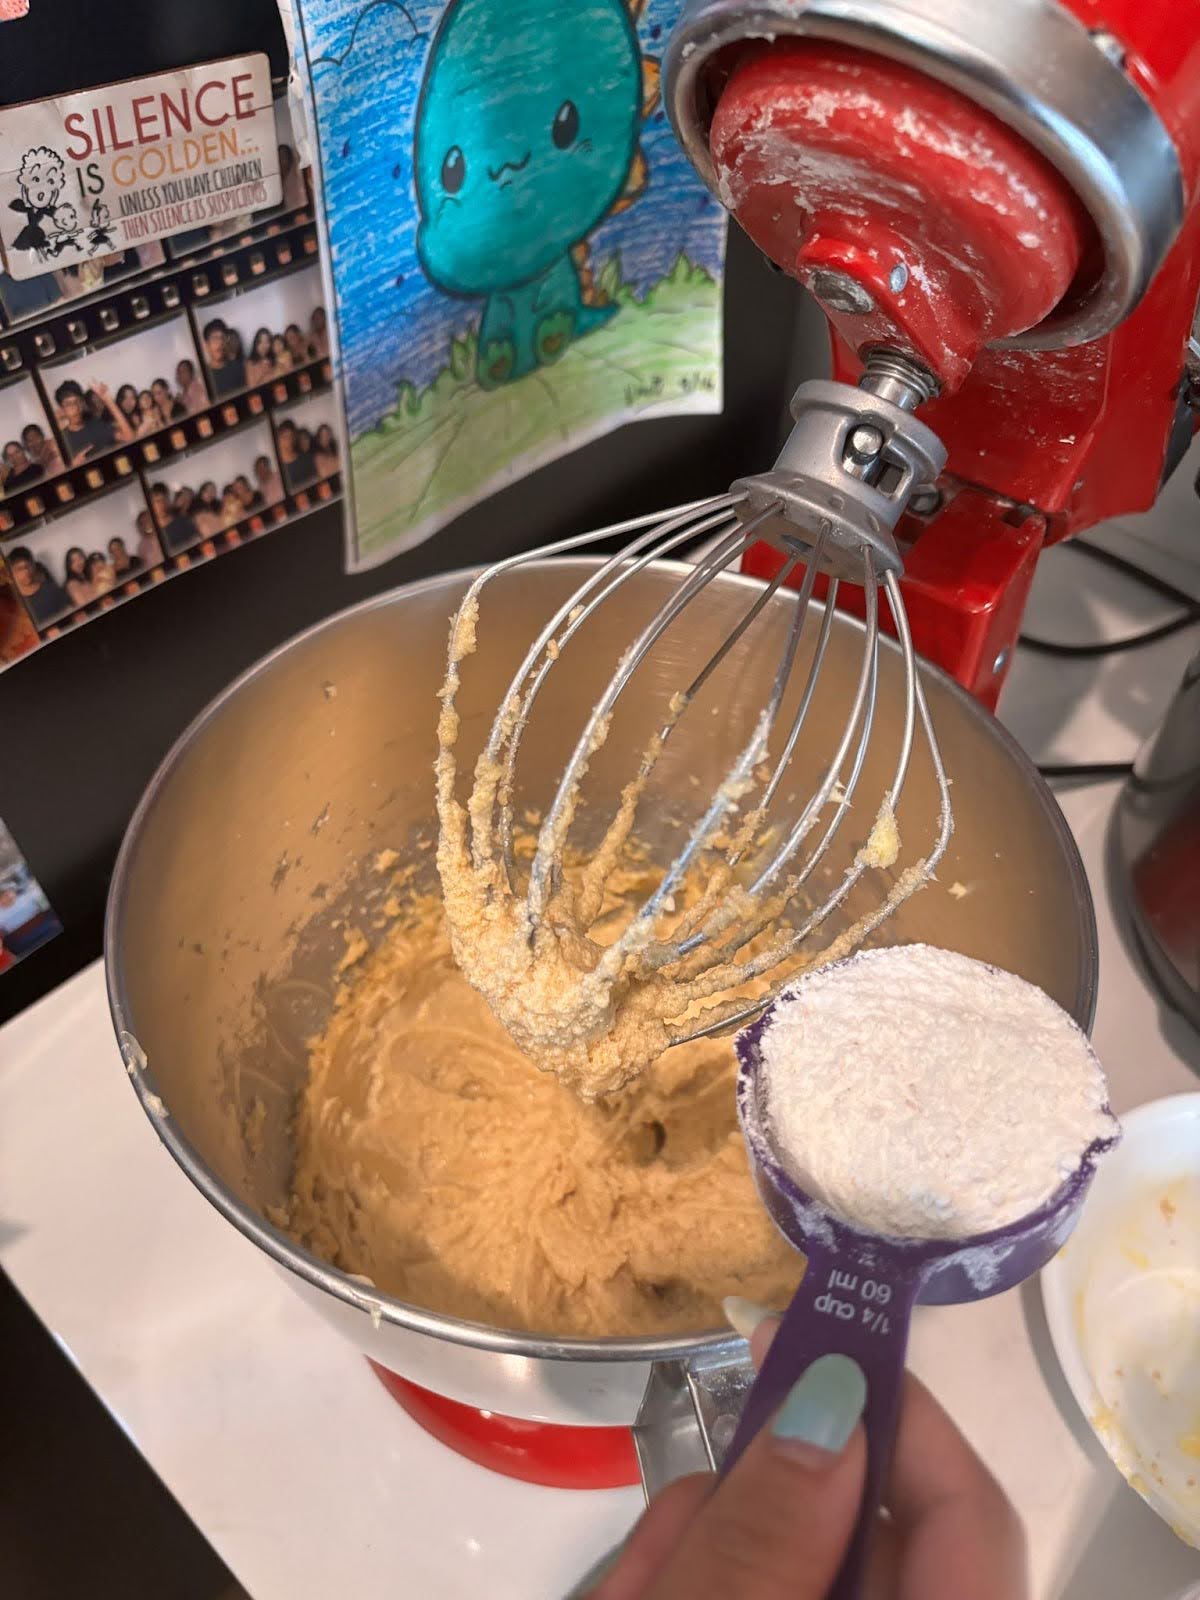
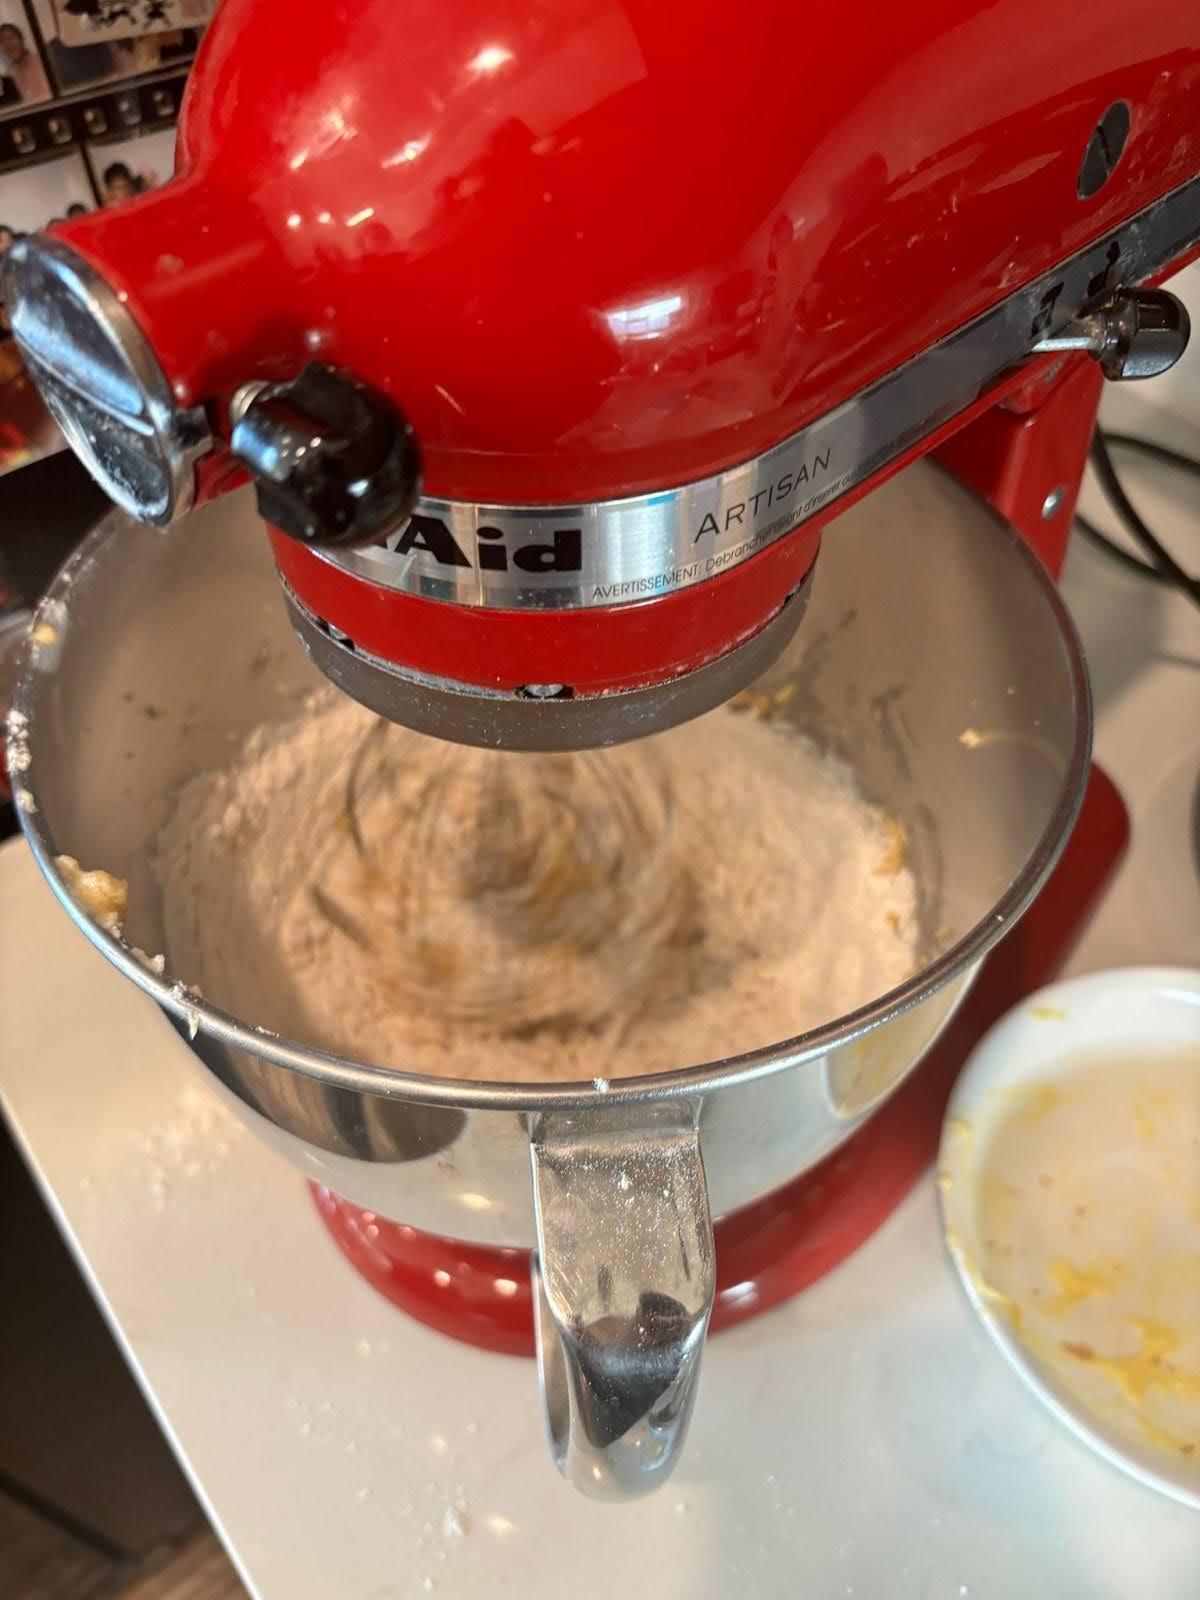
Step 6: Pour the dry ingredients in and mix.
Carefully, pour 3 cups of all-purpose flour into the mix. Picking up the next dry ingredient, pour 1 teaspoon of baking soda and ½ teaspoon of baking powder into the mixture. Once again, mix thoroughly for 45 seconds until well done, but longer if you are mixing at a slower speed. This will give your cookies the proper taste of nostalgia.
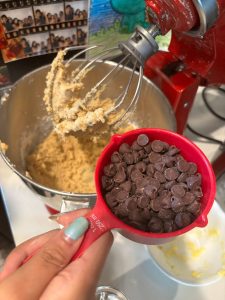
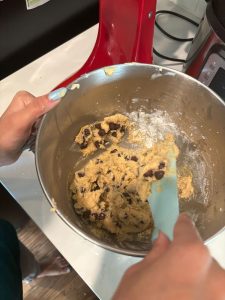
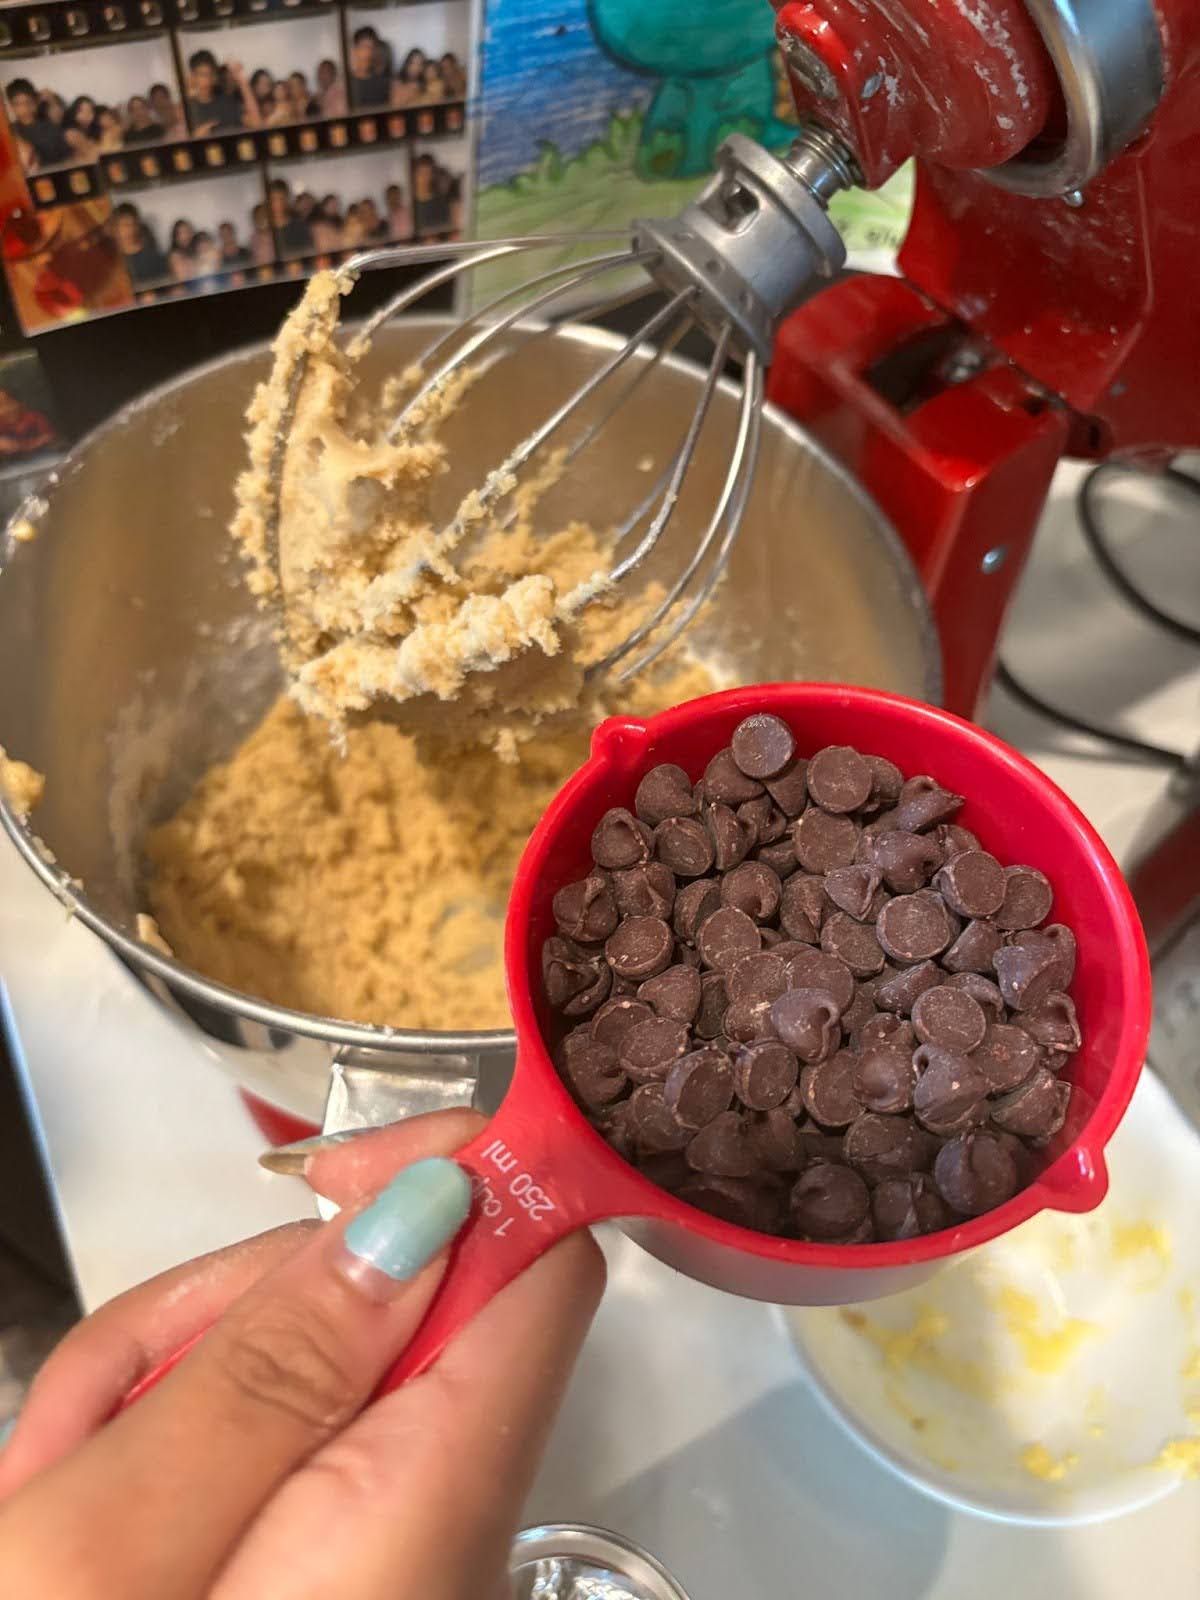
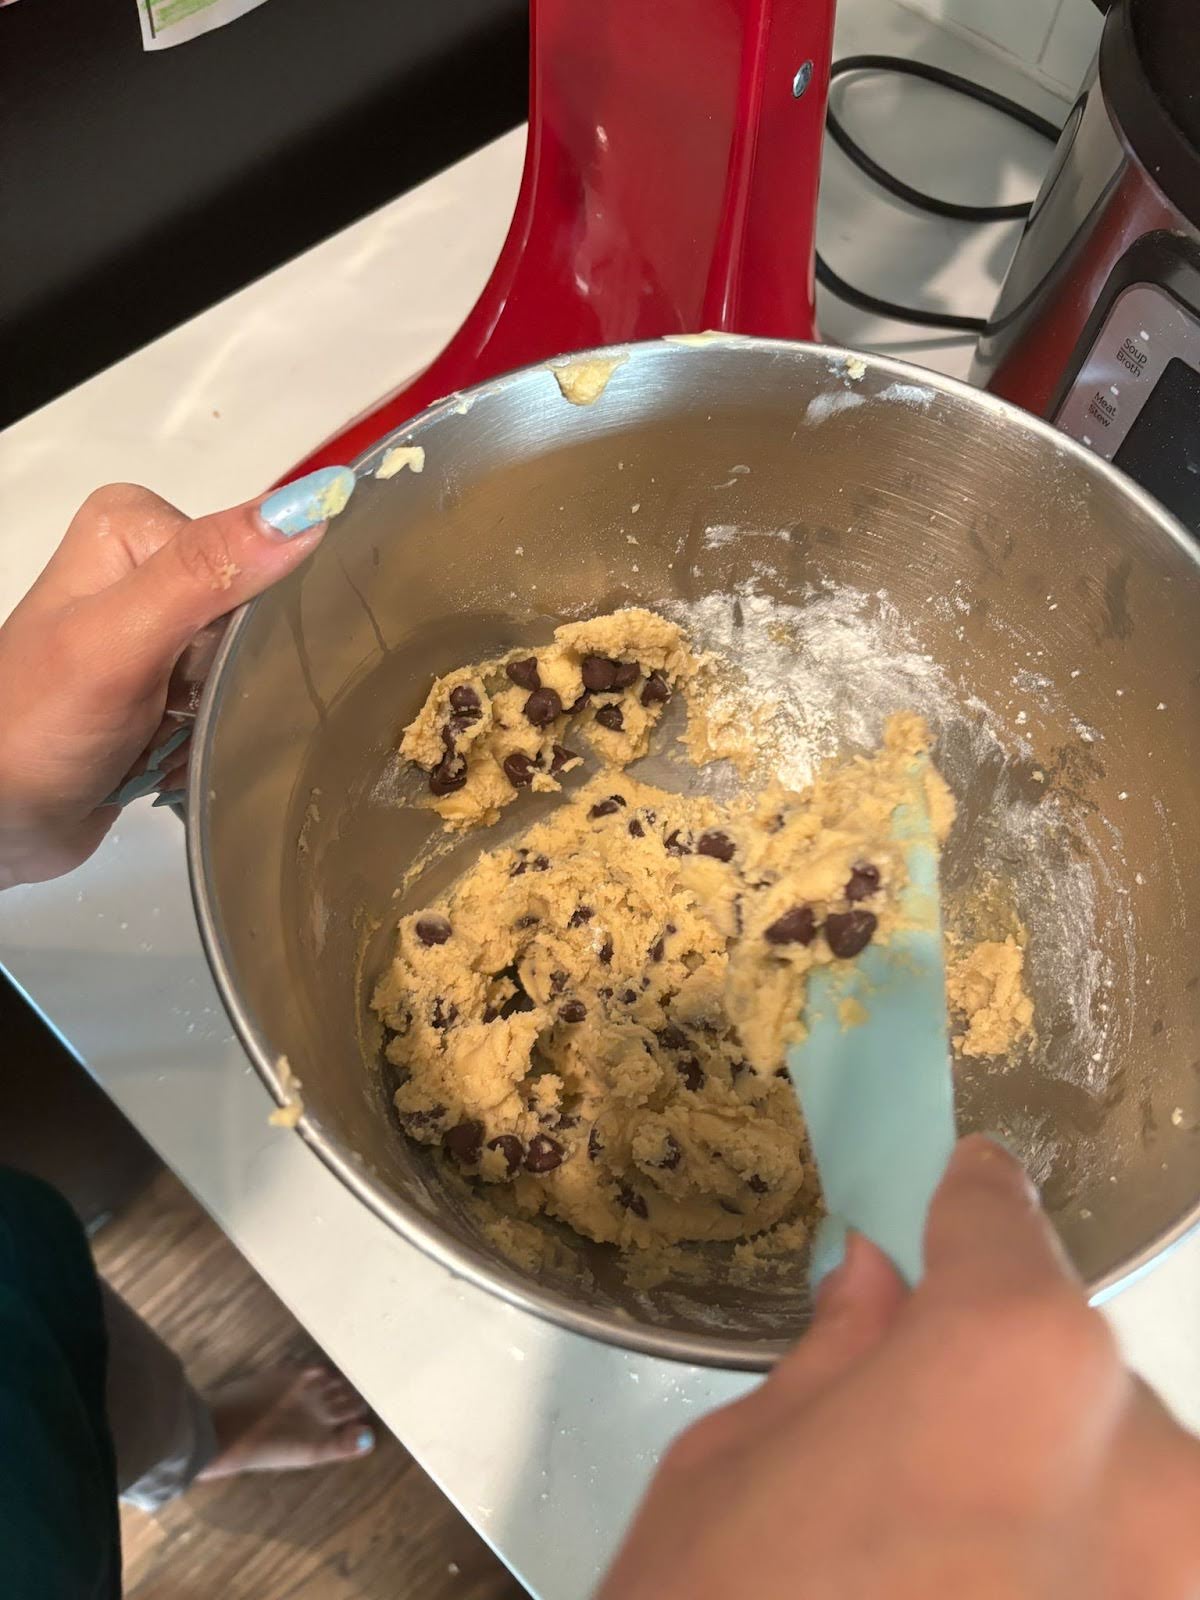
Step 7: Chocolate Chips and Fold.
Now, time for the best part! Pour 2 cups of chocolate chips, or 16 oz, into the mixture. Mix it well and fold the dough properly so that the chips are well spread out. This will lead the perfect amount of chocolate to melt into your mouth with the first bite.
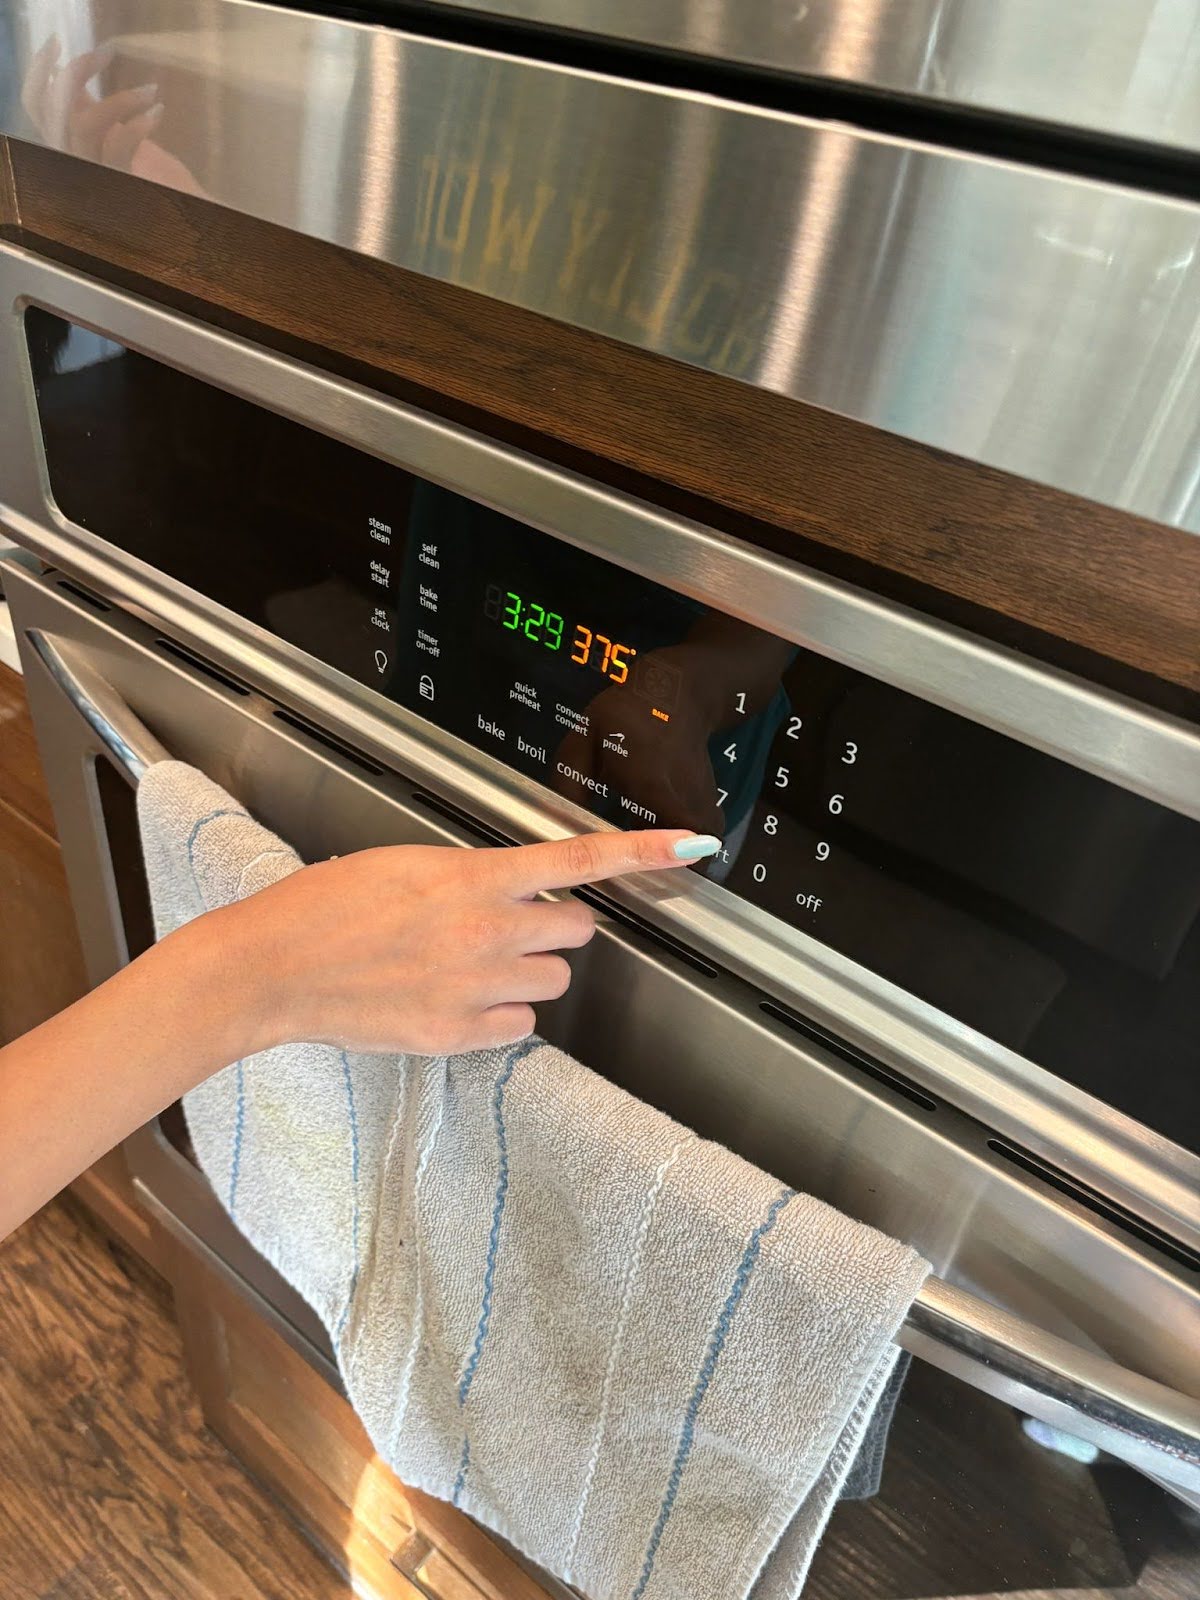
Step 8: Preheat the oven and roll the dough.
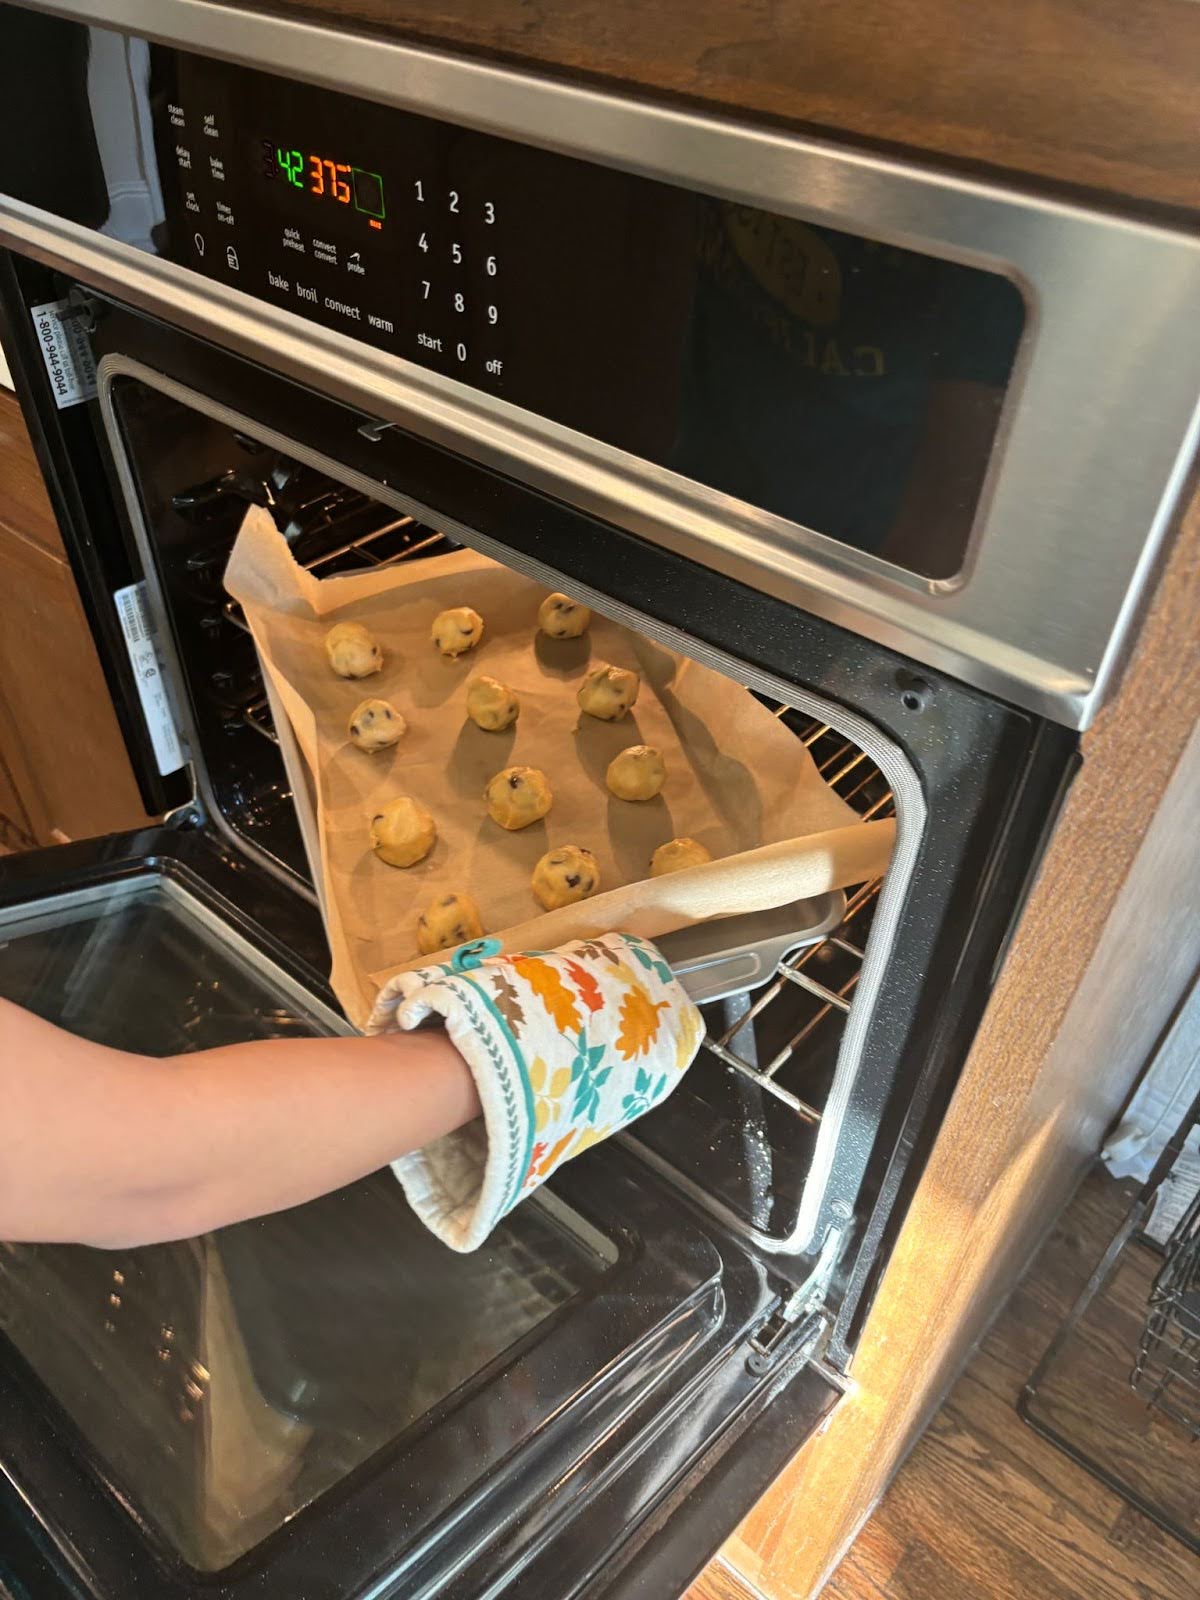
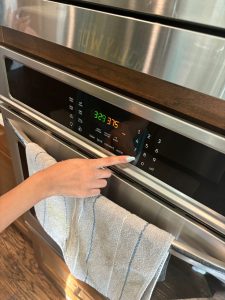
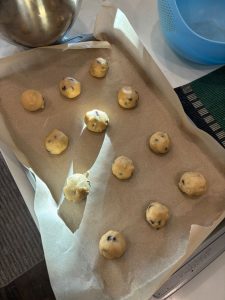
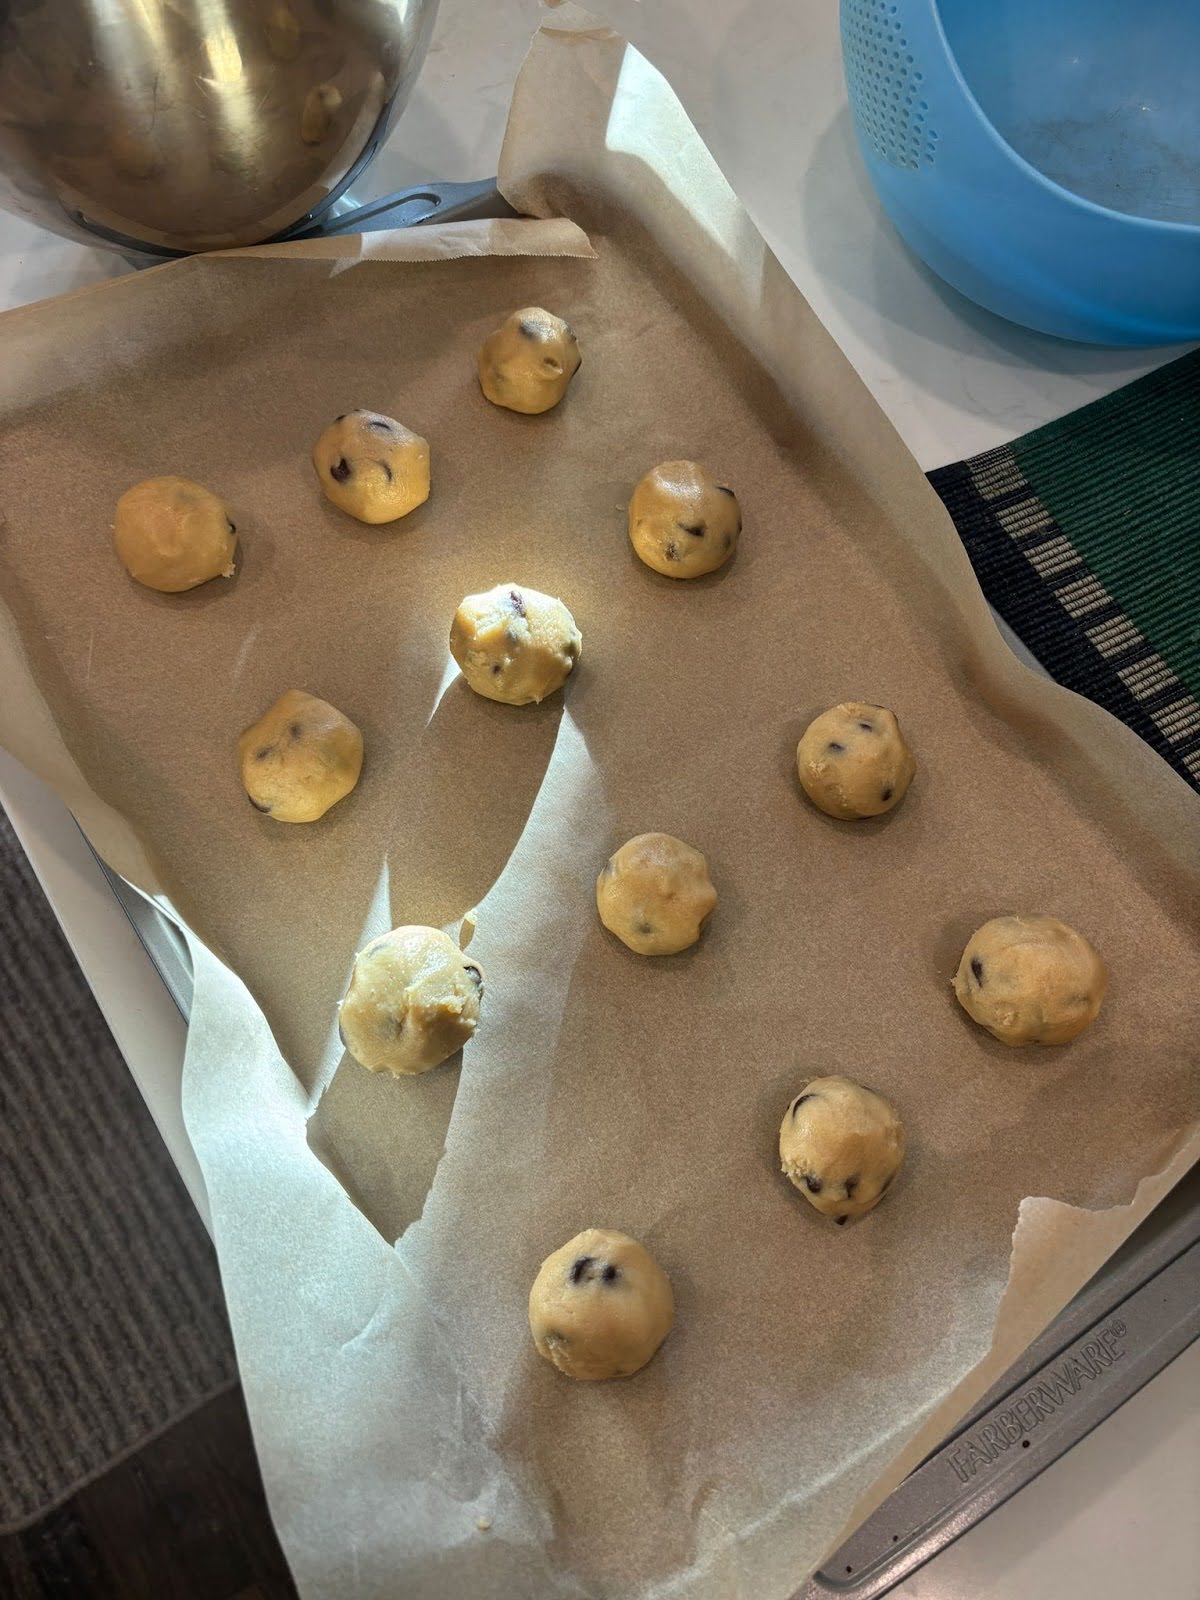
Next, move away from the cookies for a short amount of time and preheat the oven to 375 degrees Fahrenheit. As the oven is heating up, spread out your parchment paper to cover the entire tray. Now, roll 2-3 tablespoons, based on personal preference for the size, and place them evenly spaced on top of the sheet. You may need more than one batch, so do not attempt to fit all of them onto one tray as it won’t bake properly. Be sure to spread them out evenly. This way, all your chocolate chip cookies will have room to bake to perfection.
Step 9: Bake the cookies.
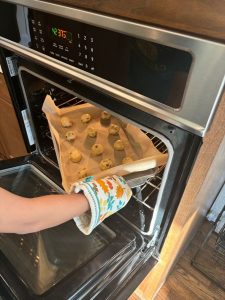
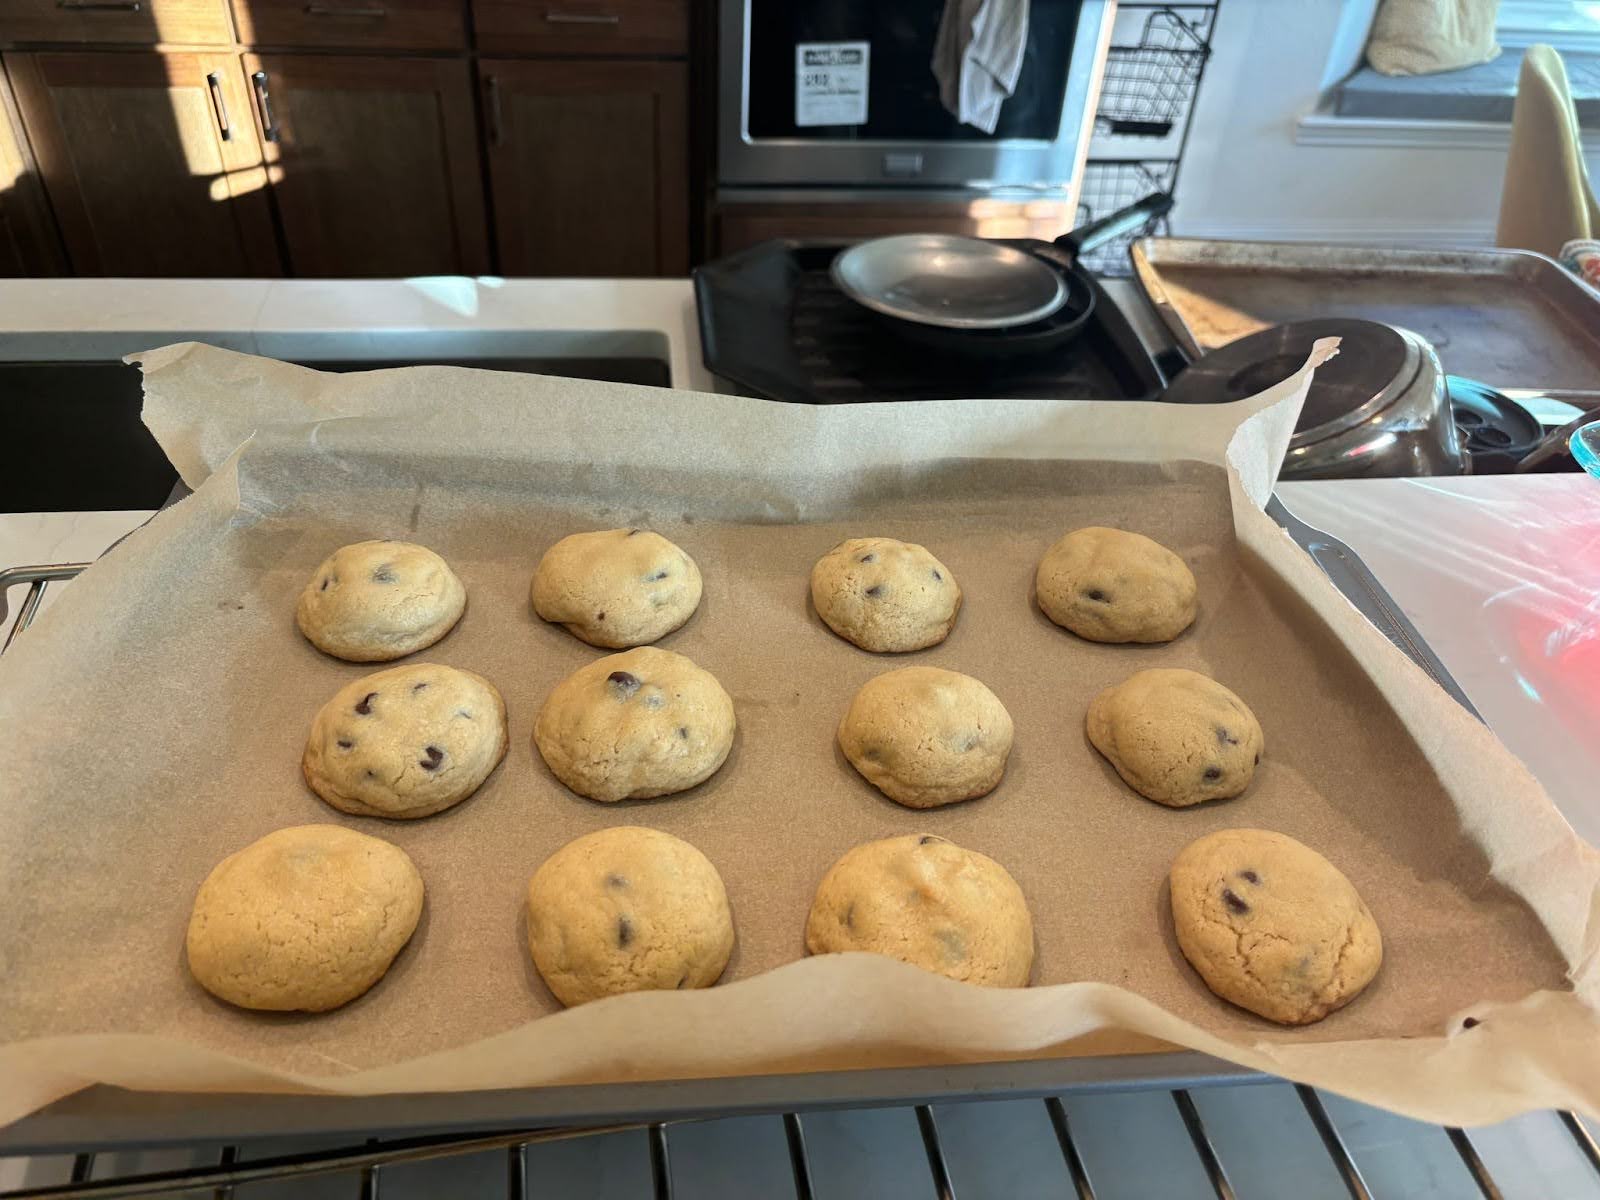
As the oven finishes preheating, place your batch of cookies into the oven for 8-10 minutes. Once done, take them out carefully when you notice the cookies are starting to turn into a rich brown from the bottom.
Step 10: Let the cookies cool and enjoy.
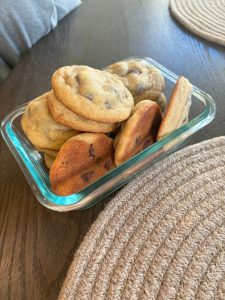
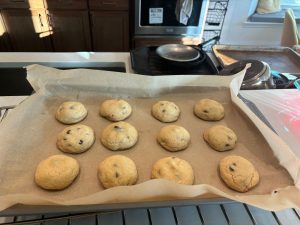
Finally, make sure to let your cookies cool on top of the pan for at least 2 whole minutes before removing them. This prevents flattening or breaking of the cookies and also saves your tongue from burning. Now, it is time for the part you have been waiting to do. Eat and enjoy the warm, delicious cookies waiting patiently in front of you.
Tips to enjoy the chocolate chip cookies to the fullest:
- Warm them up: You may cool or keep them out, but warming up the cookies before eating will lead to a better taste overall.
- Creativity: You can be creative with the shape of the cookies, but be aware that it may take more room to heat up/cool down properly.
- Freezing: If you plan to keep the cookies stored for long periods of time, freezing them for two weeks is the best way to save the taste, but be sure to wrap them securely and protect them from the air.
- Smaller batches: As this recipe creates 36 delicious cookies, make sure to cut the ingredients down the proper amount if a smaller batch is being made.
Now you have baked the most delicious chocolate chip cookies batch as you followed this recipe. Remember to enjoy the cookies with your friends and family, but be sure to have one for yourself at the end of the day. Whether the taste of chocolate chips will send you back to your childhood or to yesterday when you craved cookies, these fluffy cookies will take you one step closer to a stress free future. Enjoy!
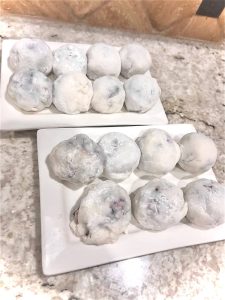
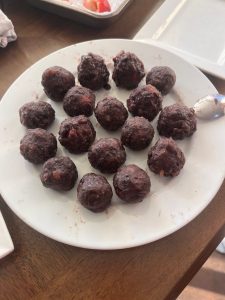
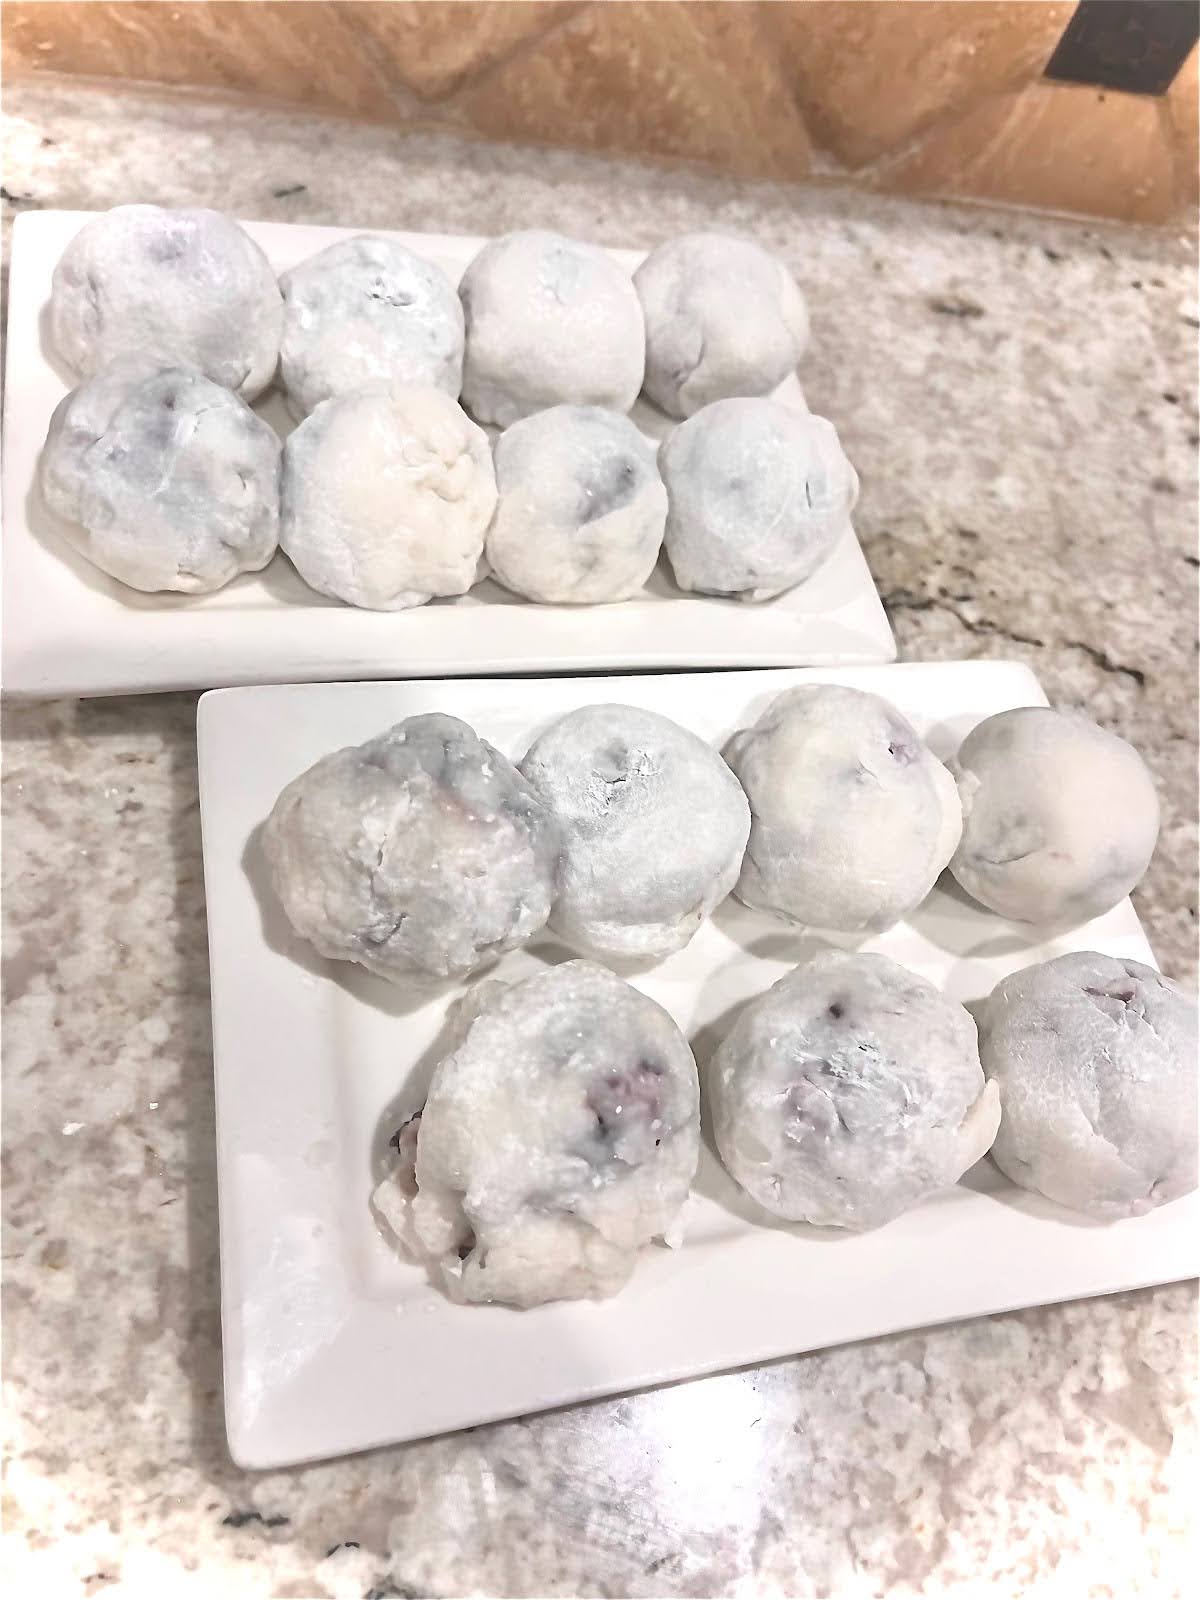
Craving traditional Japanese sweets? You came to the right place, because this article will show you how to make the best strawberry daifuku. To experience the enriching flavors of sweet red bean paste, strawberry and mochi married together, follow the easy steps below.
-
'
-
Step 1. Prep strawberries.
'
-
Step 1. Prep strawberries.
'
-
Step 2: Prep the mochi.
'
-
Step 2: Prep the mochi.
'
-
Step 2: Prep the mochi.
'
-
Step 3: Shape the red bean paste.
'
-
Step 3: Shape the red bean paste.
'
-
Step 3: Shape the red bean paste.
'
-
Step 4: Wrap strawberry into the paste.
'
-
Step 4: Wrap strawberry into the paste.
'
-
Step 4: Wrap strawberry into the paste.
'
-
Step 5: Finish the mochi.
'
-
Step 5: Finish the mochi.
'
-
Step 5: Finish the mochi.
'
-
Step 5: Finish the mochi.
'
-
Step 6: Finish the ichigo daifuku.
'
-
Step 6: Finish the ichigo daifuku.
'
-
Step 7: Prep eating.
'
-
Step 7: Prep eating.
'
Ingredients (for 16 ichigo daifuku)
- 16 Strawberries
- 320g Red bean paste
- 120g Sugar
- 200g Mochiko
- 100g Corn starch
Materials
- Cooking/sheet pan
- 2 Baking pans
- 2 Stirring bowls
- Gloves
- Plastic wrap
- Cutting board
- Spatula
- 2 paper towels
- 2 spoons
Knife - 1 or 2 plates
- Cooking pan (optional)
Step 1: Prep strawberries.
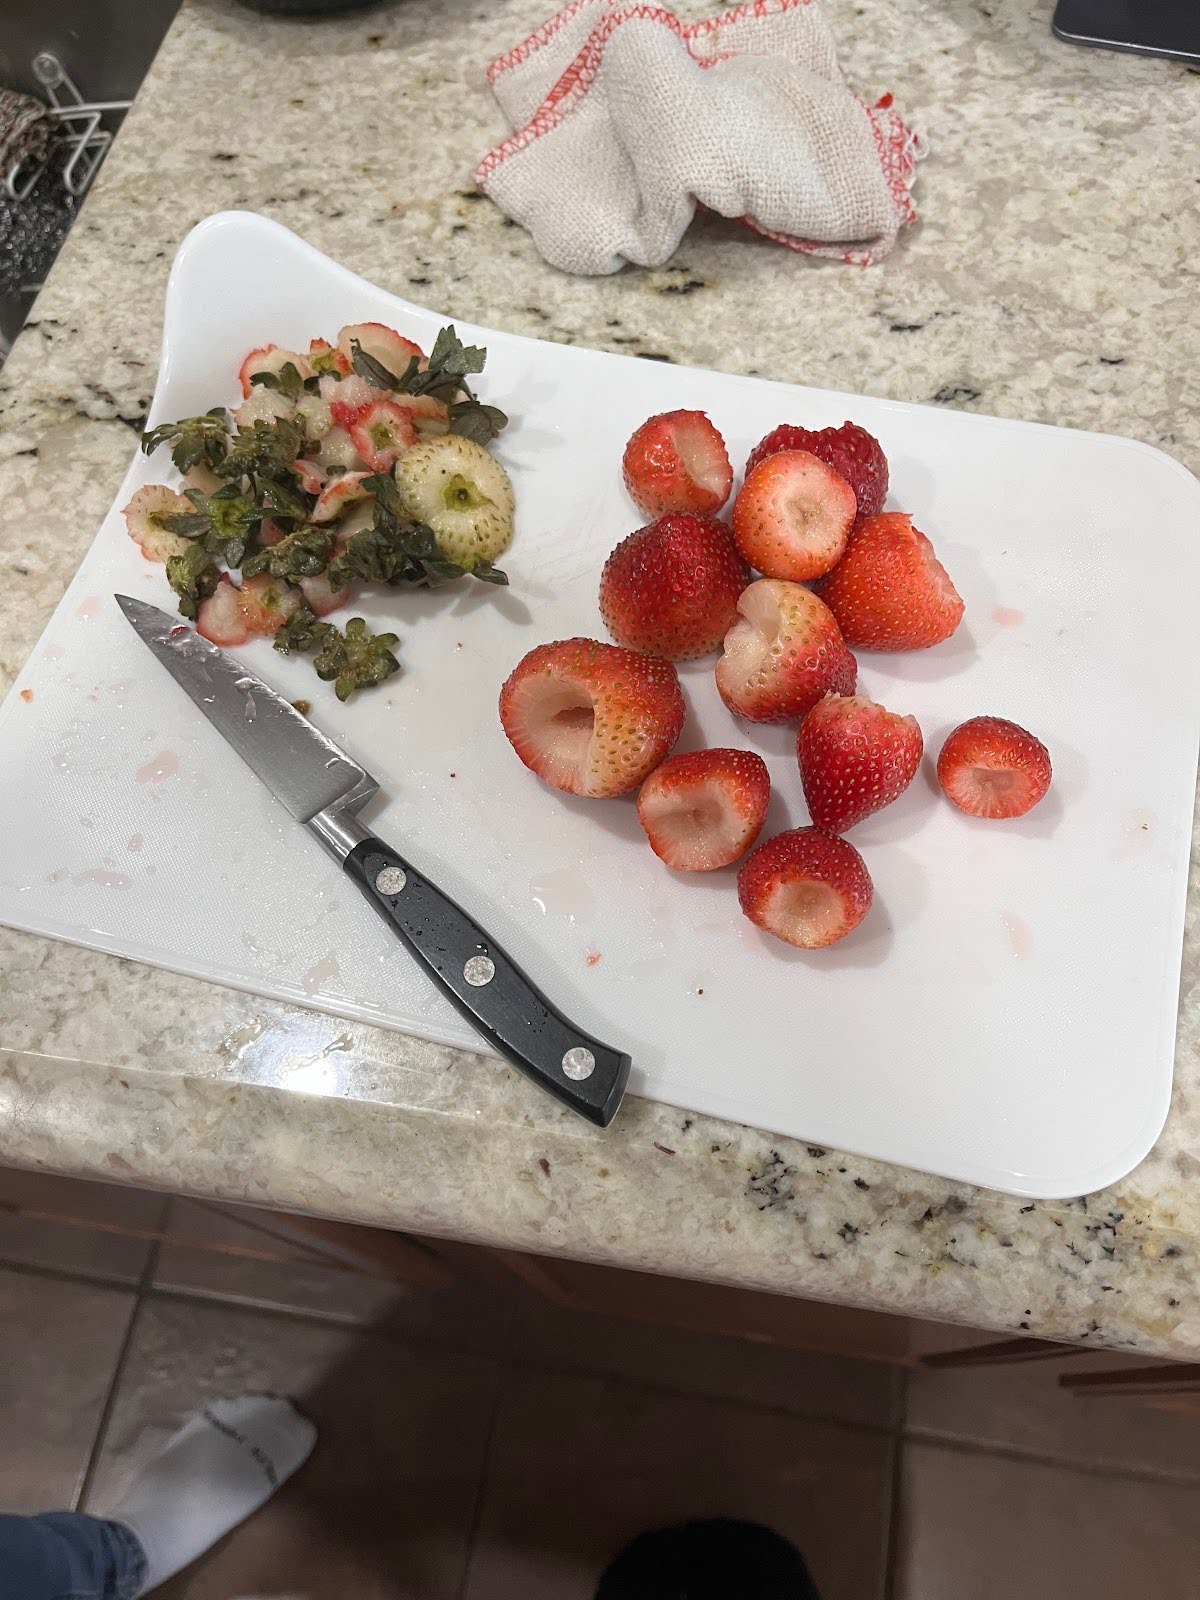
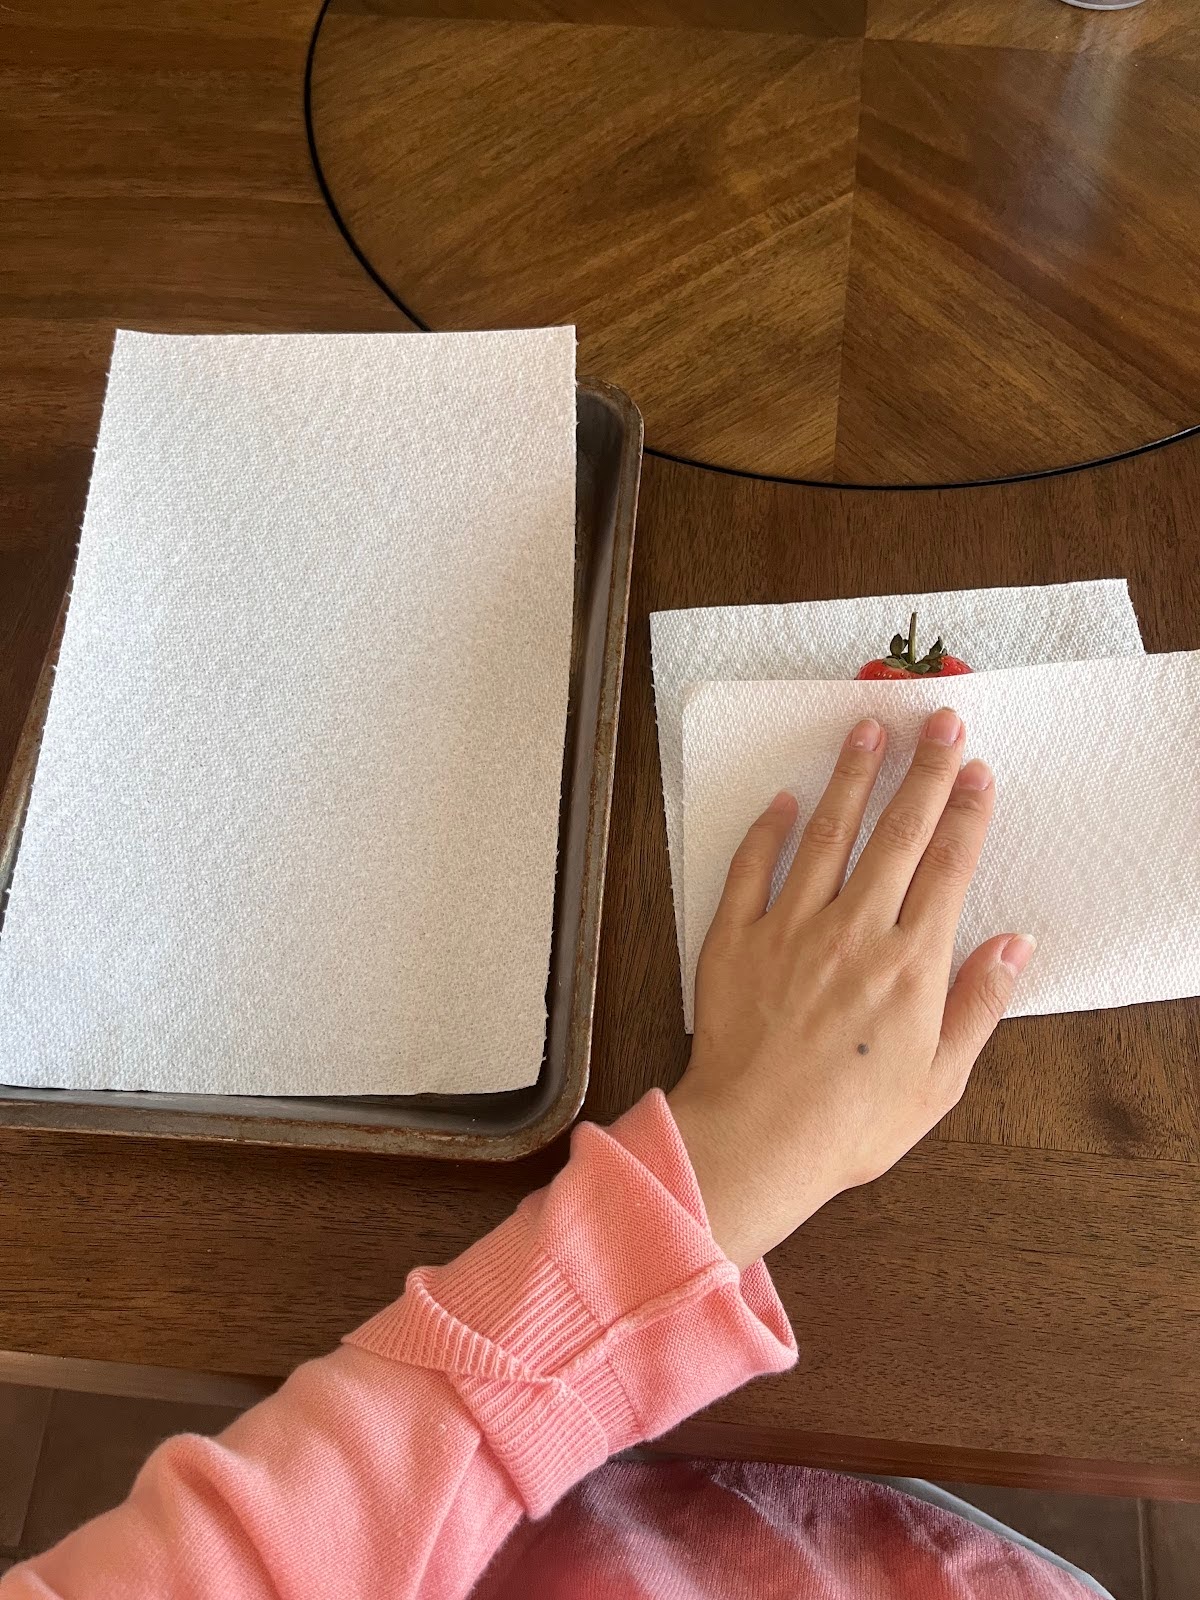
First, rinse the fruit well with water. Then, cut the stems off the strawberries. After that, pat and dry the fruits with a paper towel. You do this to take the moisture out of the strawberries.
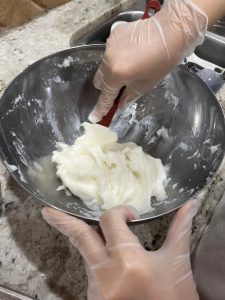
Step 2: Prep the mochi.
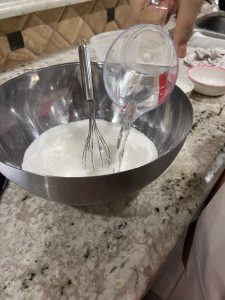
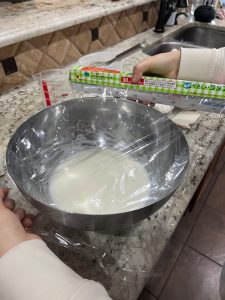
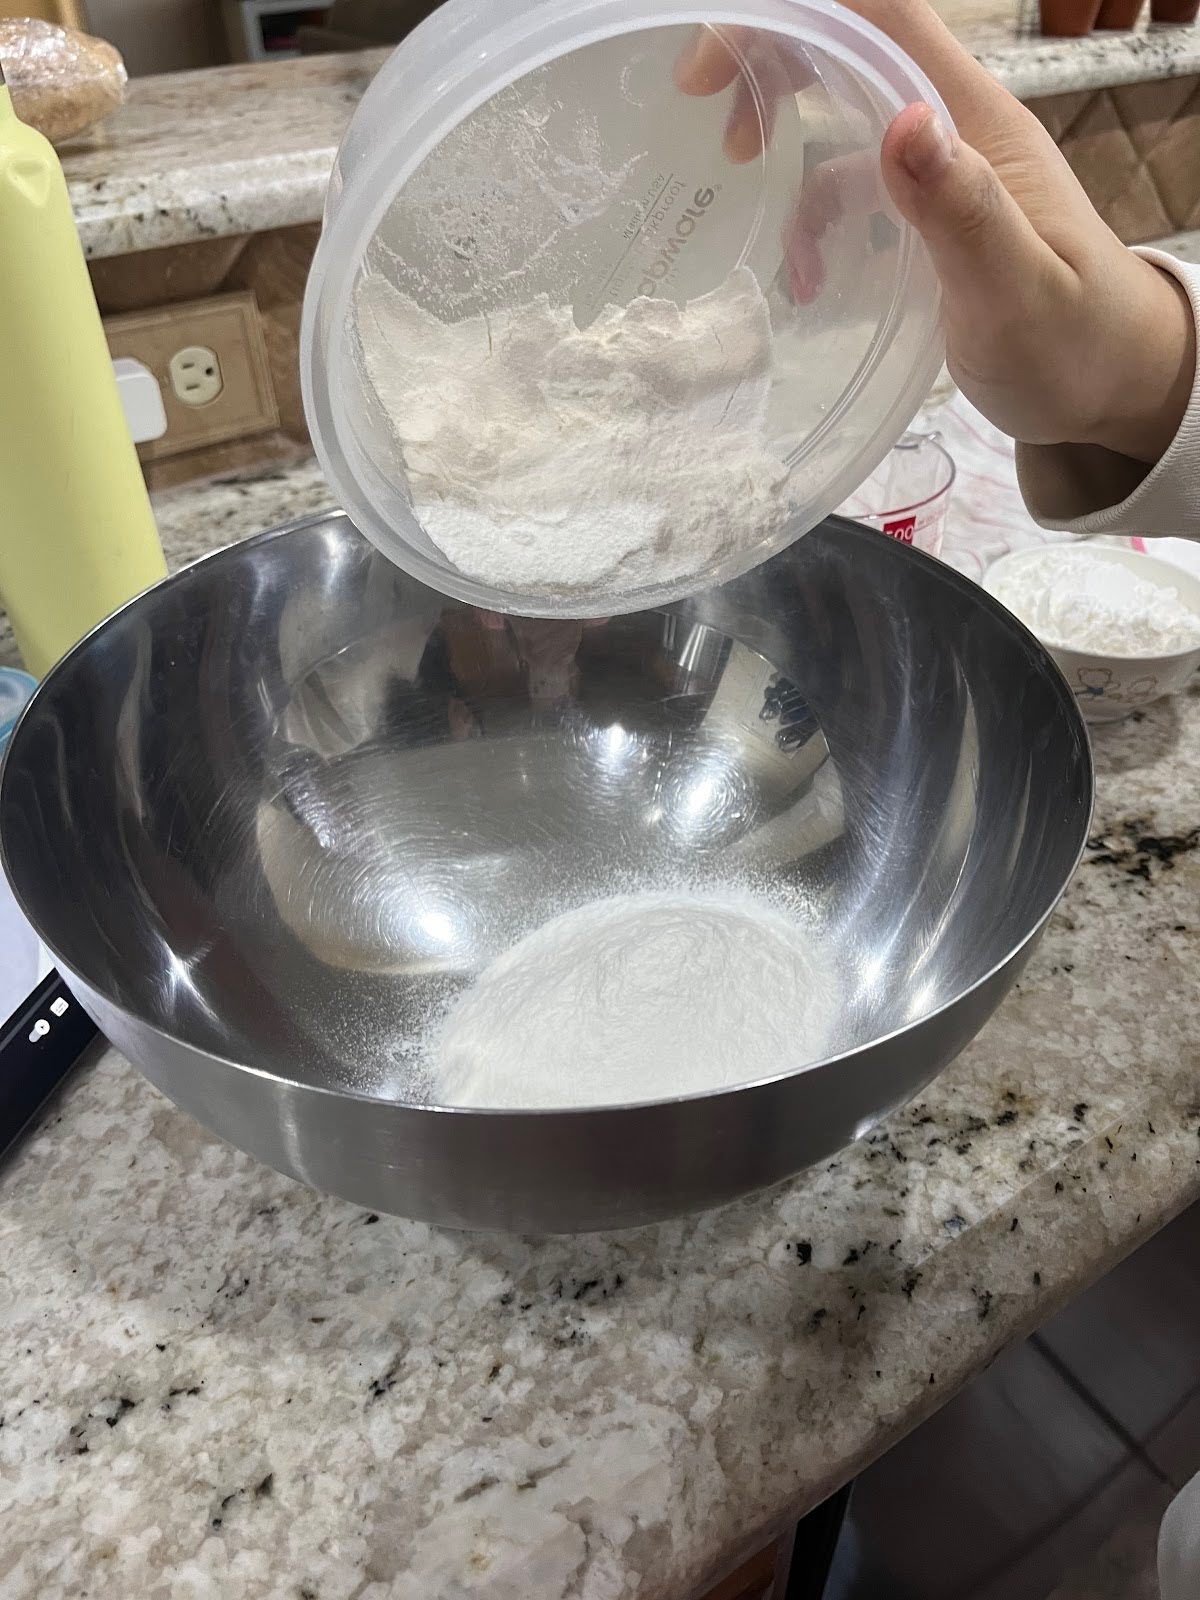
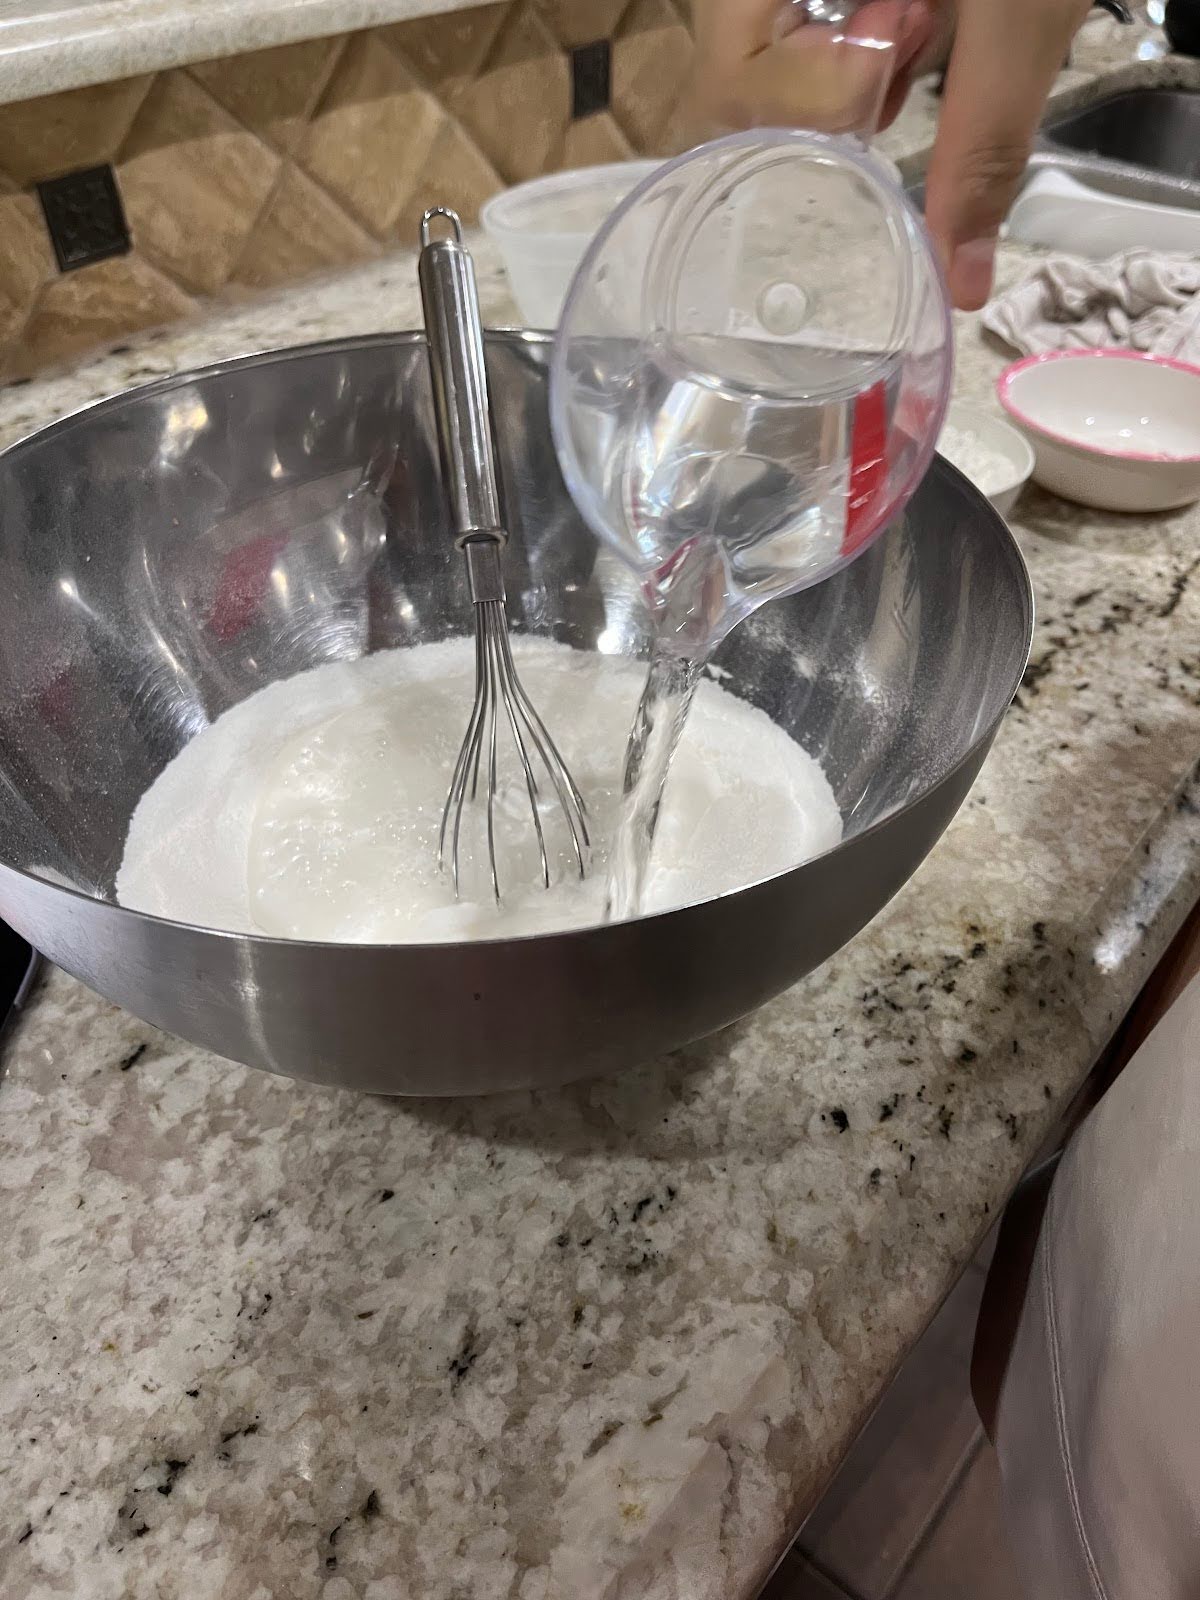
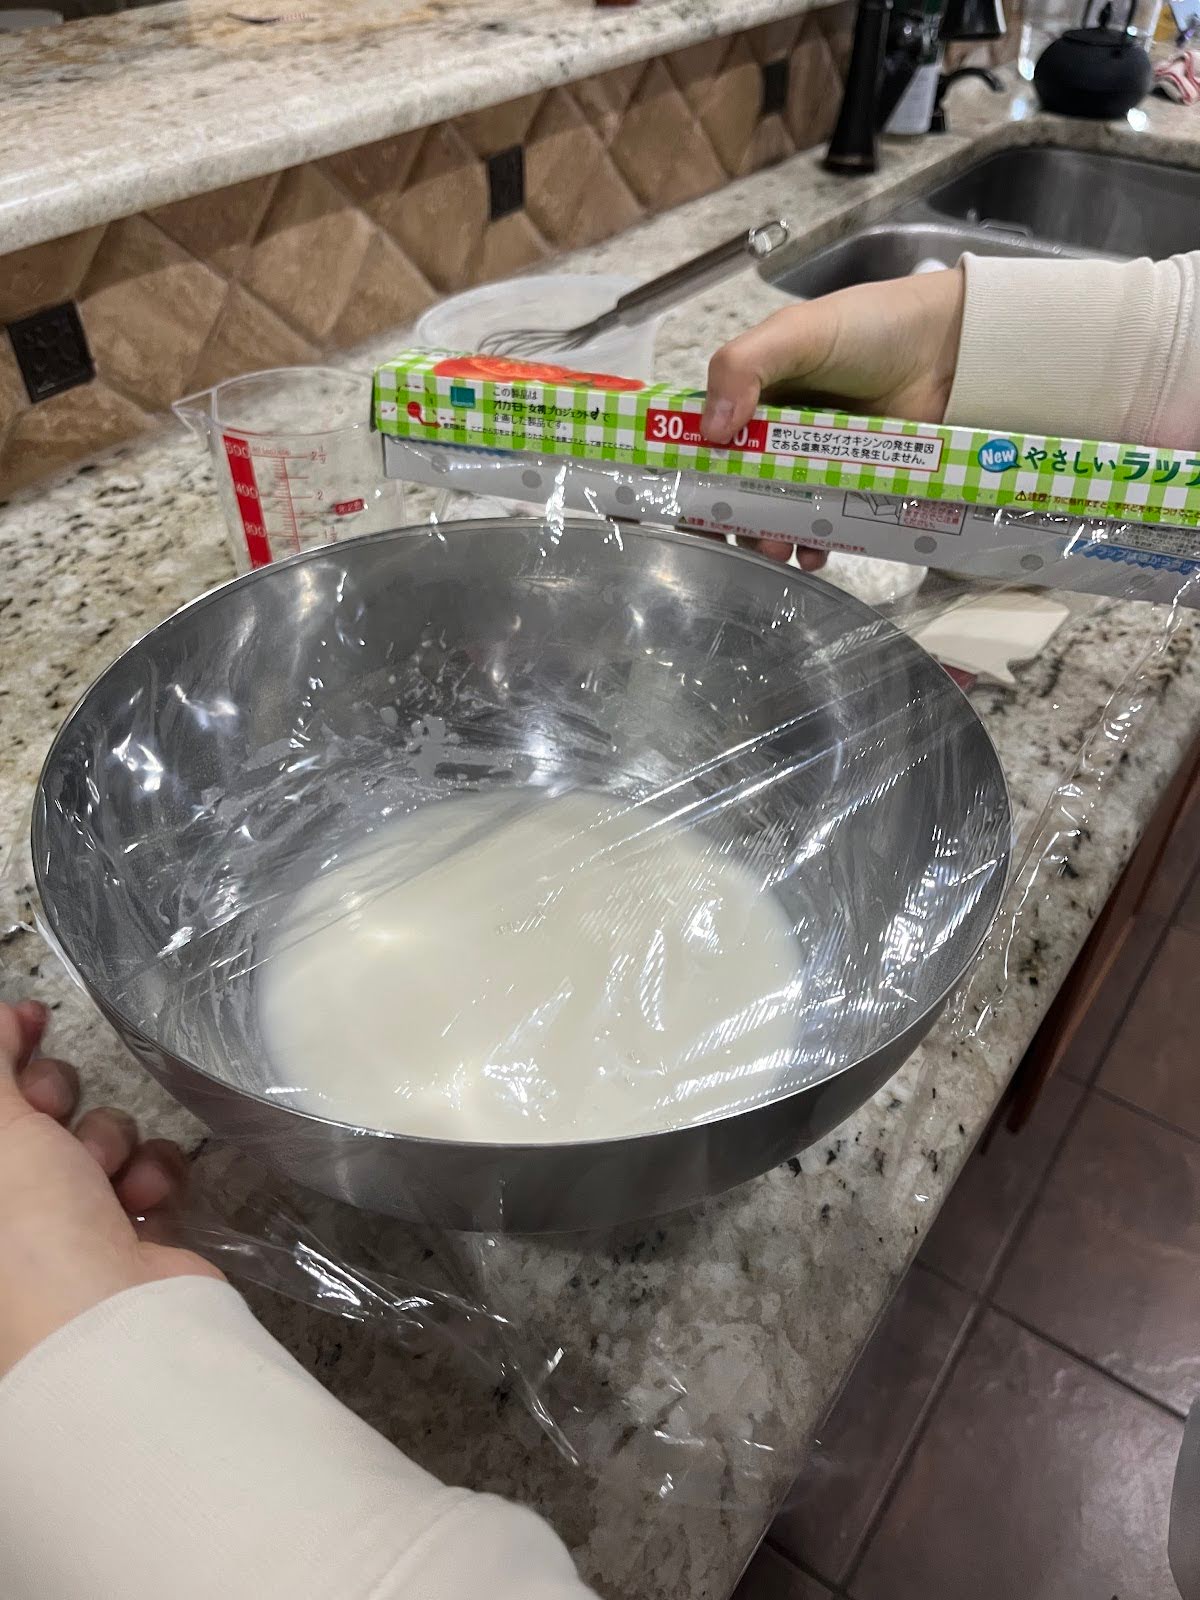
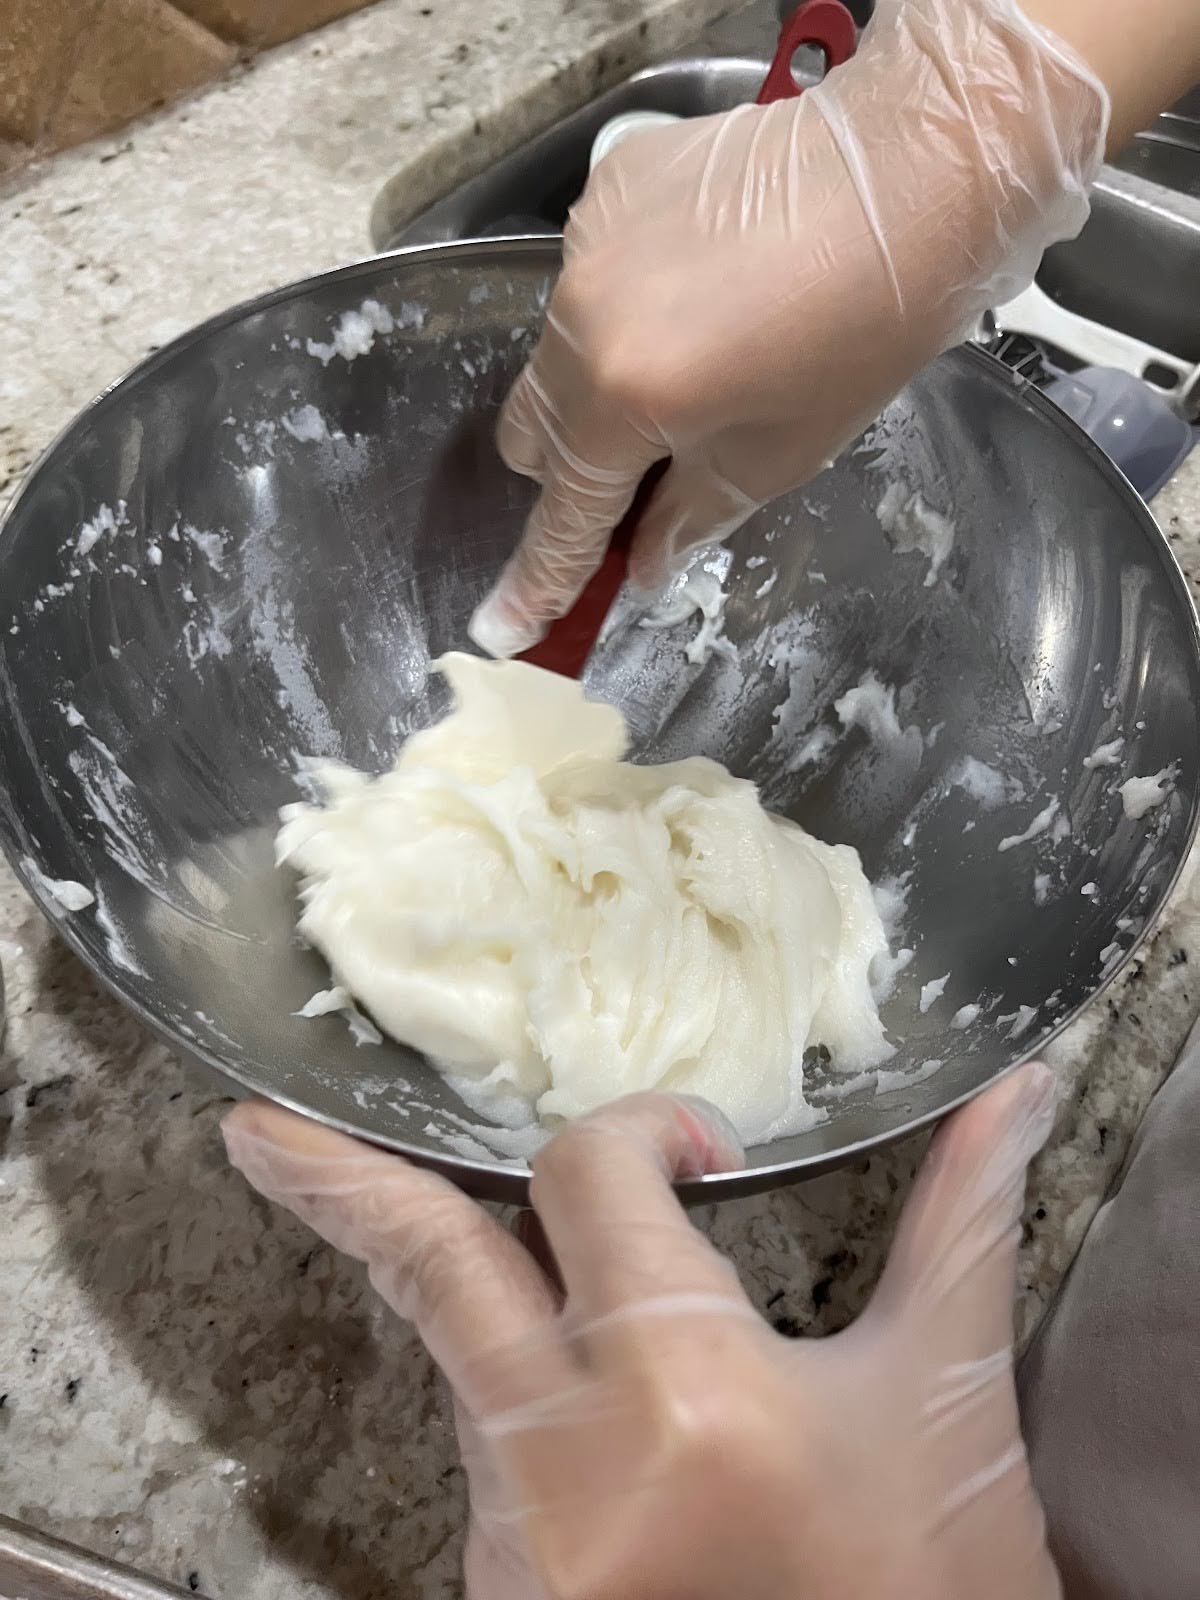
Put the sugar and mochiko powder into the bowl and whisk. After that, pour in the water slowly while whisking. Stop whisking until the mixture reaches a milky color. At the end, cover the surface of the bowl with a plastic wrap. Bring the bowl into the microwave and set it for 4 minutes. Wait for it to microwave. After the microwave is done, wait for the mochi to cool down. Careful, the stirring bowl is very hot!
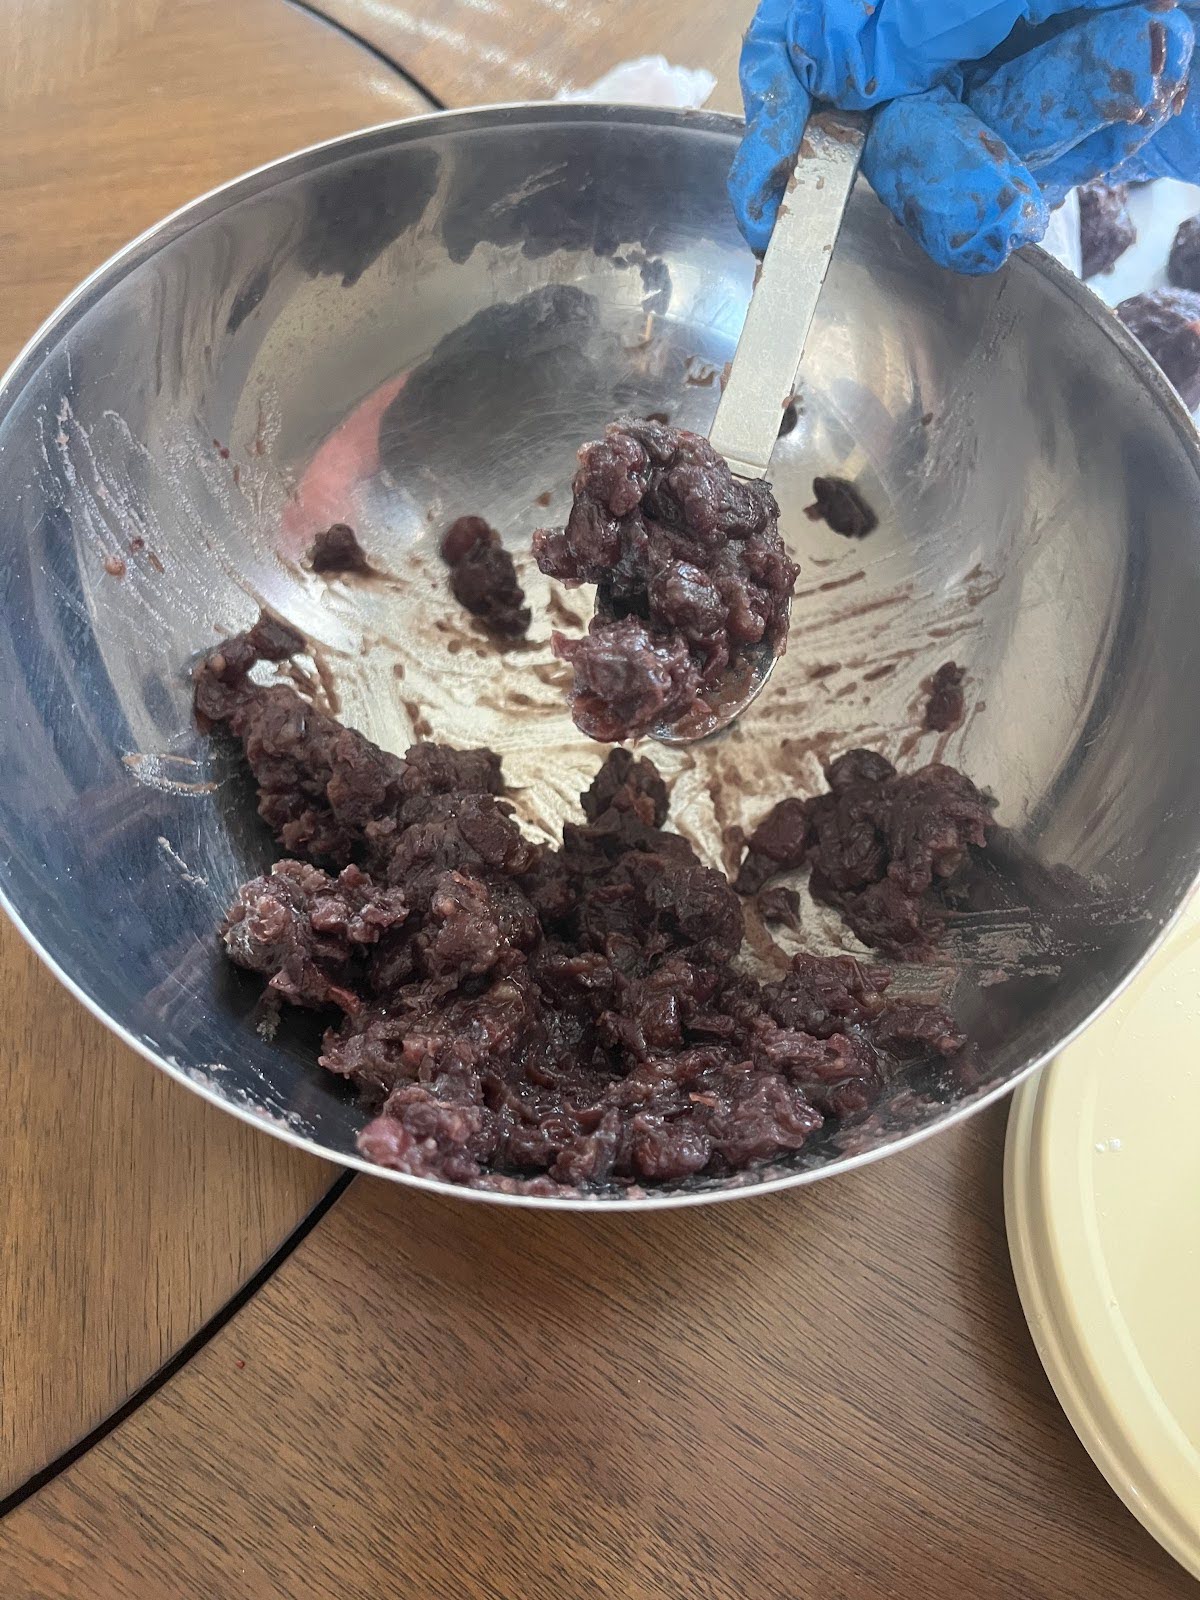
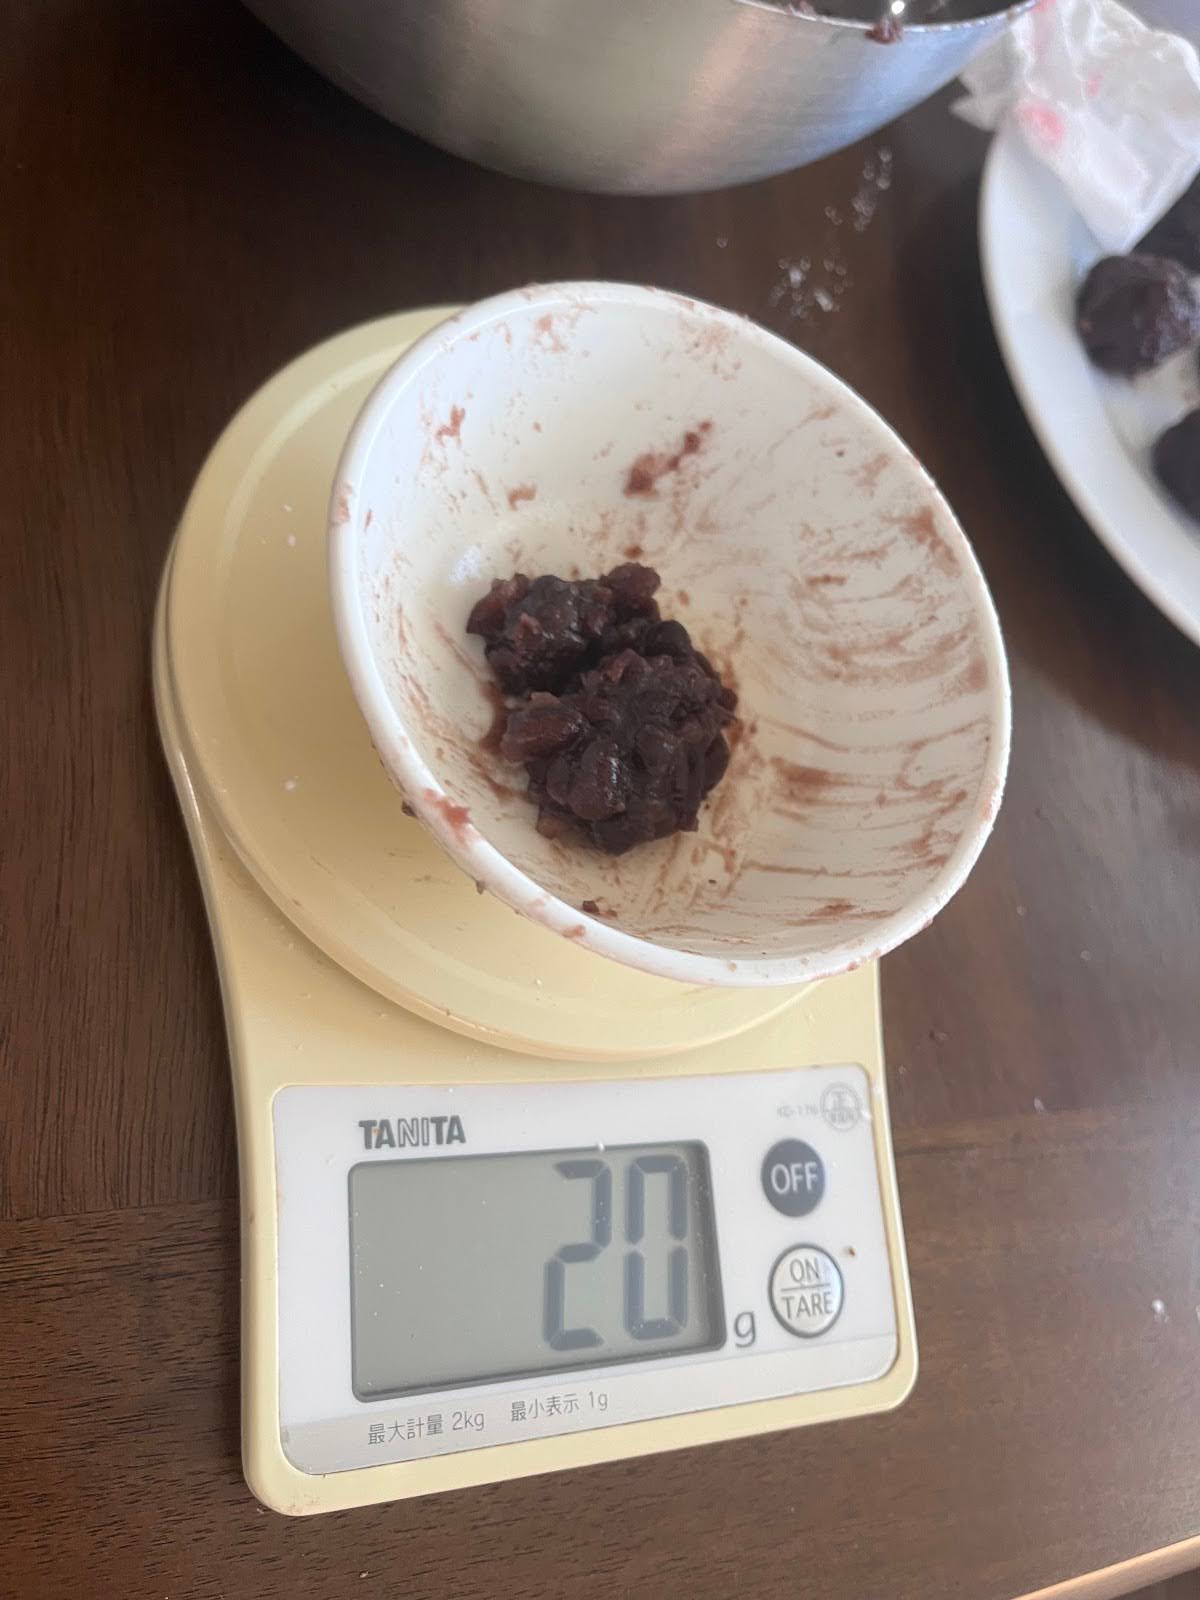
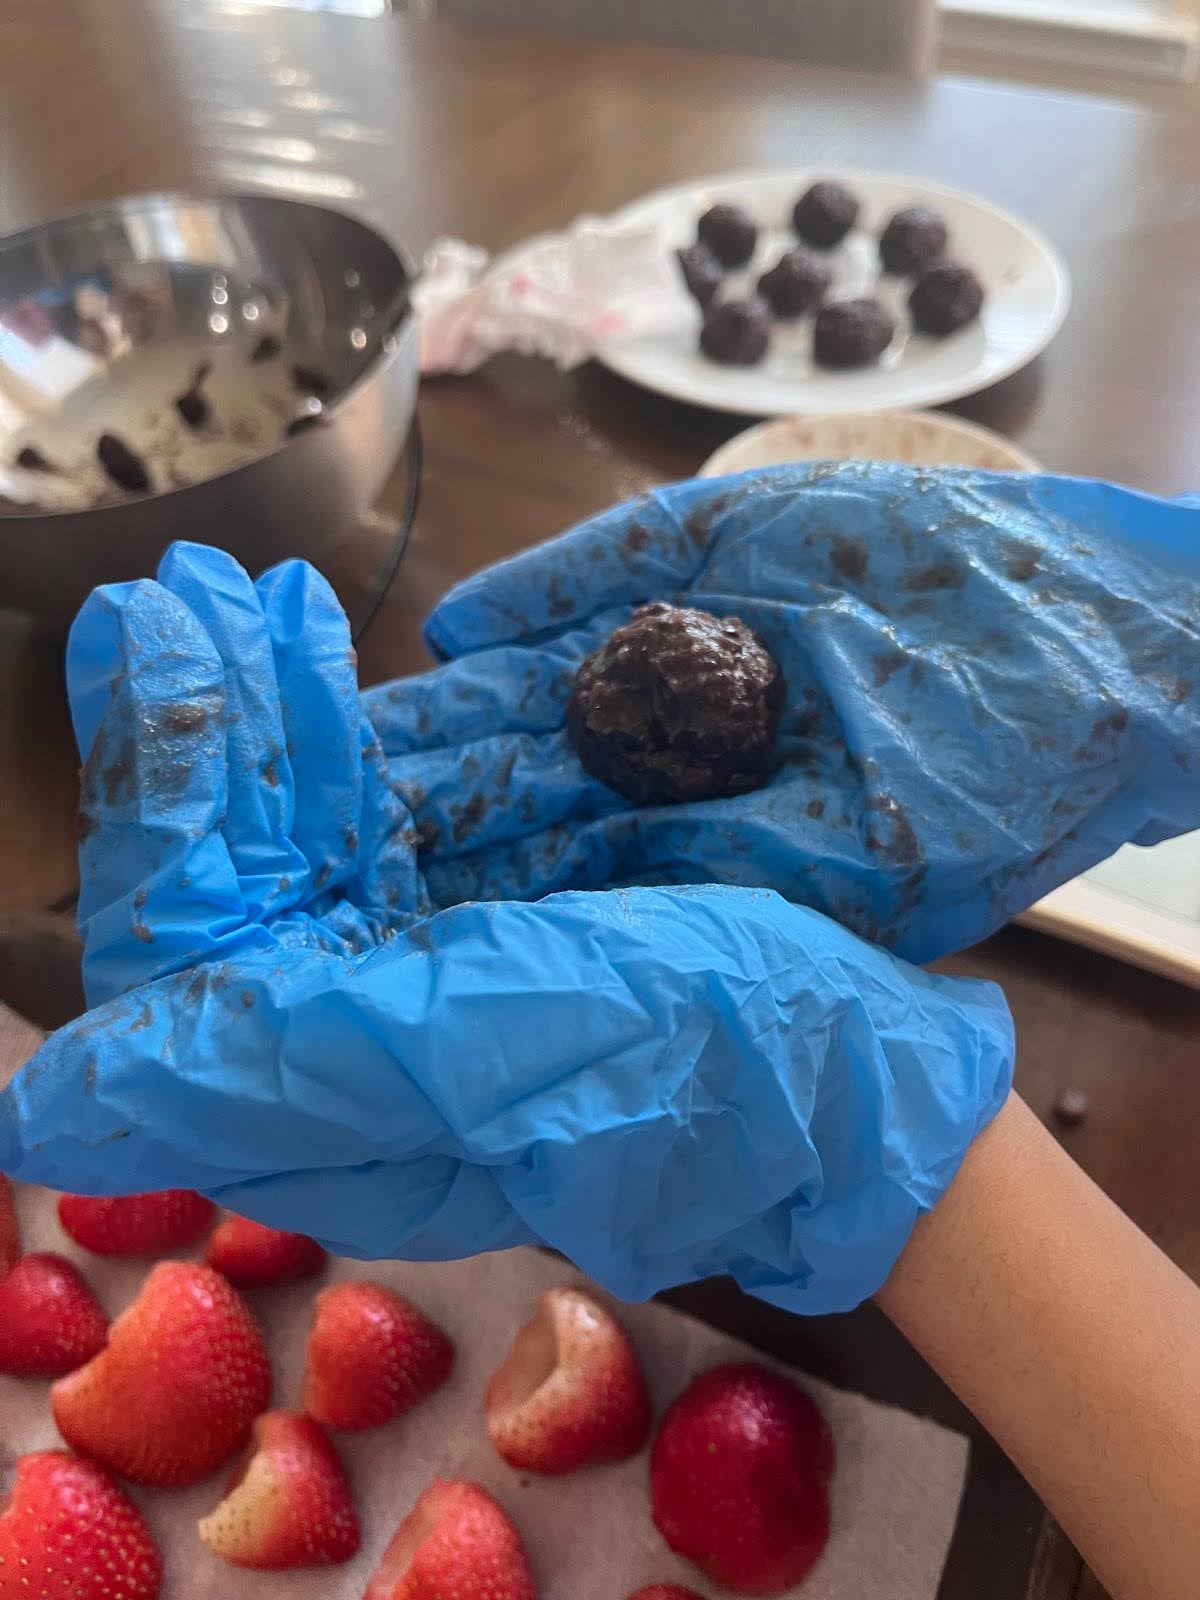
Step 3: Shape the red bean paste.
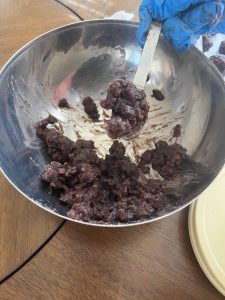
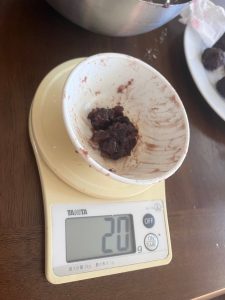
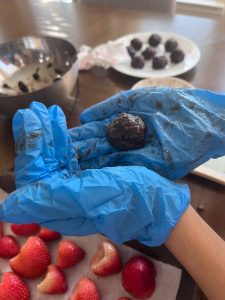
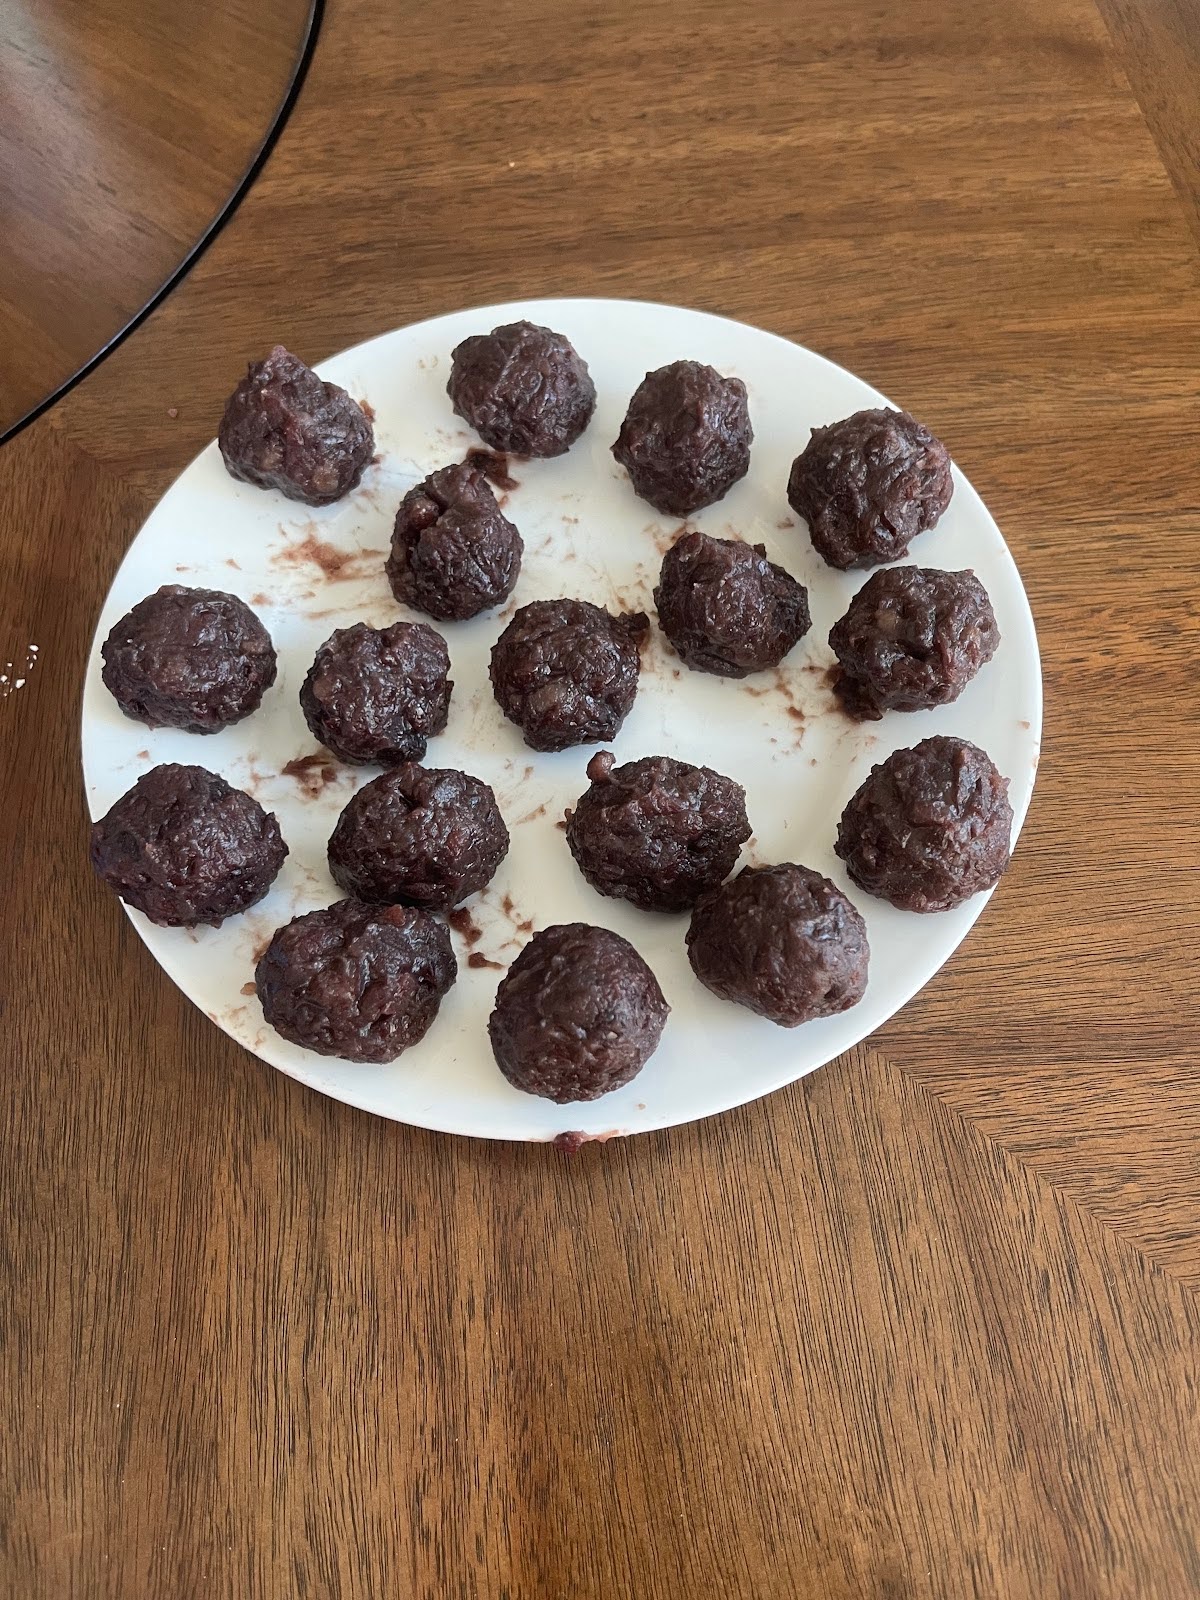
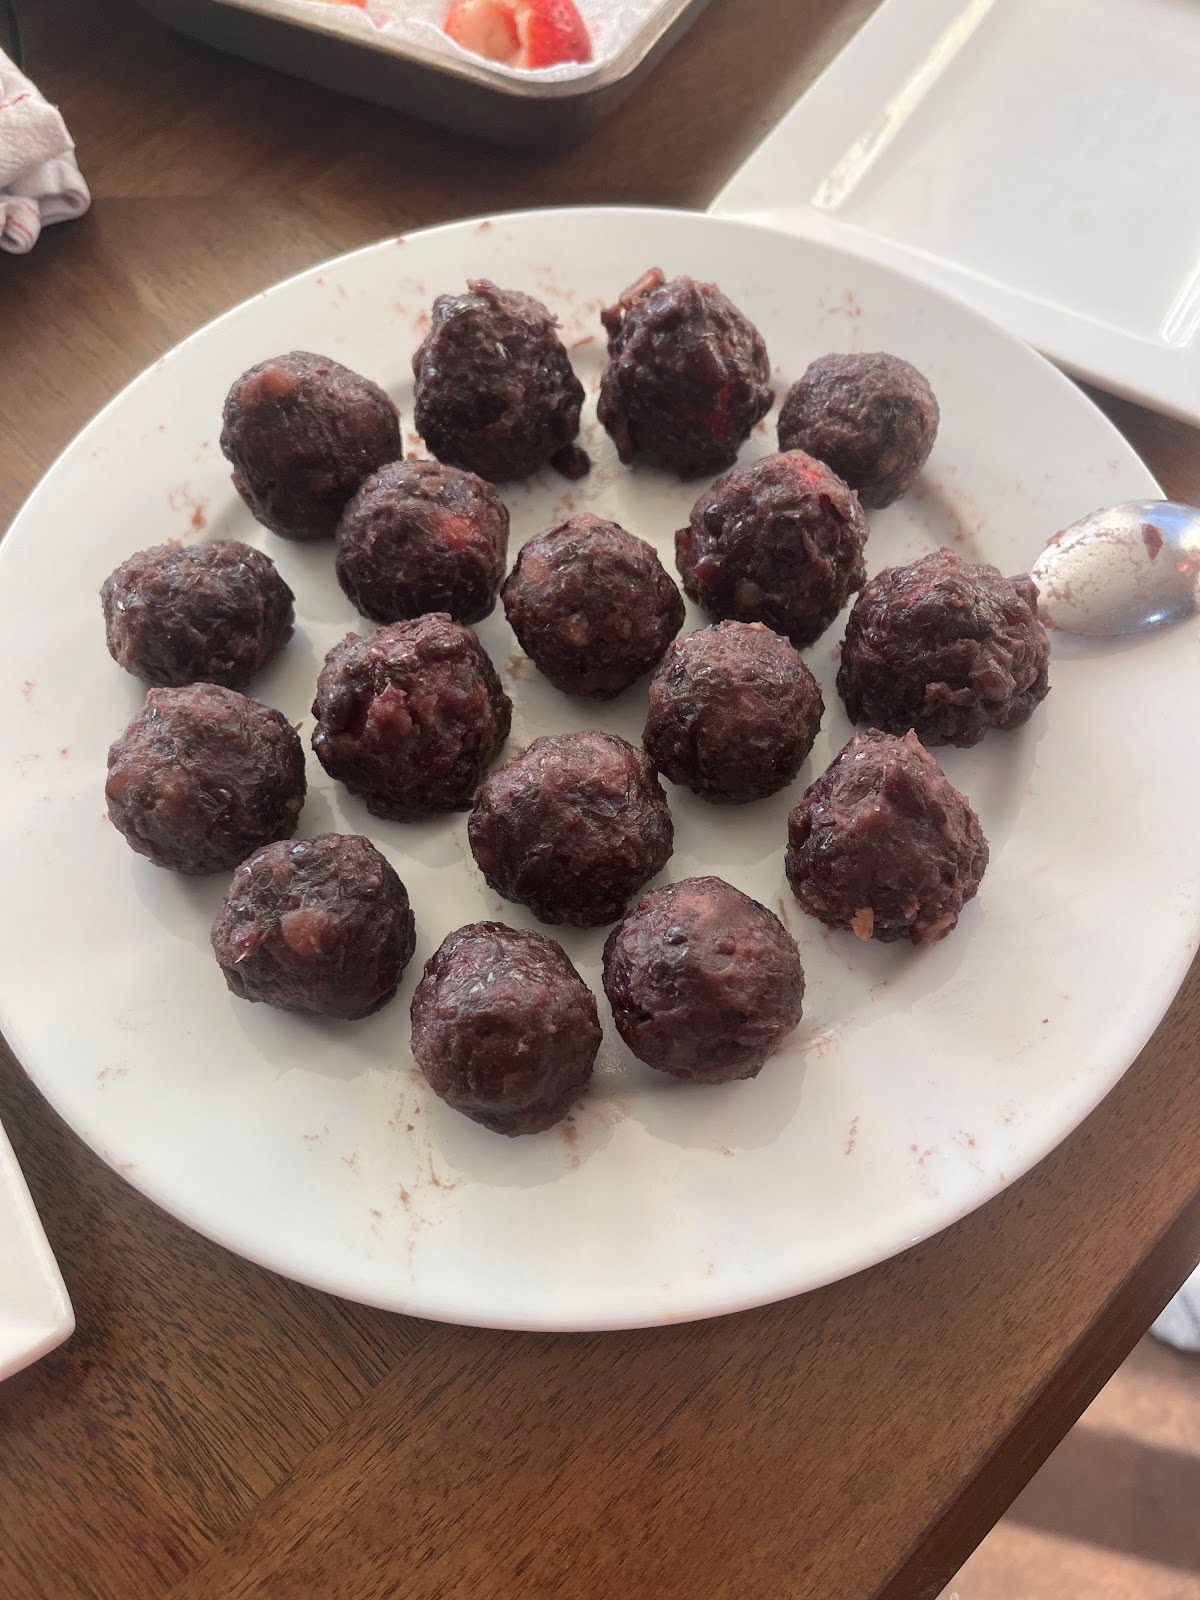
Take the 320ml red bean paste and pour into a bowl. Take about 20g of red bean paste and roll until it reaches a round shape. After, place the shape onto a plate. Repeat the process until there is no more paste left.
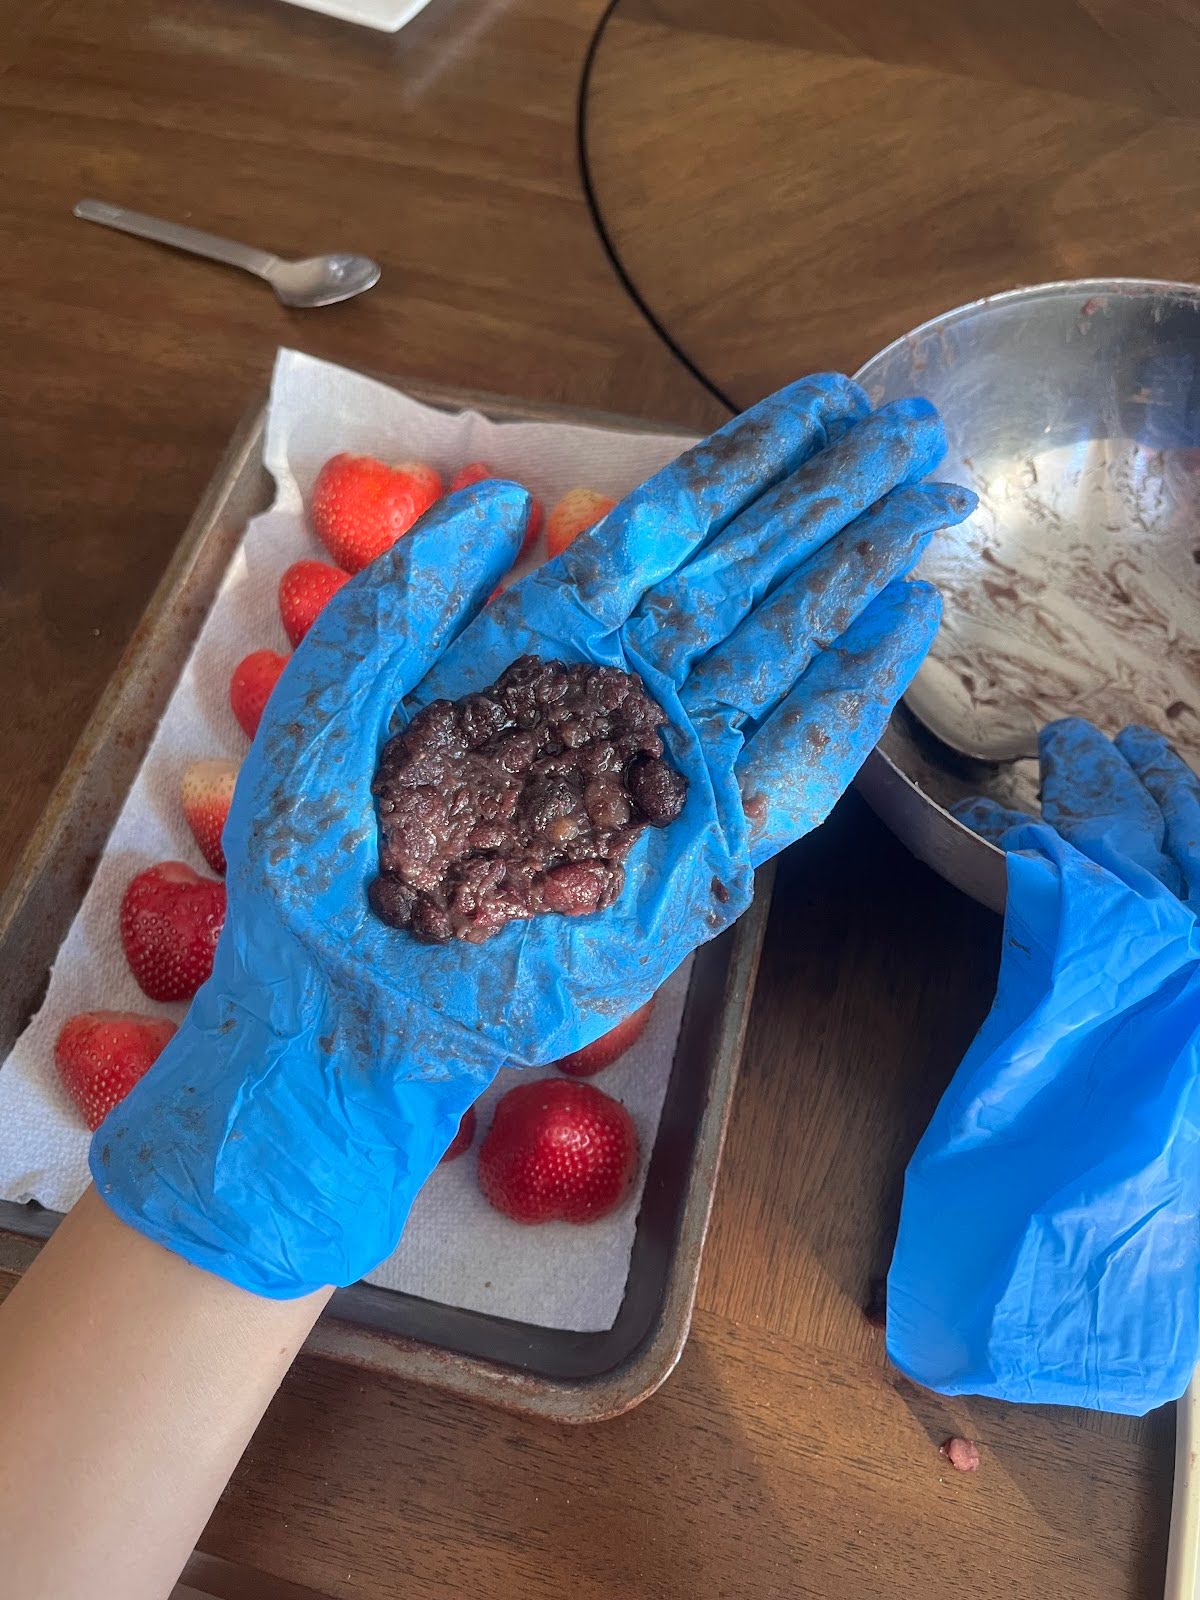
Step 4: Wrap the strawberry into the paste.
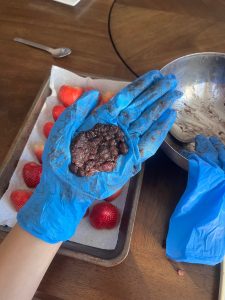
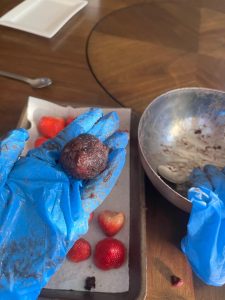
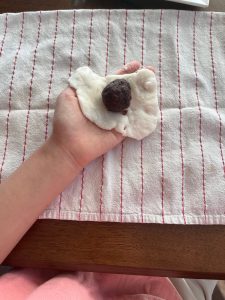
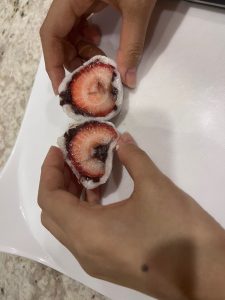
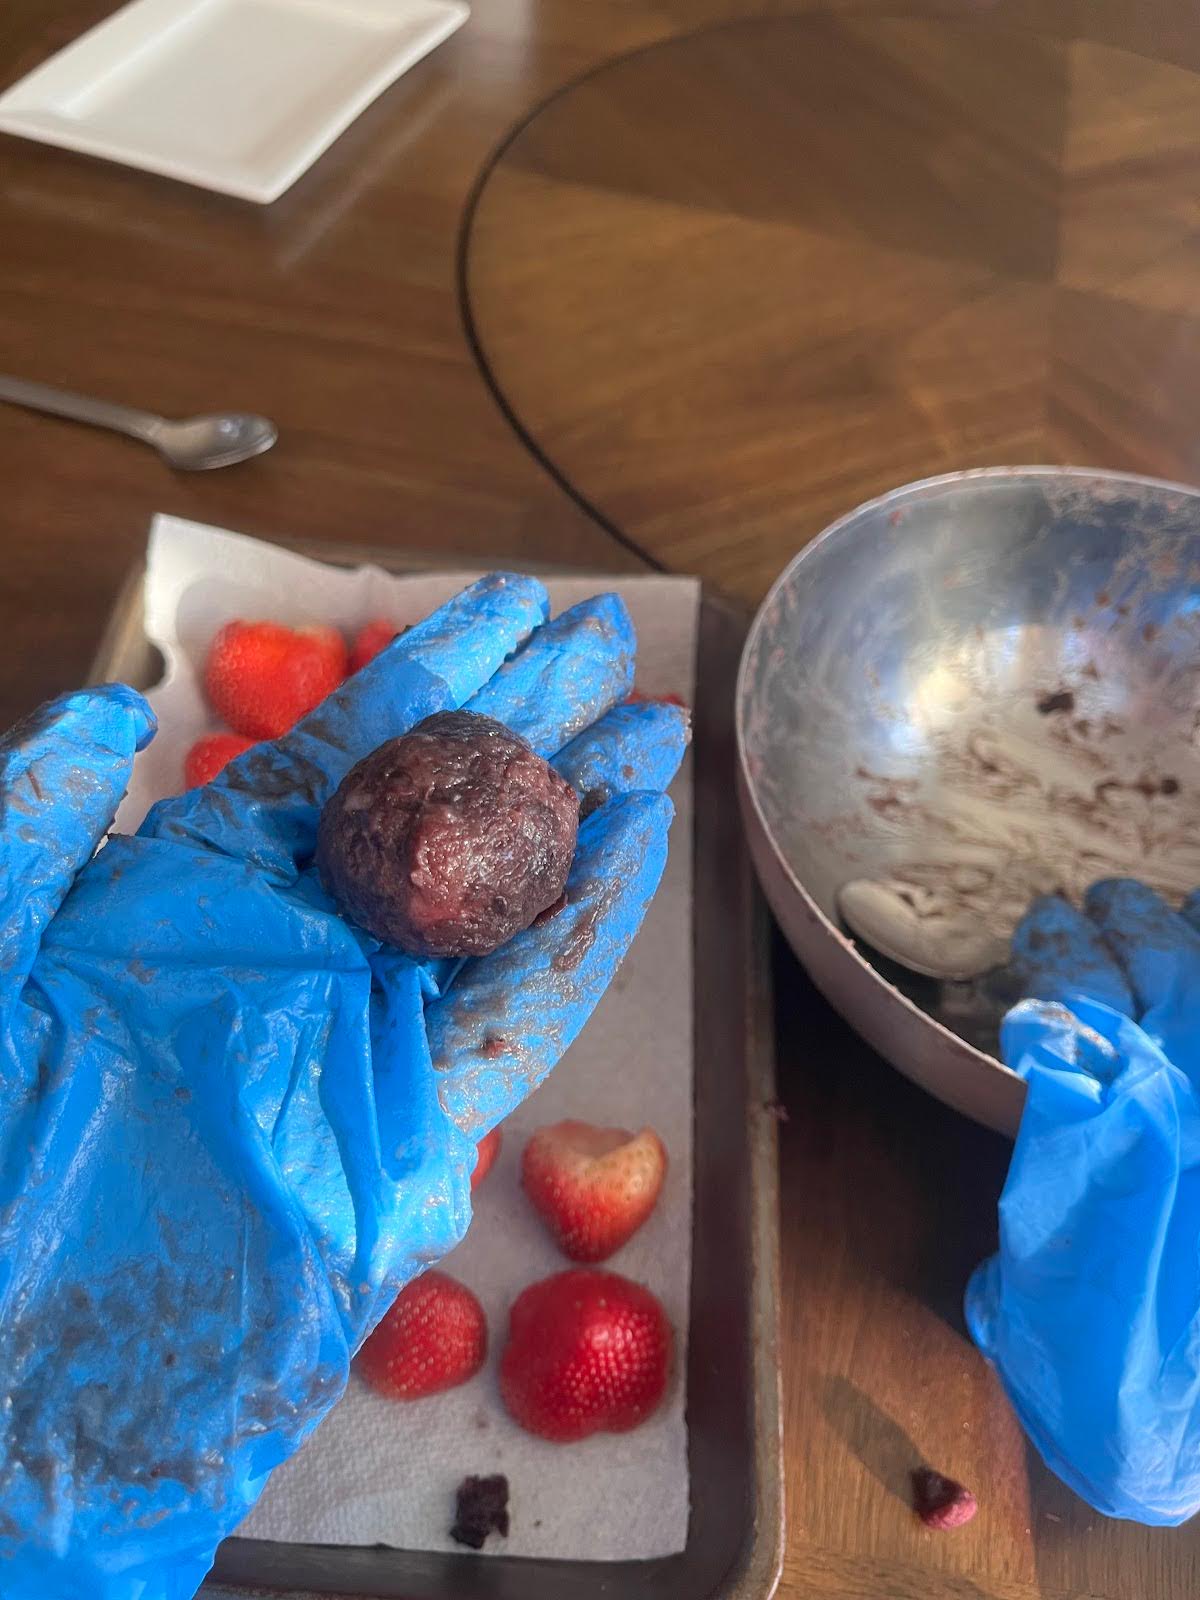
Grab a round red bean paste from the plate and flatten it. After, place the strawberry on top of the flattened paste. Wrap the sides of the strawberries with the paste. This step might be challenging but don’t give up. Repeat the process with the rest.
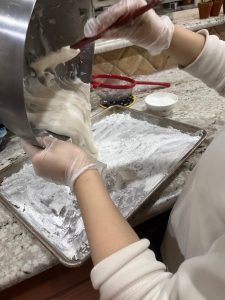
Step 5: Finish the mochi.
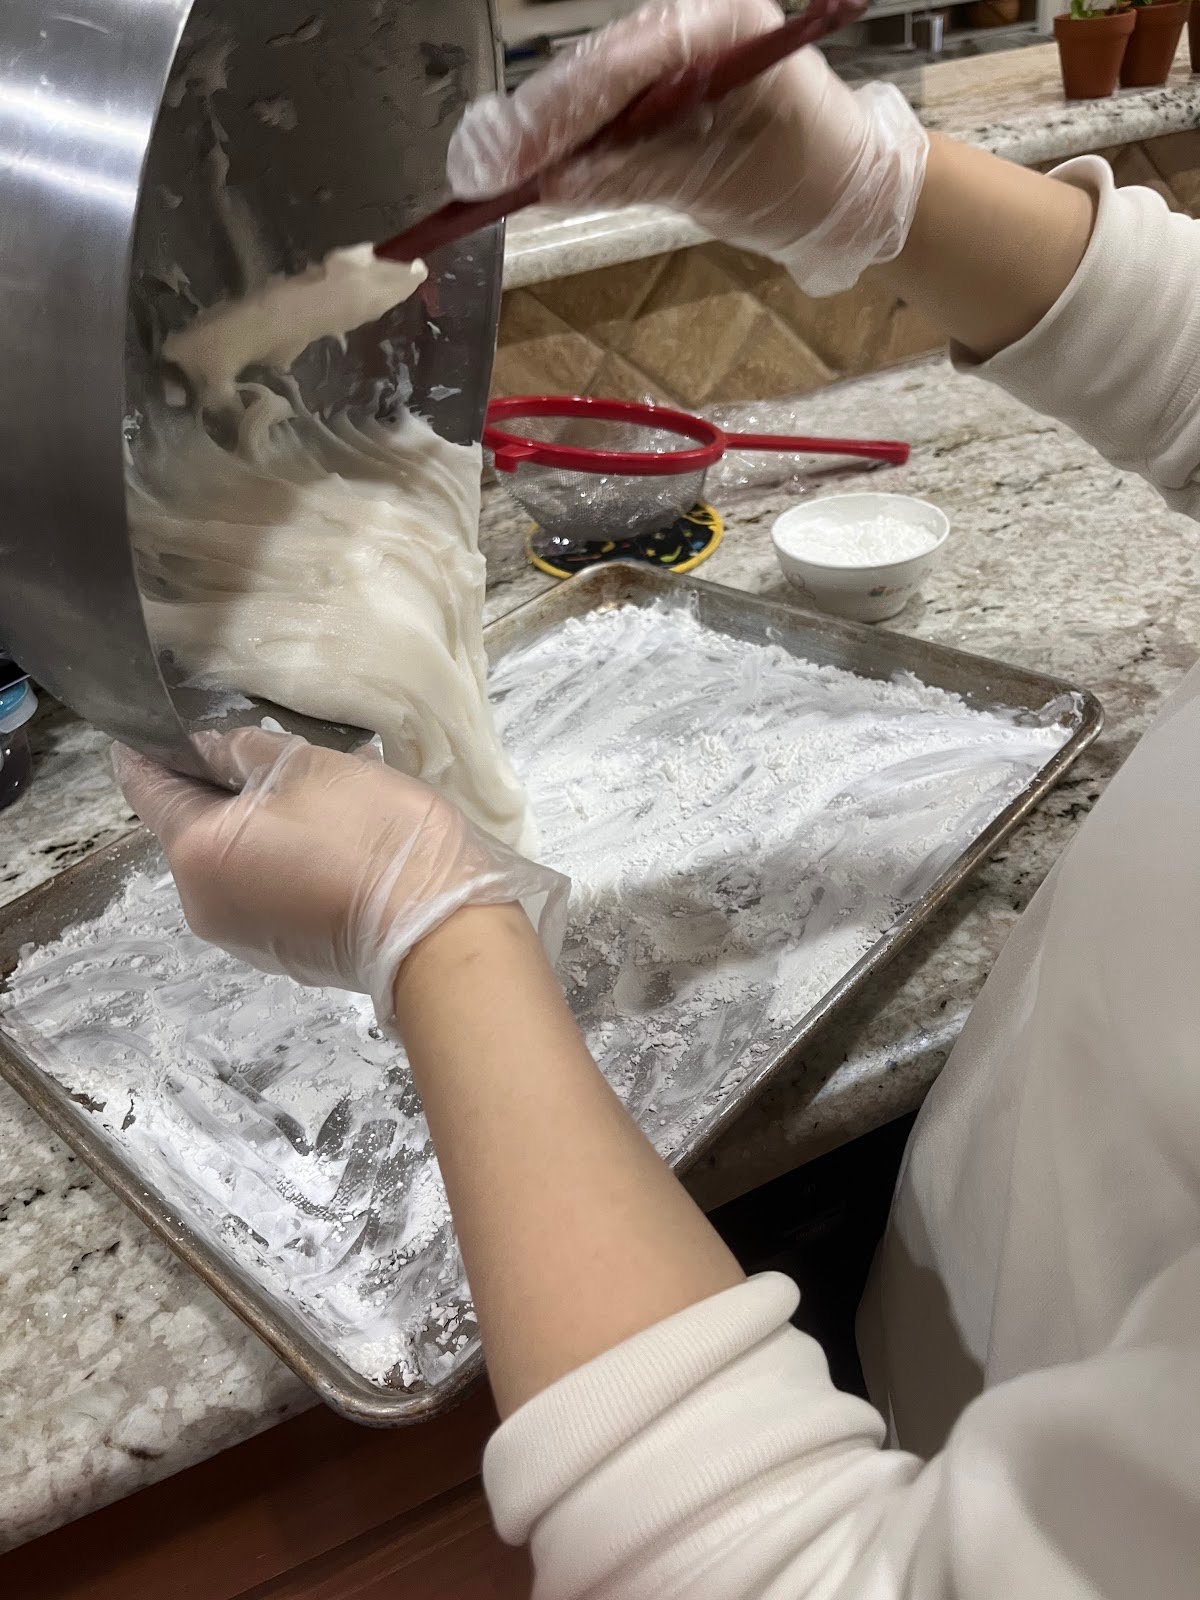
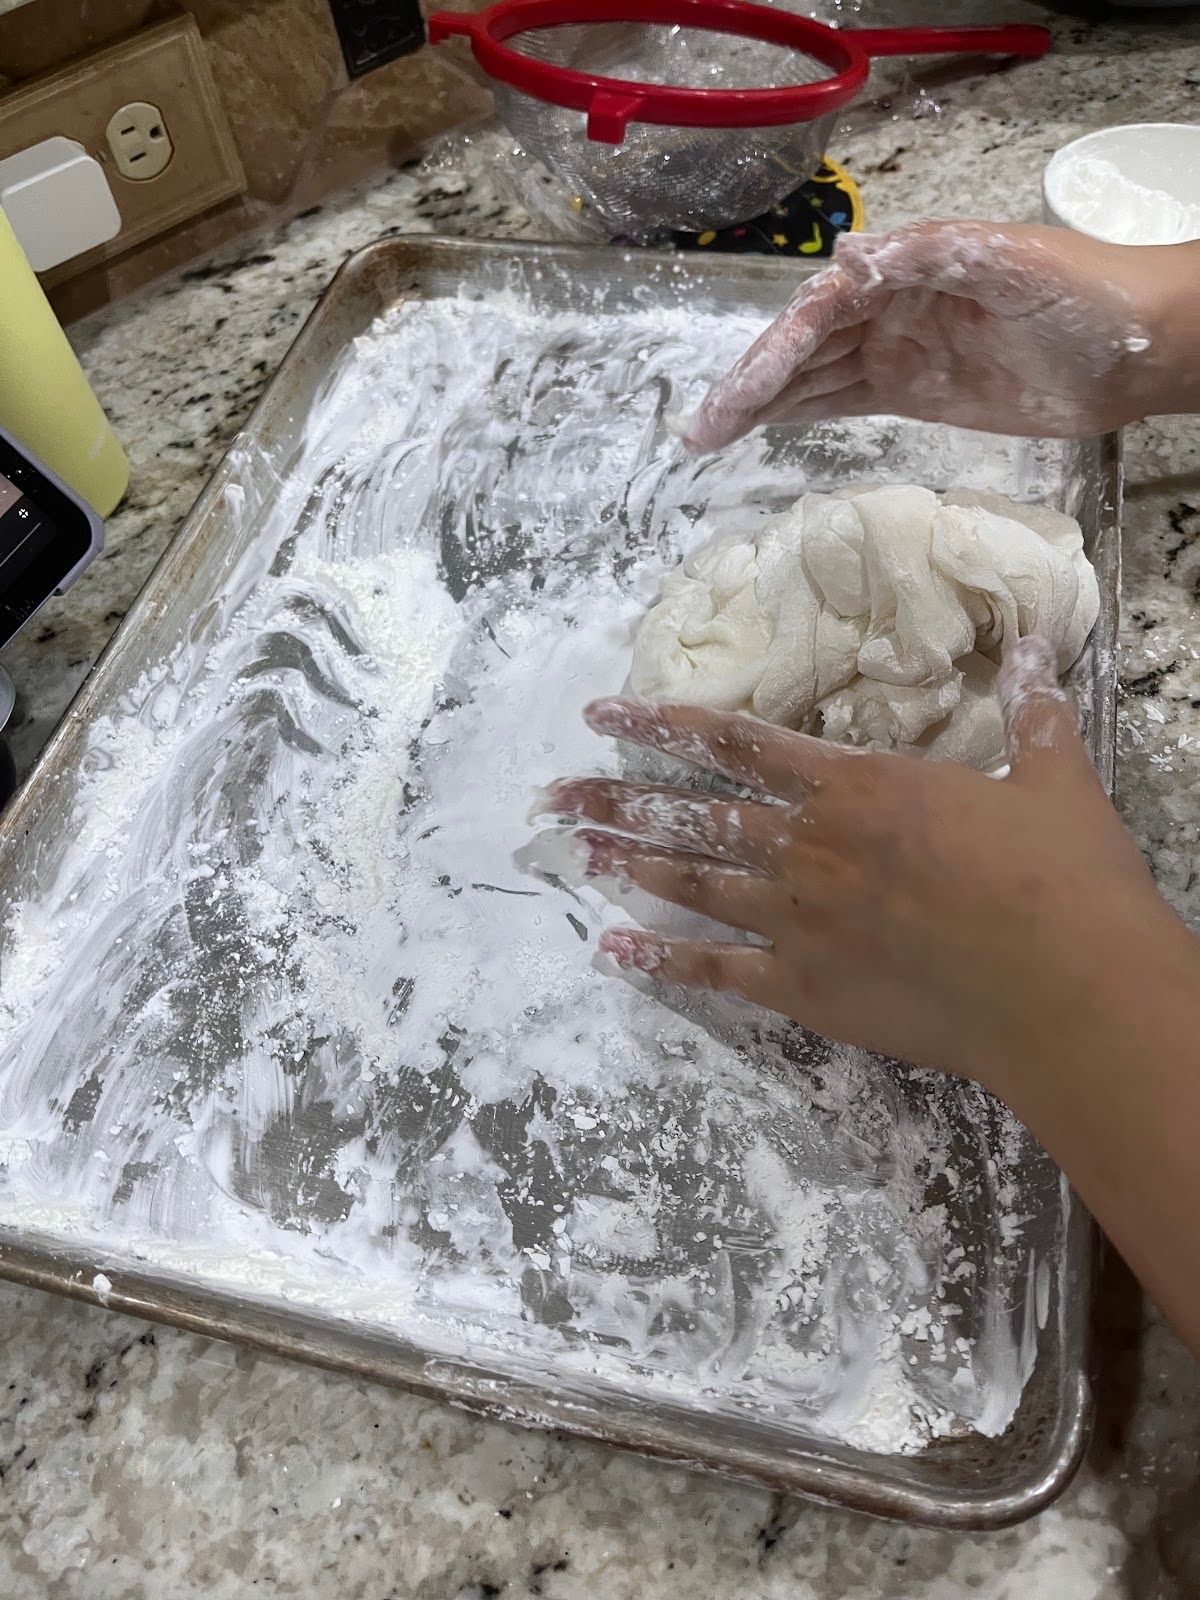
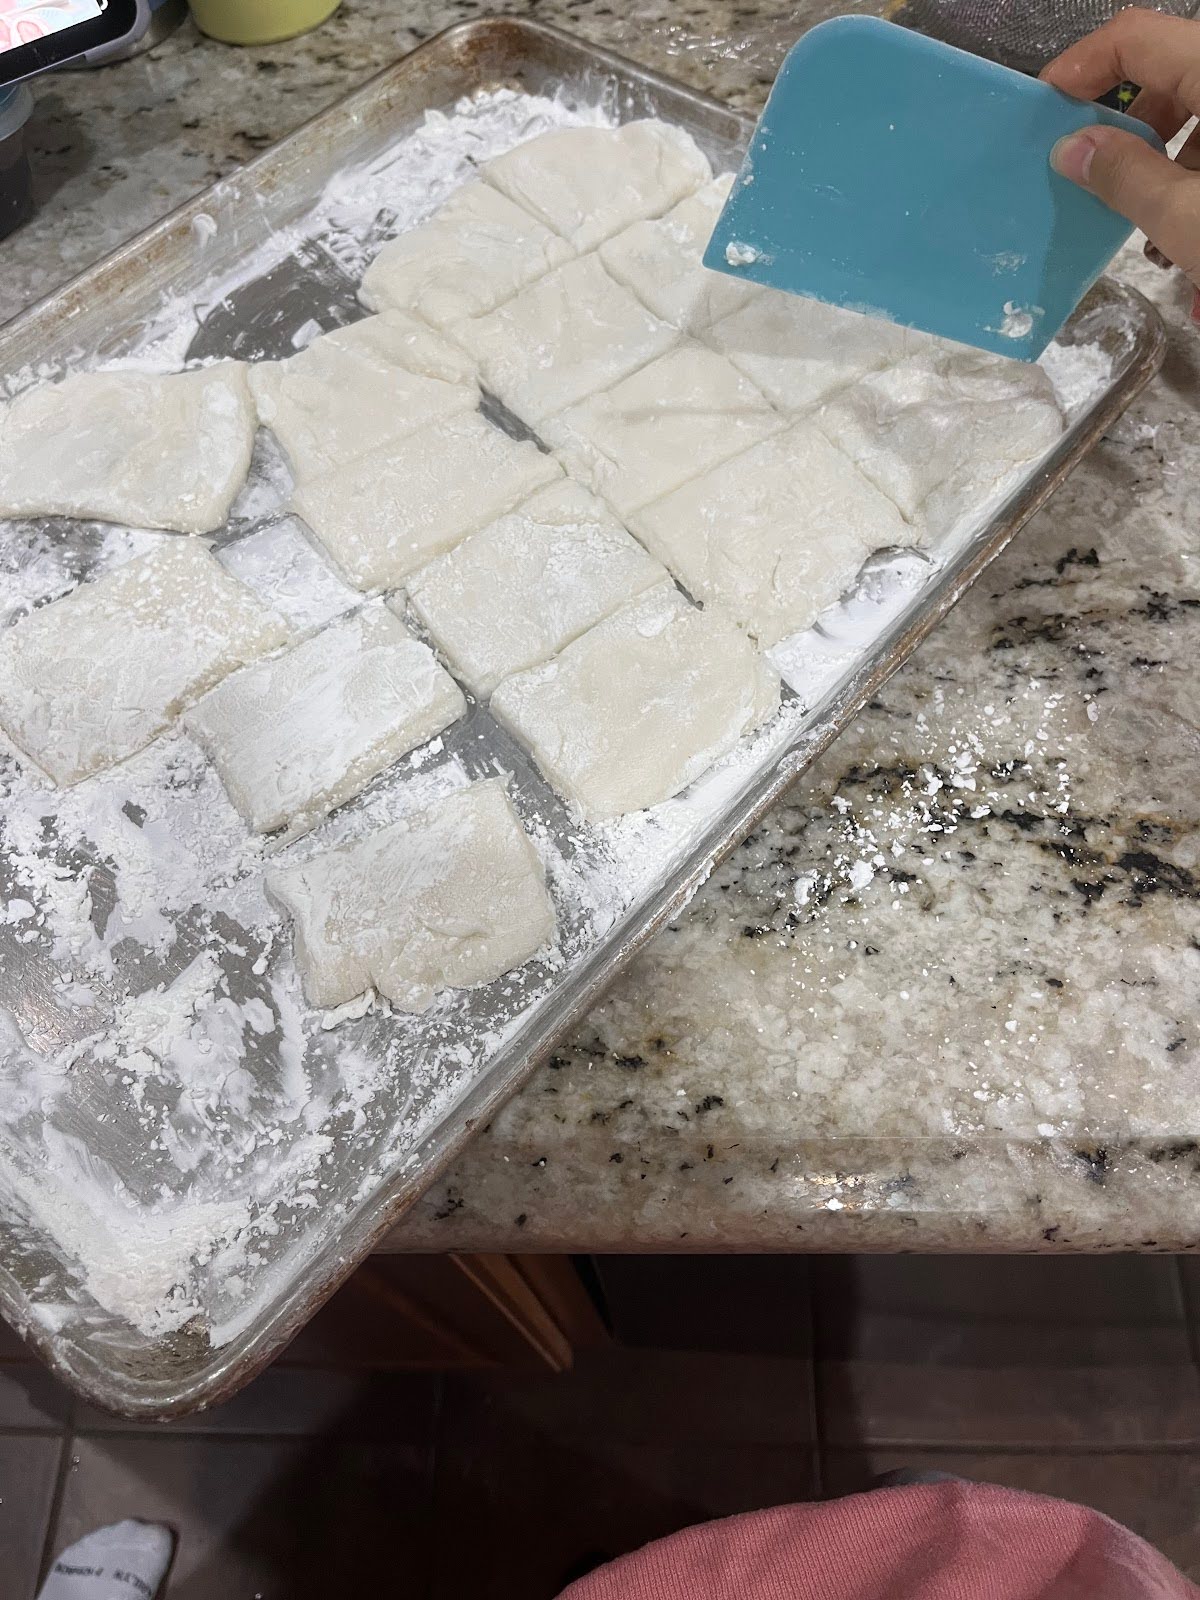
Take the mochi mixture out of the microwave and mix the dough well using a spatula. After, pull out the baking pan and cover it with corn flour. Take the mochi out of the bowl and then spread it or flatten it on the pan. The mochi will probably be sticky, you got this! Then, cut the mochi into 16 pieces.
Step 6: Finish the ichigo daifuku.
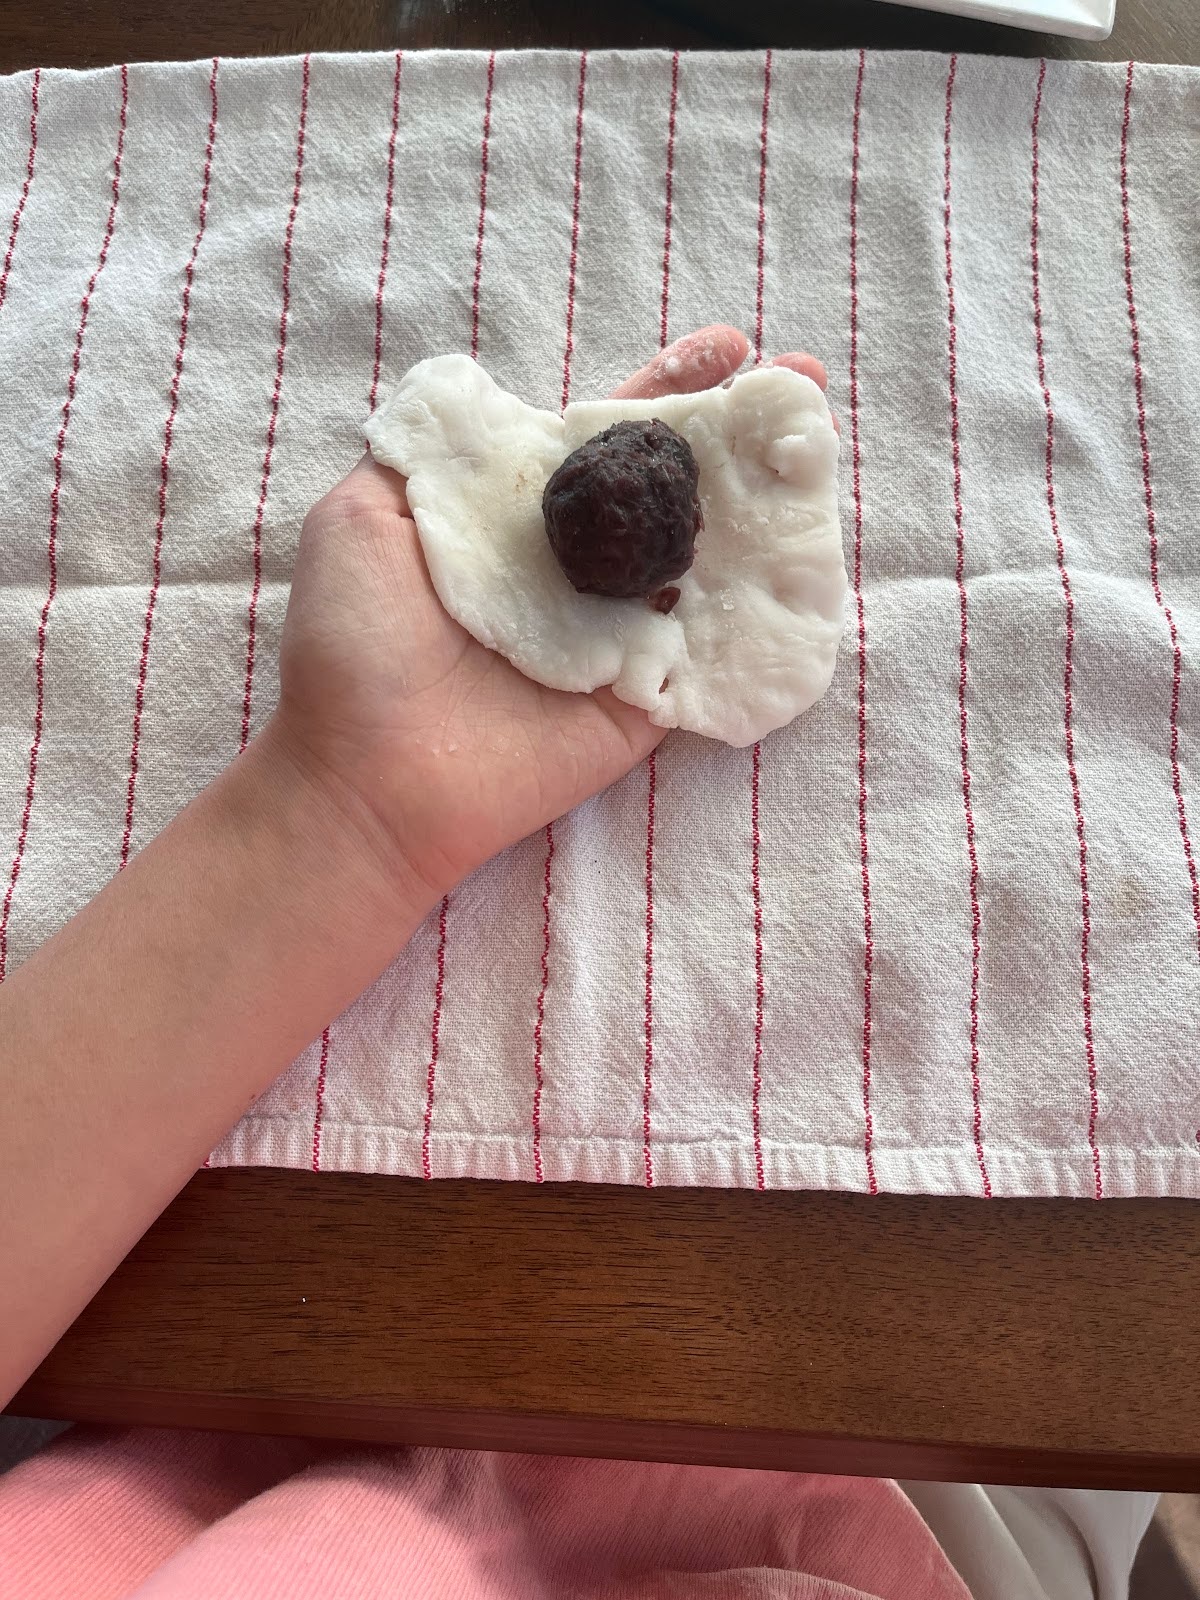
Place a handkerchief on the table to prevent messy accidents. Take the strawberry covered red bean paste and place on the flattened mochi. Wrap the strawberry red bean paste with the mochi. Repeat the process with the rest.
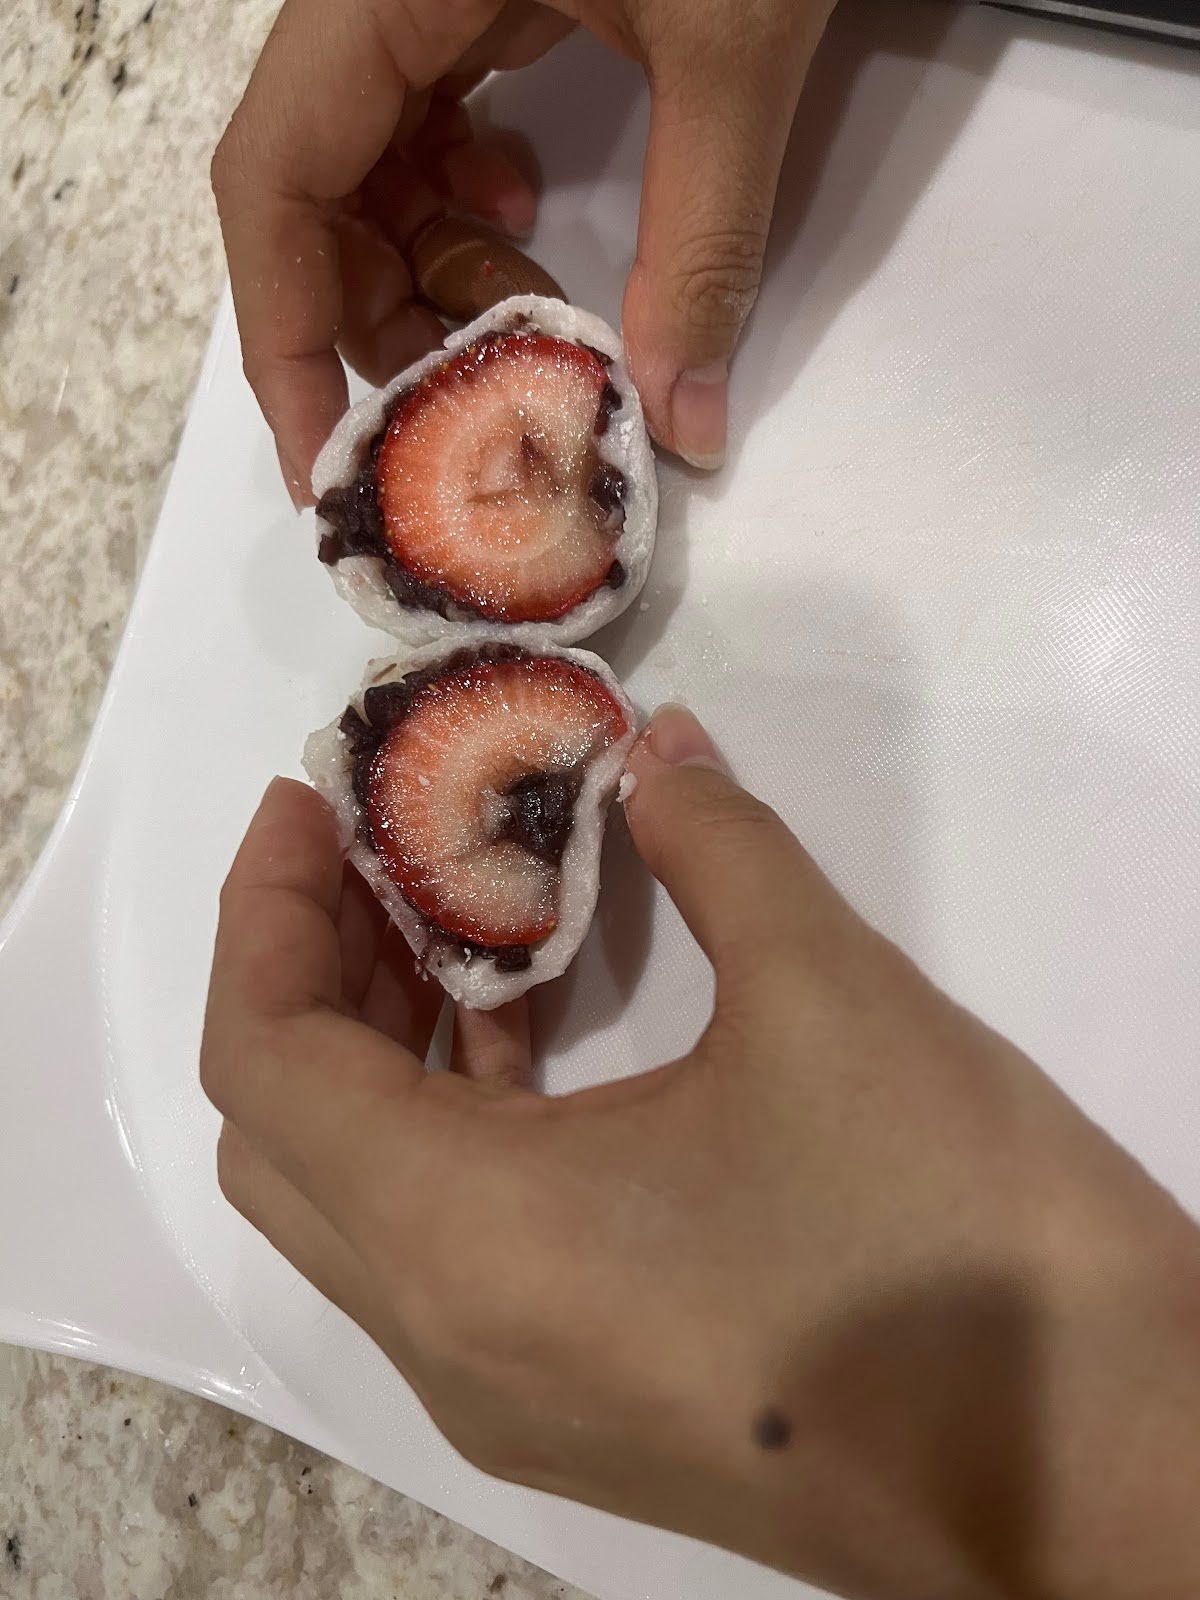
Step 7: Prep eating.
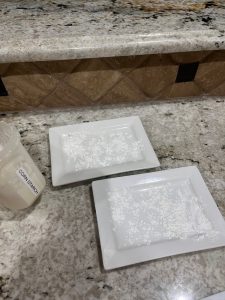
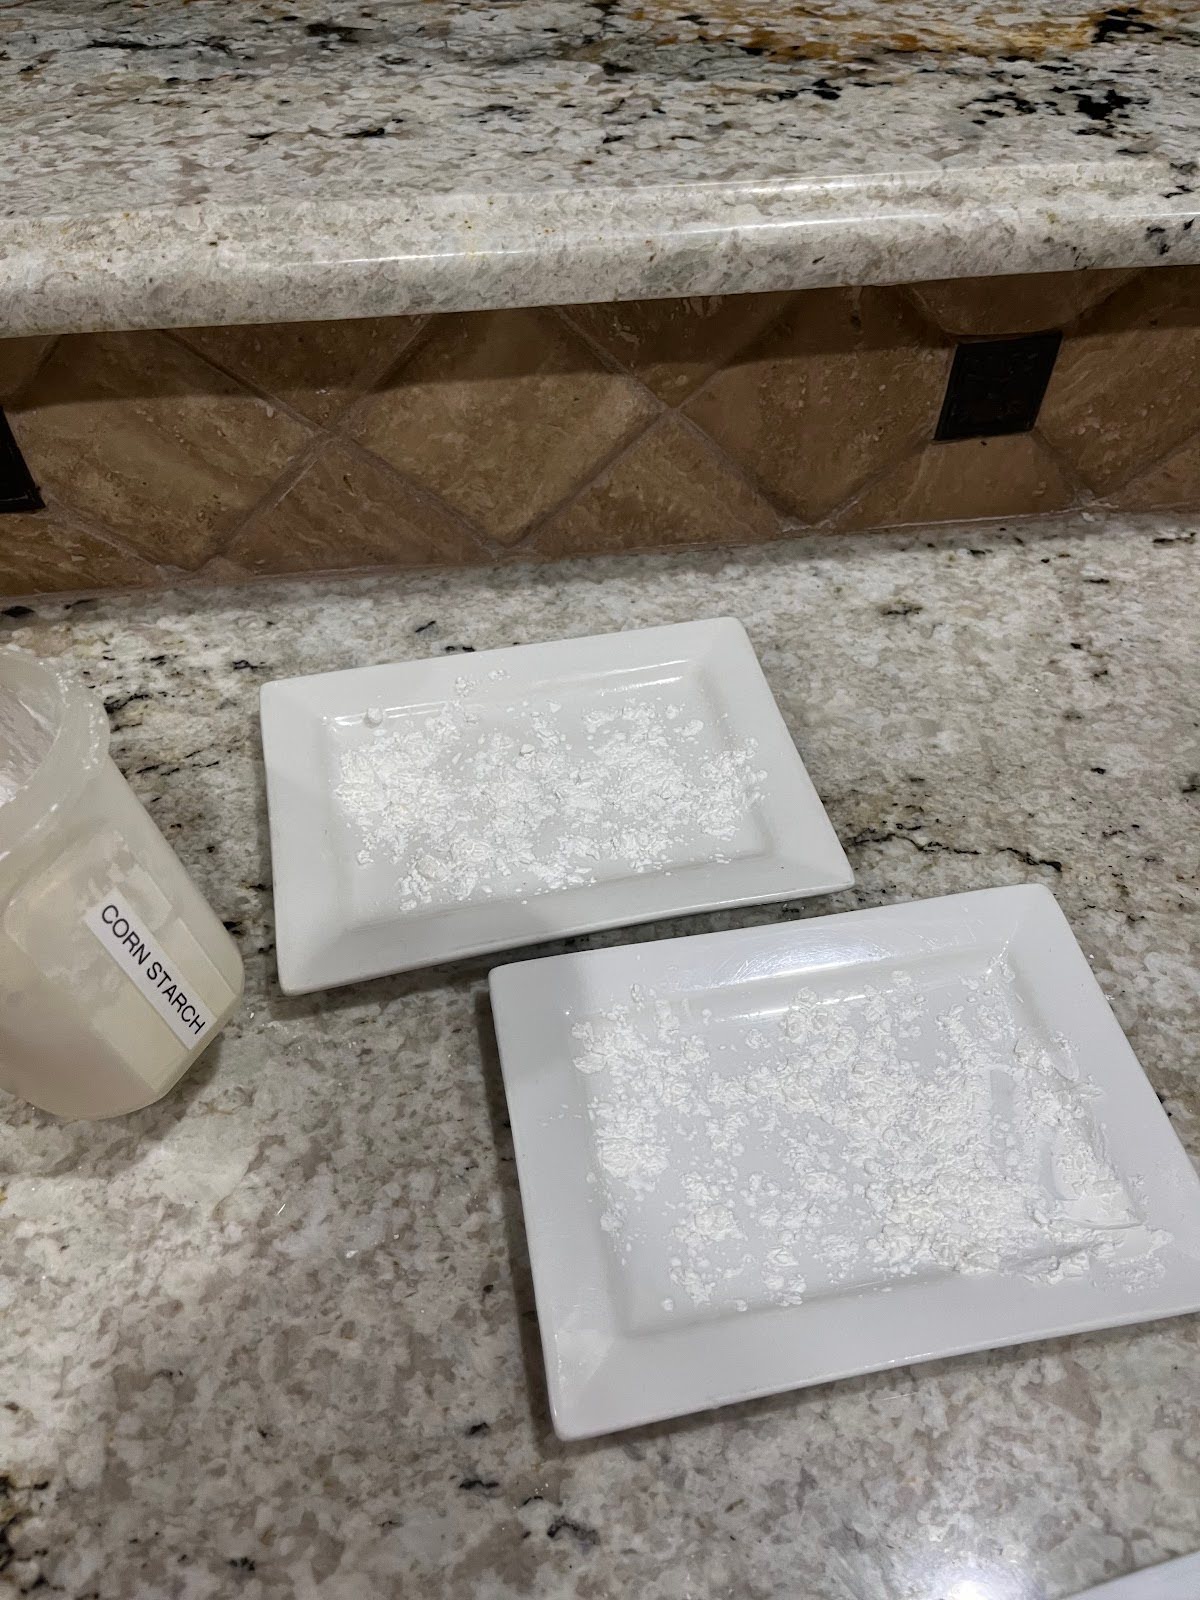
Grab two plates and use the rest of unused corn flour. Do this to prevent the mochi from sticking to the plates. Place all the finished ichigo daifuku on the plate. Finished! Relax and enjoy the taste!
Additional tips
- When the red bean paste is too liquidy to shape, put the paste into a cooking pan and stir until the water evaporates from the paste. Stop when the paste reaches a good consistency or when the paste turns lighter.
- To avoid getting mochi stuck on your hand, cover and apply corn flour to both your hands.
Your traditional Japanese sweets are completed and ready to please your cravings. Remember to always clean up and keep some corn flour with you for the mochi because as you know though your process of making this sweet, mochi is very sticky. Don’t give up! You got this! Everything takes practice and patience!
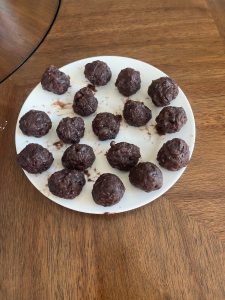
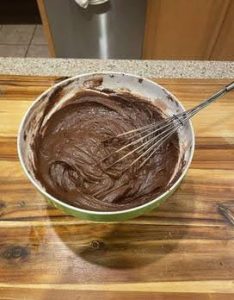
This is the best brownie recipe ever! No chilling time, no crazy steps – just a simple, straightforward, fudgy, gooey, soft, delicious brownie recipe that is not long or time consuming and will please all your needs! These brownies can be brought to any party, family gatherings, celebrations, etc. Everyone will fall in love with these brownies and ask you to bring them everywhere.
-
'
-
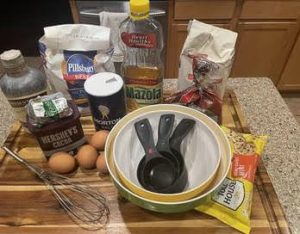
Ingredients
'
-
Step 1: Preheat the oven and spray down your pan.
'
-
Step 5: Bake the brownies.
'
-
Step 2: Start by mixing together the wet ingredients.
'
-
Step 2: Start by mixing together the wet ingredients.
'
-
Step 2: Start by mixing together the wet ingredients.
'
-
Step 2: Start by mixing together the wet ingredients.
'
-
Step 3: Next, mix the dry ingredients together.
'
-
Step 3: Next, mix the dry ingredients together.
'
-
Step 4: Mix together the dry and wet ingredients.
'
-
Step 4: Mix together the dry and wet ingredients.
'
-
Step 4: Mix together the dry and wet ingredients.
'
-
Step 4: Mix together the dry and wet ingredients.
'
-
Step 5: Bake the brownies.
'
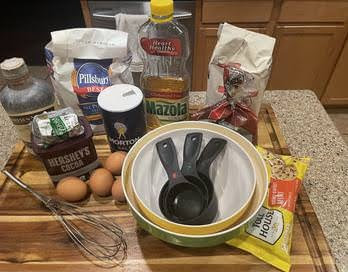
Ingredients:
- 1 cup melted unsalted butter
- 2 Tbsp vegetable oil
- ¾ tsp salt
- 1 ¼ cups white sugar
- 1 cup packed brown sugar
- 4 large eggs
- 1 cup cocoa powder
- 7 oz chocolate chips
- 1 Tbsp pure vanilla extract
- 1 cup all purpose flour
- Nonstick spray
Materials:
- Spatula
- Small bowl
- Medium bowl
- Measuring tools (cups, tsp, and Tbsp)
- Oven
- 8 by 8 square inch pan
Serving Size = 16 slices
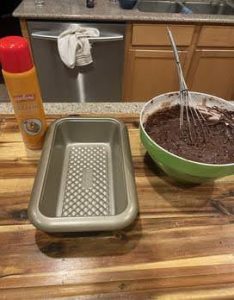
Step 1: Preheat the oven and spray down your pan.
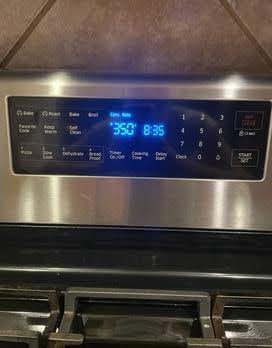
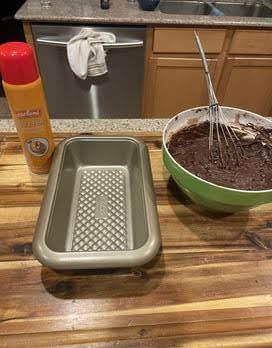
Make sure before you start baking preheat your oven to 350°. Before you start baking, spray down your square pan with butter spray so that once you finish your mix you can just pour it right into the pan.
Step 2: Start by mixing together the wet ingredients.
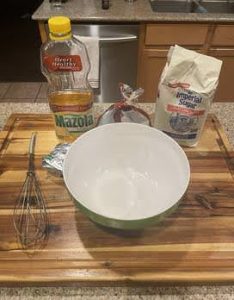
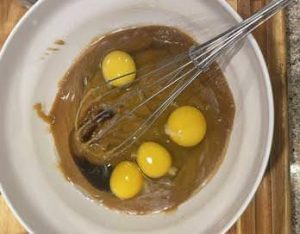
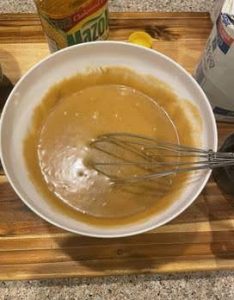
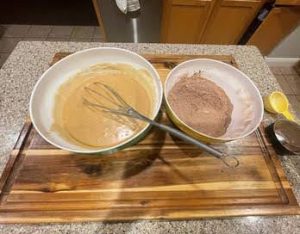
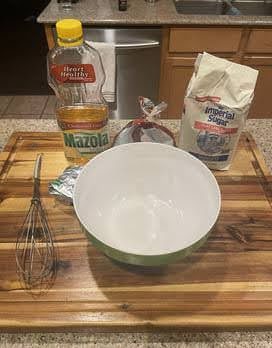
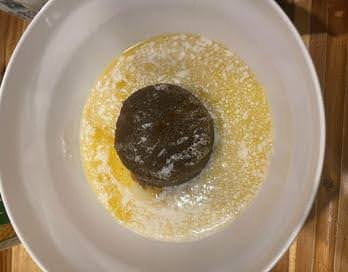
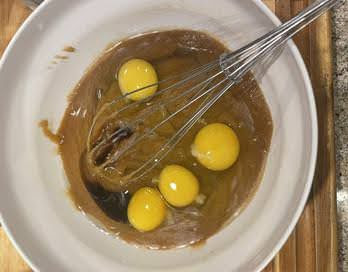
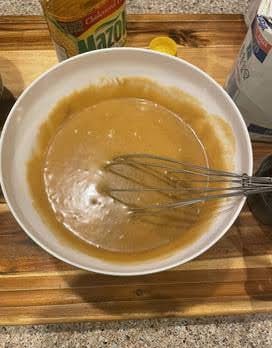
Using your medium bowl mix in brown sugar, melted butter, vegetable oil, and white sugar. Once you have those ingredients, mix together. After, it is mixed together, crack your eggs and add in your vanilla extract and mix again until your batter is a light brown.
Step 3: Next, mix the dry ingredients together.
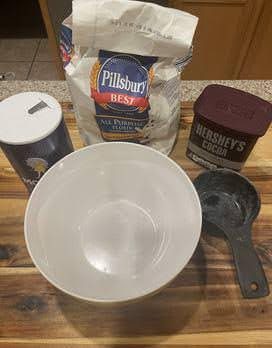
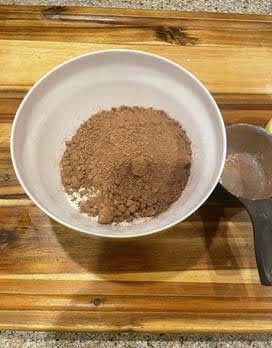
Separately in a small bowl mix together salt, flour, and cocoa powder and when you have finished mixing together thoroughly make sure that there are no chunks and it is pure liquid.
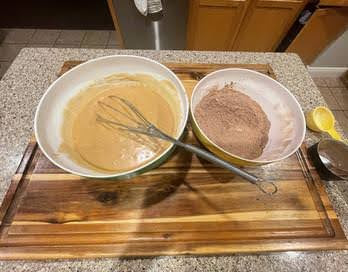
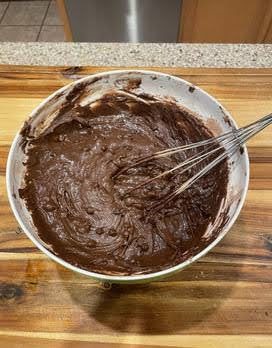
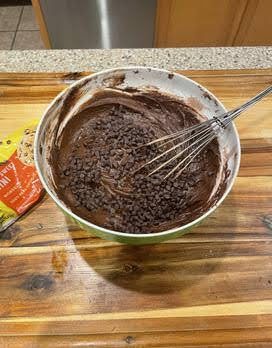
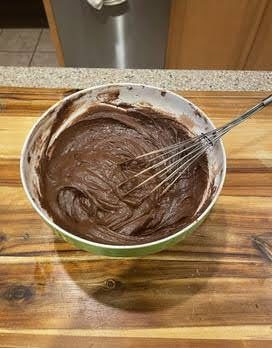
Step 4: Mix together the dry and wet ingredients.
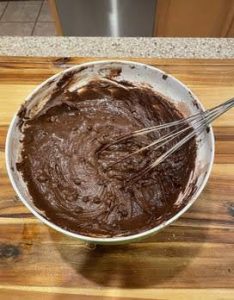
Once you have your small bowl of wet ingredients and a medium of your dry ingredients. slowly start pouring your wet ingredients into the dry ingredients. Pour the dry ingredients in sections. Pour, mix, pour, mix, repeat until everything is mixed in together.
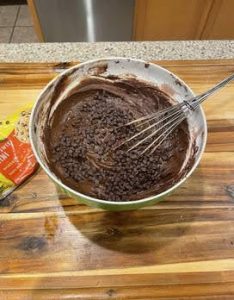
Look carefully that there are no chunks in the batter. Then add in your 1 cup of chocolate chips.
Step 5: Bake the brownies.
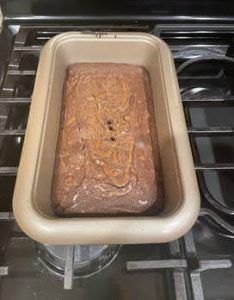
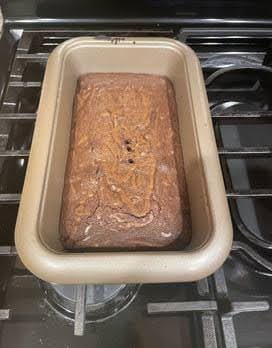
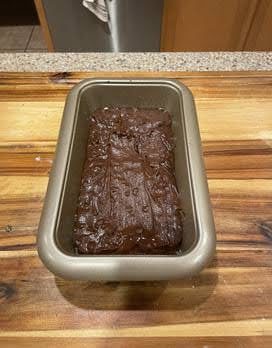
Finally, after mixing together everything, take your sprayed down pan and pour your batter into the pan. Once it is all poured hit the pan on the counter to get out all the air bubbles and once that is completed put it into the oven and leave it in for 25-30 minutes. After 25-30 minutes is done use a toothpick and poke the cake and if the toothpick comes out clean or a bit gooey it is ready!
If you want your brownies a little less gooey or not gooey, just leave the brownie in the oven for a few more minutes than the usual time.
Once you take out your brownies from the oven, give them a few minutes to cool down and then they are ready to serve and enjoy!
As the temperatures drop, people are in search of ways to stay cozy, and what better way is there to keep warm other than hot chocolate? The rich chocolate scent instantly makes minds drift to the thought of winter. It’s a warm chocolate drink that I find brings people together. I’m someone who doesn’t typically enjoy sweets, so I find this to be the perfect hot chocolate recipe- it’s not too sweet, but just sweet enough. Turn on a movie, get comfy, and let’s make the perfect cup of hot chocolate.
-
'

-
'

-
'
-
'

Supplies:
- 1-4 mugs
- Whisk
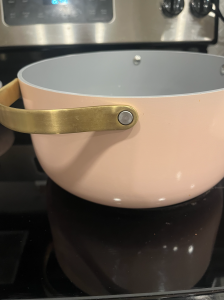
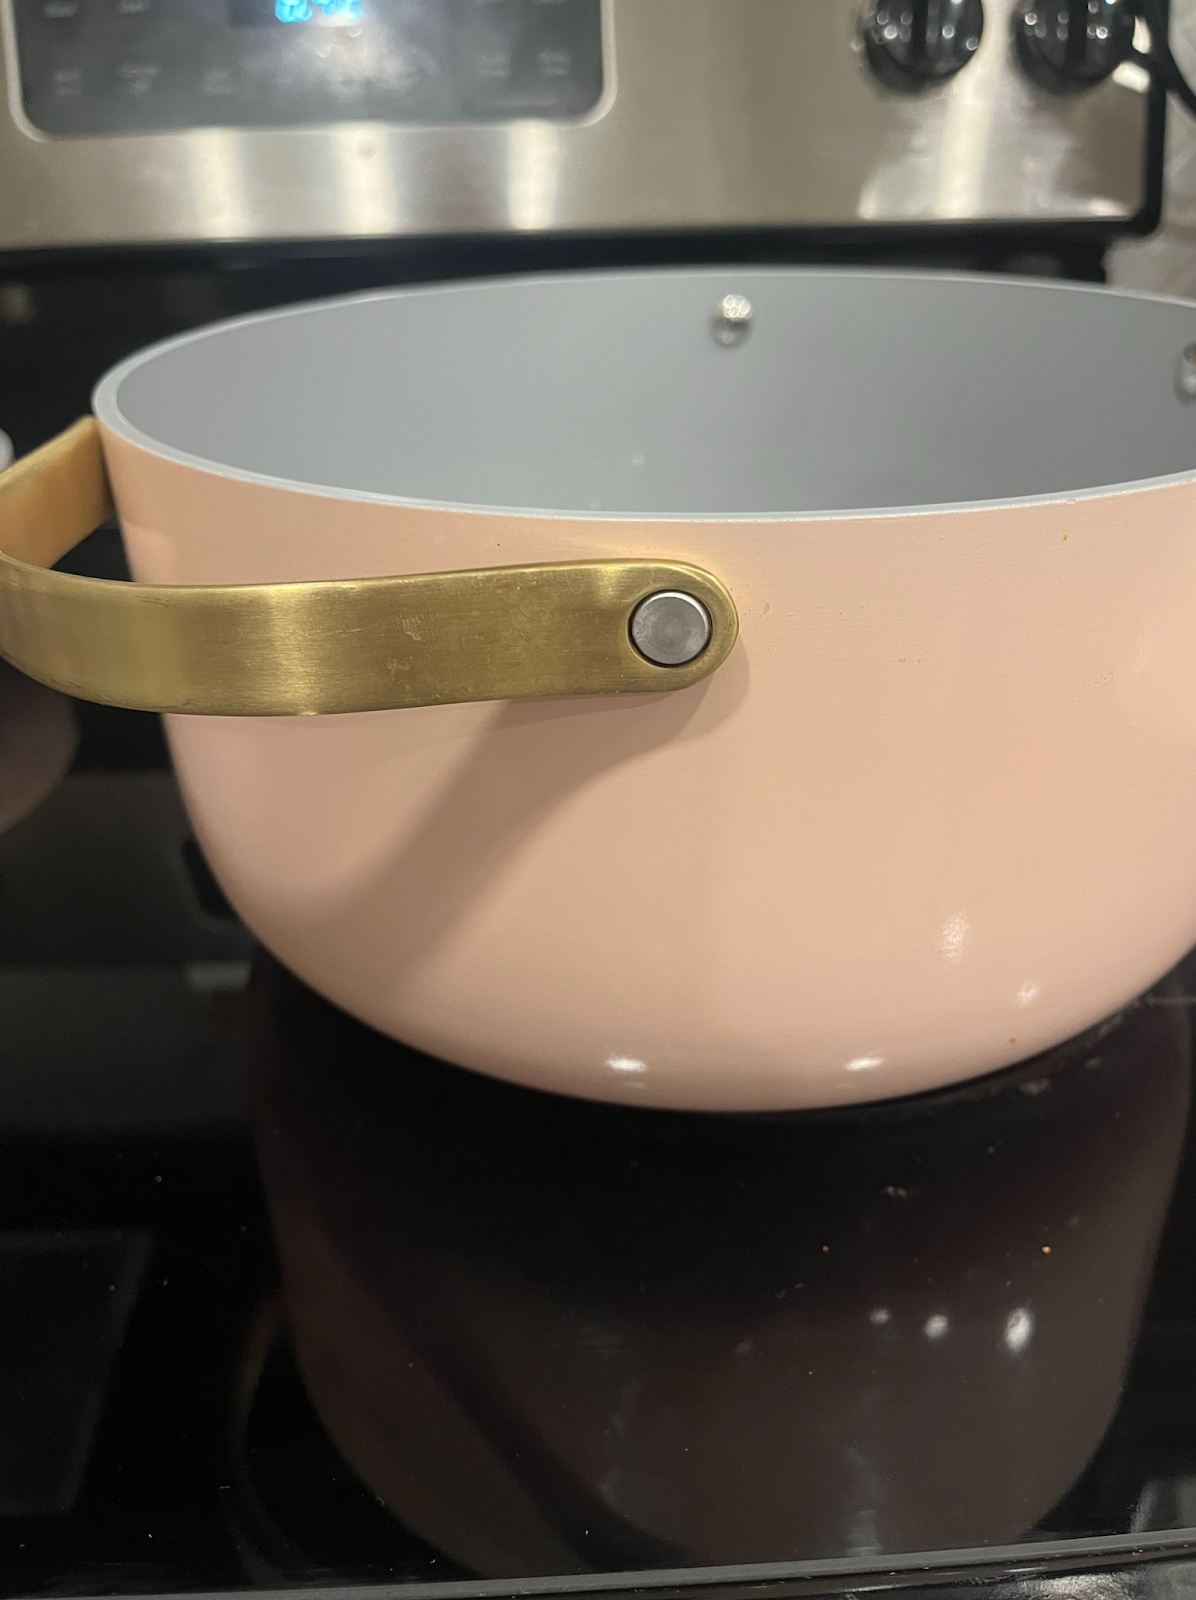
- Medium size pot
Ingredients
- 1 ¾ cup of sweetened condensed milk
- 2/4 cup of unsweetened cocoa powder
- 4 cups milk
- 2 tsp vanilla extract
- Marshmallows (optional)
- Whipped cream (optional)
Step 1:
Prepare your materials by grabbing a medium pot, a whisk, and four mugs
Step 2:
Grab your ingredients. You’ll need 1 ¾ cup of sweetened condensed milk, 2/4 cup of unsweetened cocoa powder, 4 cups milk, 2 tsp vanilla extract, marshmallows, and whipped cream.
Step 3:
Start by placing sweetened condensed milk, vanilla extract, and cocoa powder, in the medium pot, and whisk together until the mixture is combined.
Step 4:
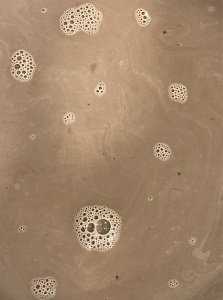
Place the pot on the stove over medium to high heat and stir constantly to avoid burning your chocolate. burning. Gradually add milk to the mixture until combined. Heat the mixture until it starts to simmer. Once simmering, turn off the heat. Once done, the hot chocolate should look like this.
Step 5:
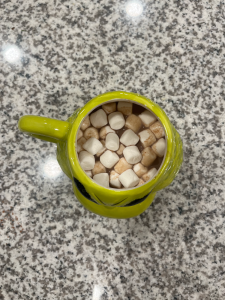
Pour your hot chocolate into mugs and top off with whatever toppings you like. I enjoy adding whipped cream and marshmallows. Enjoy!
This chicken alfredo pasta is very easy to follow and you’ll be done in a matter of 15- 20 minutes.
-
Step 9: Add Sauce
'
-
Step 1: Prepare your chicken.
'
-
Step 1: Prepare your chicken.
'
-
Step 3: Add Butter.
'
-
Step 4: Cook chicken.
'
-
Step 6: Add Noodles.
'
-
Step 7: Add Toppings
'
-
Step 8: Mix chicken in.
'
Ingredients:
- Chicken
- Pasta noodles (your choice)
- Butter (unsalted)
- Heavy Cream
- Parmesan Cheese
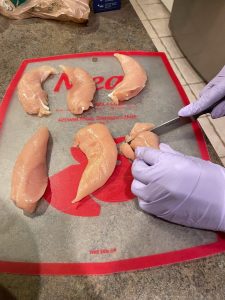
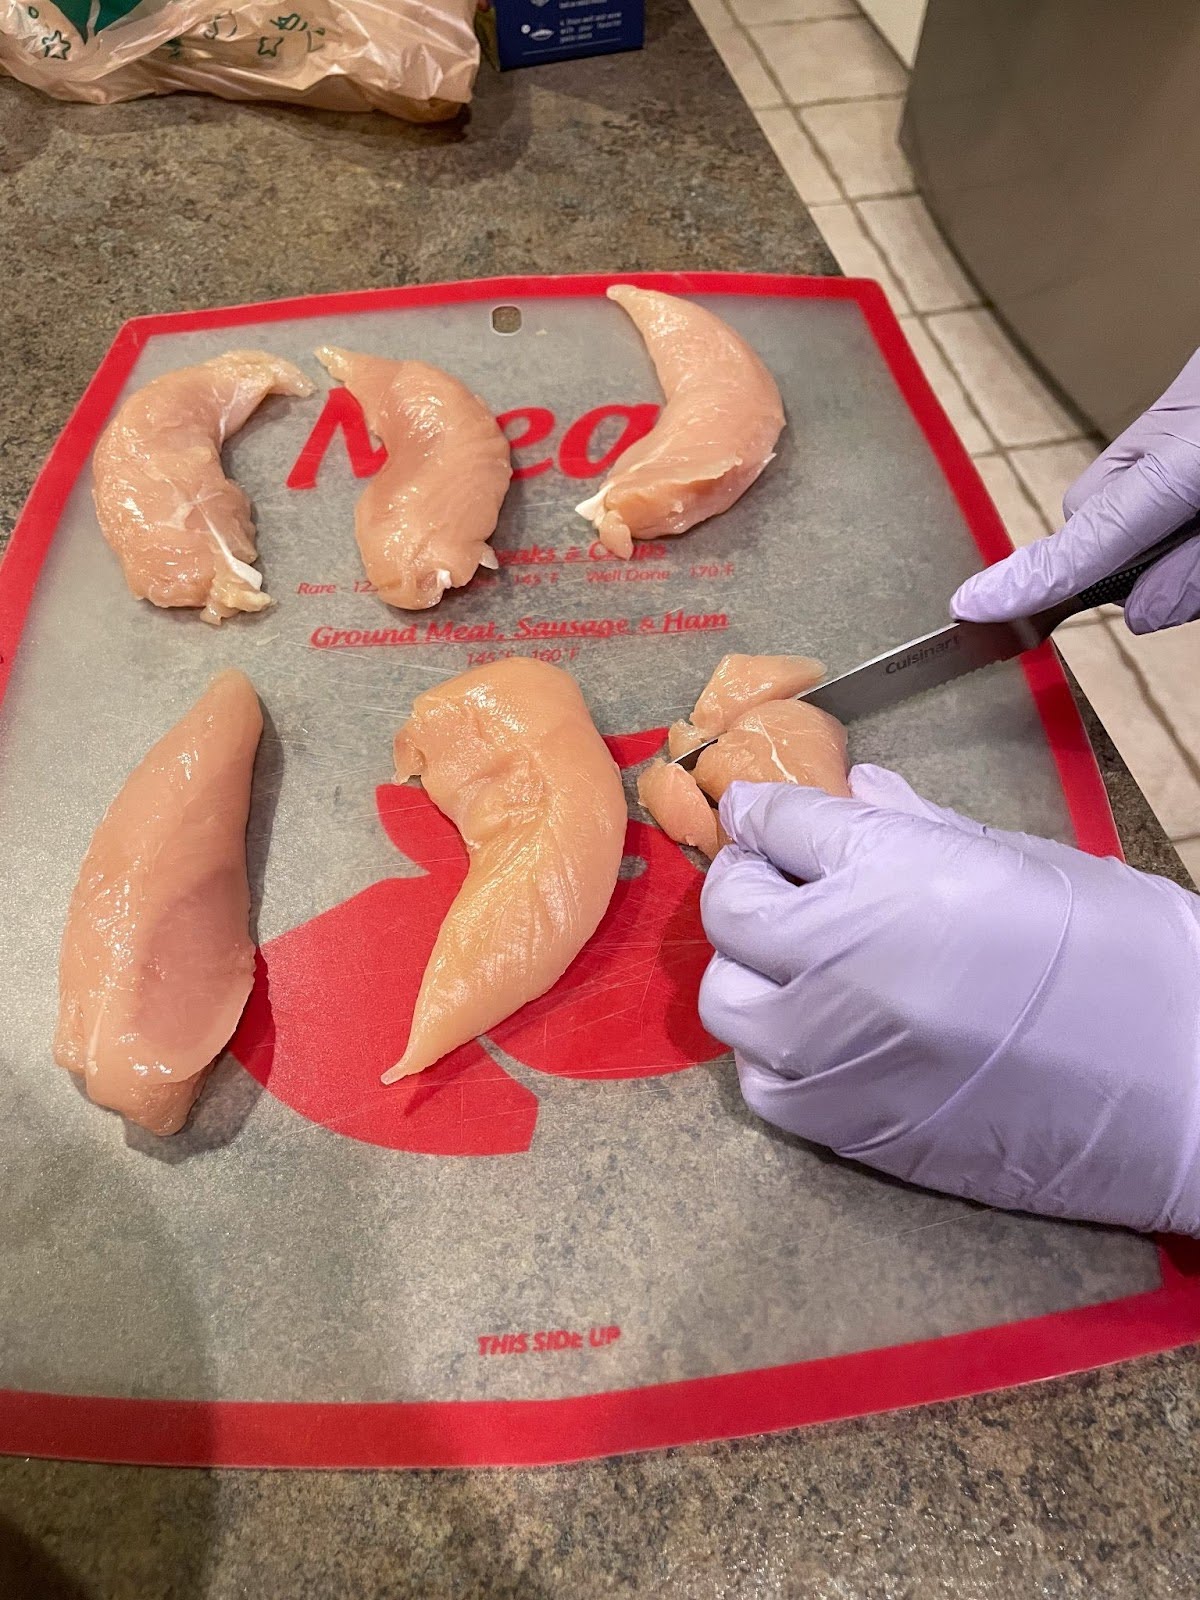
Step 1: Prepare your chicken.
Take all of your chicken and place it onto the cutting board. After you put your chicken onto the mat, start cutting the chicken into bite-sized pieces.
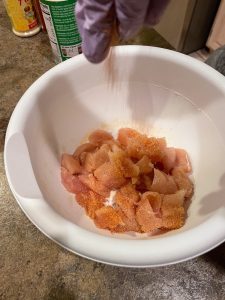
Step 2: Season your chicken.
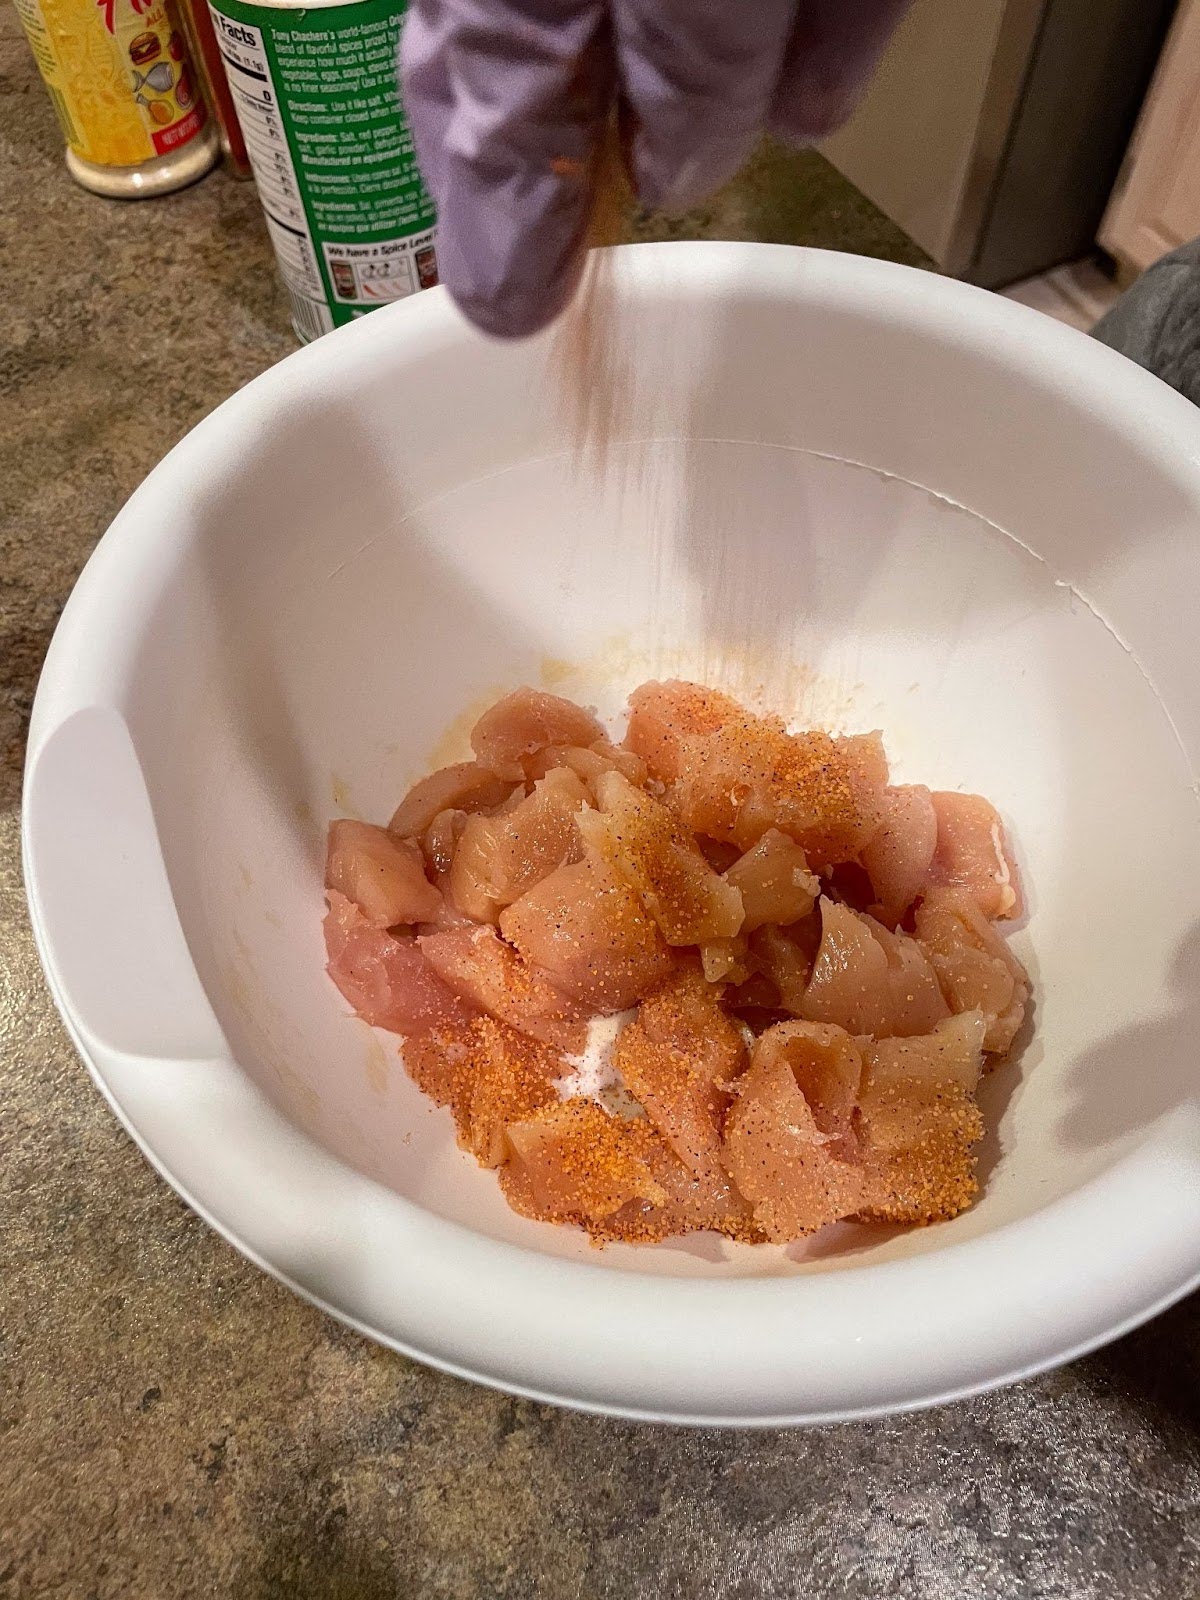
After you cut your chicken into bite sized pieces, place it into a bowl and add 2 tbsp of paprika, 1 tbsp of Slap Ya Mama, 1 tbsp of onion powder and pepper. Once you add your seasonings, mix the chicken until it is well coated.
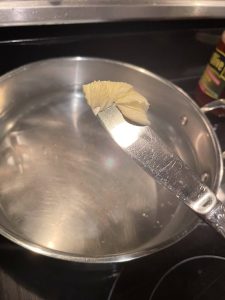
Step 3: Add Butter.
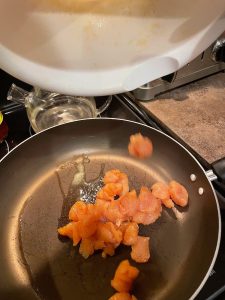
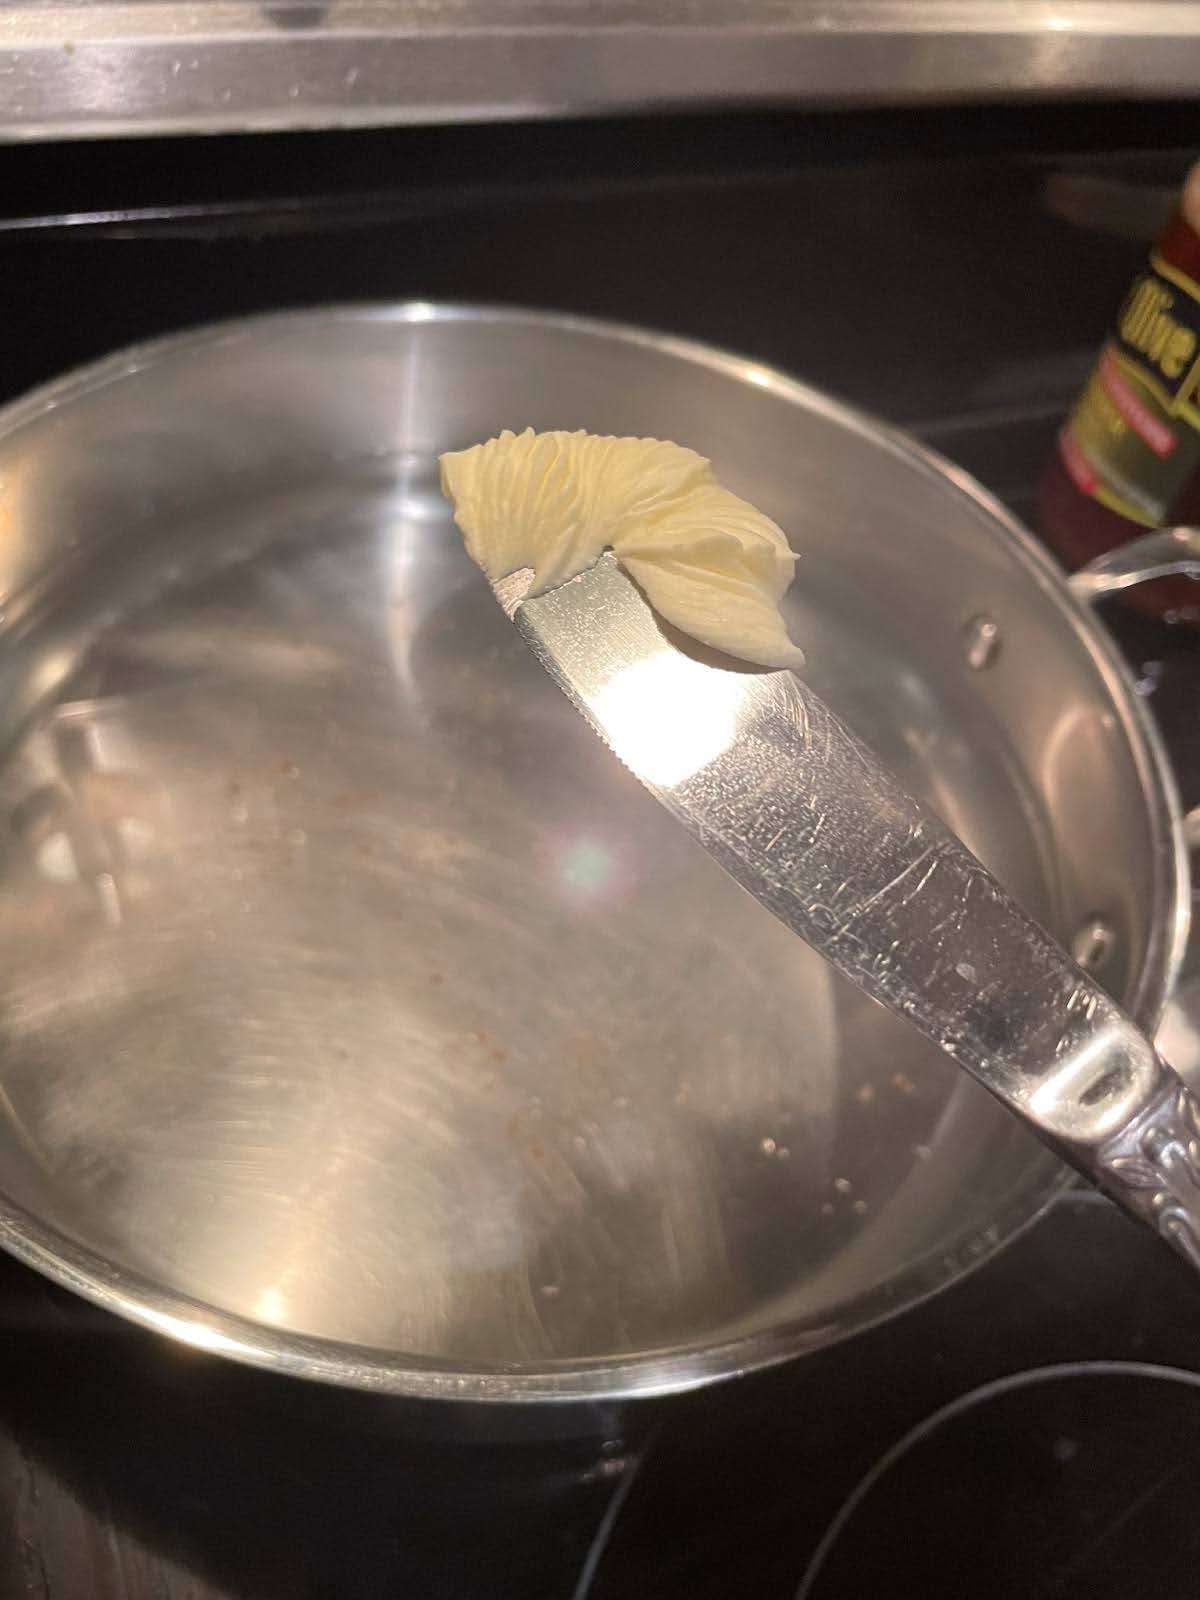
Turn on your stove to medium heat, take 3 tbsp of butter and add to a pan and let it sit until it is fully melted.
Step 4: Cook chicken.
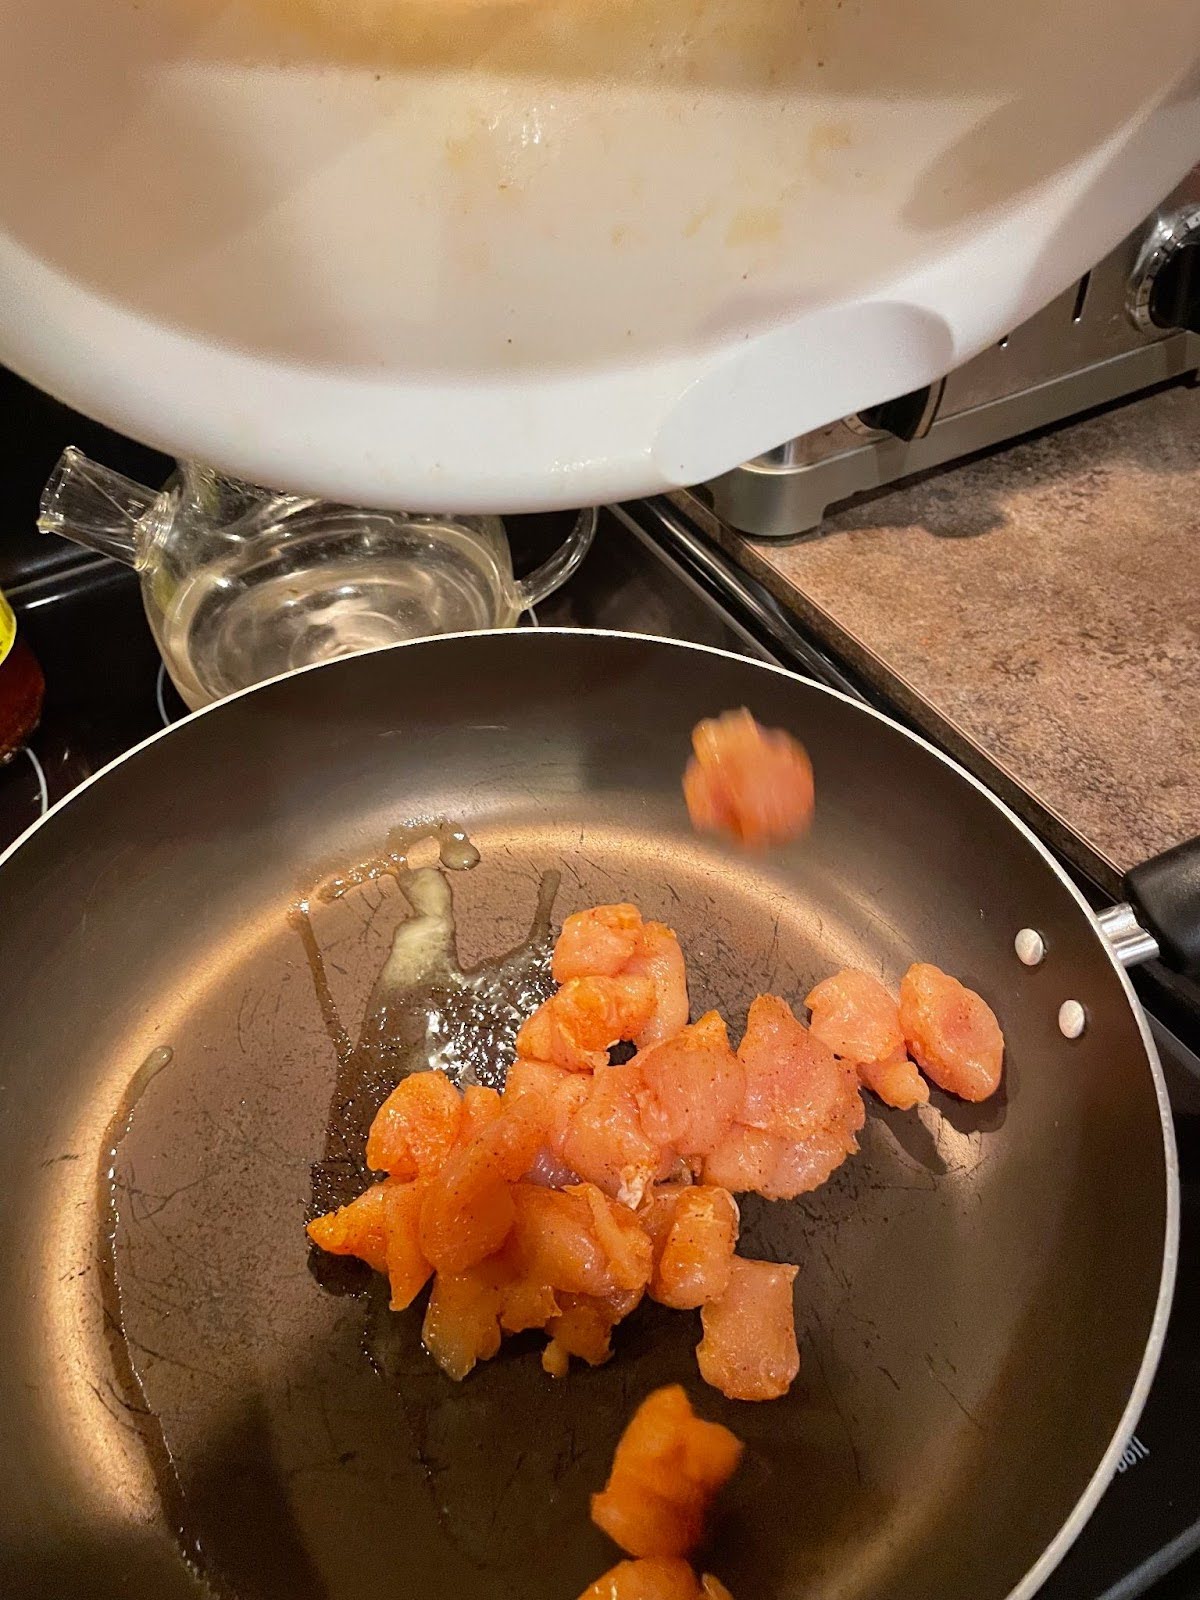
Add your seasoned chicken into the buttered pan and let it cook. Make sure you flip your chicken and mix it around until there’s no pink and it’s crispy and brown. This should take about 10 minutes
Step 5: Boil Water
Prepare your water in a medium sized pan, add butter in the boiling water to give it flavor. After letting your water boil with the butter, add a pinch of salt and pepper.
Step 6: Add Noodles.
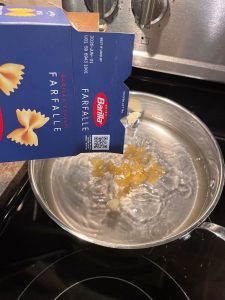
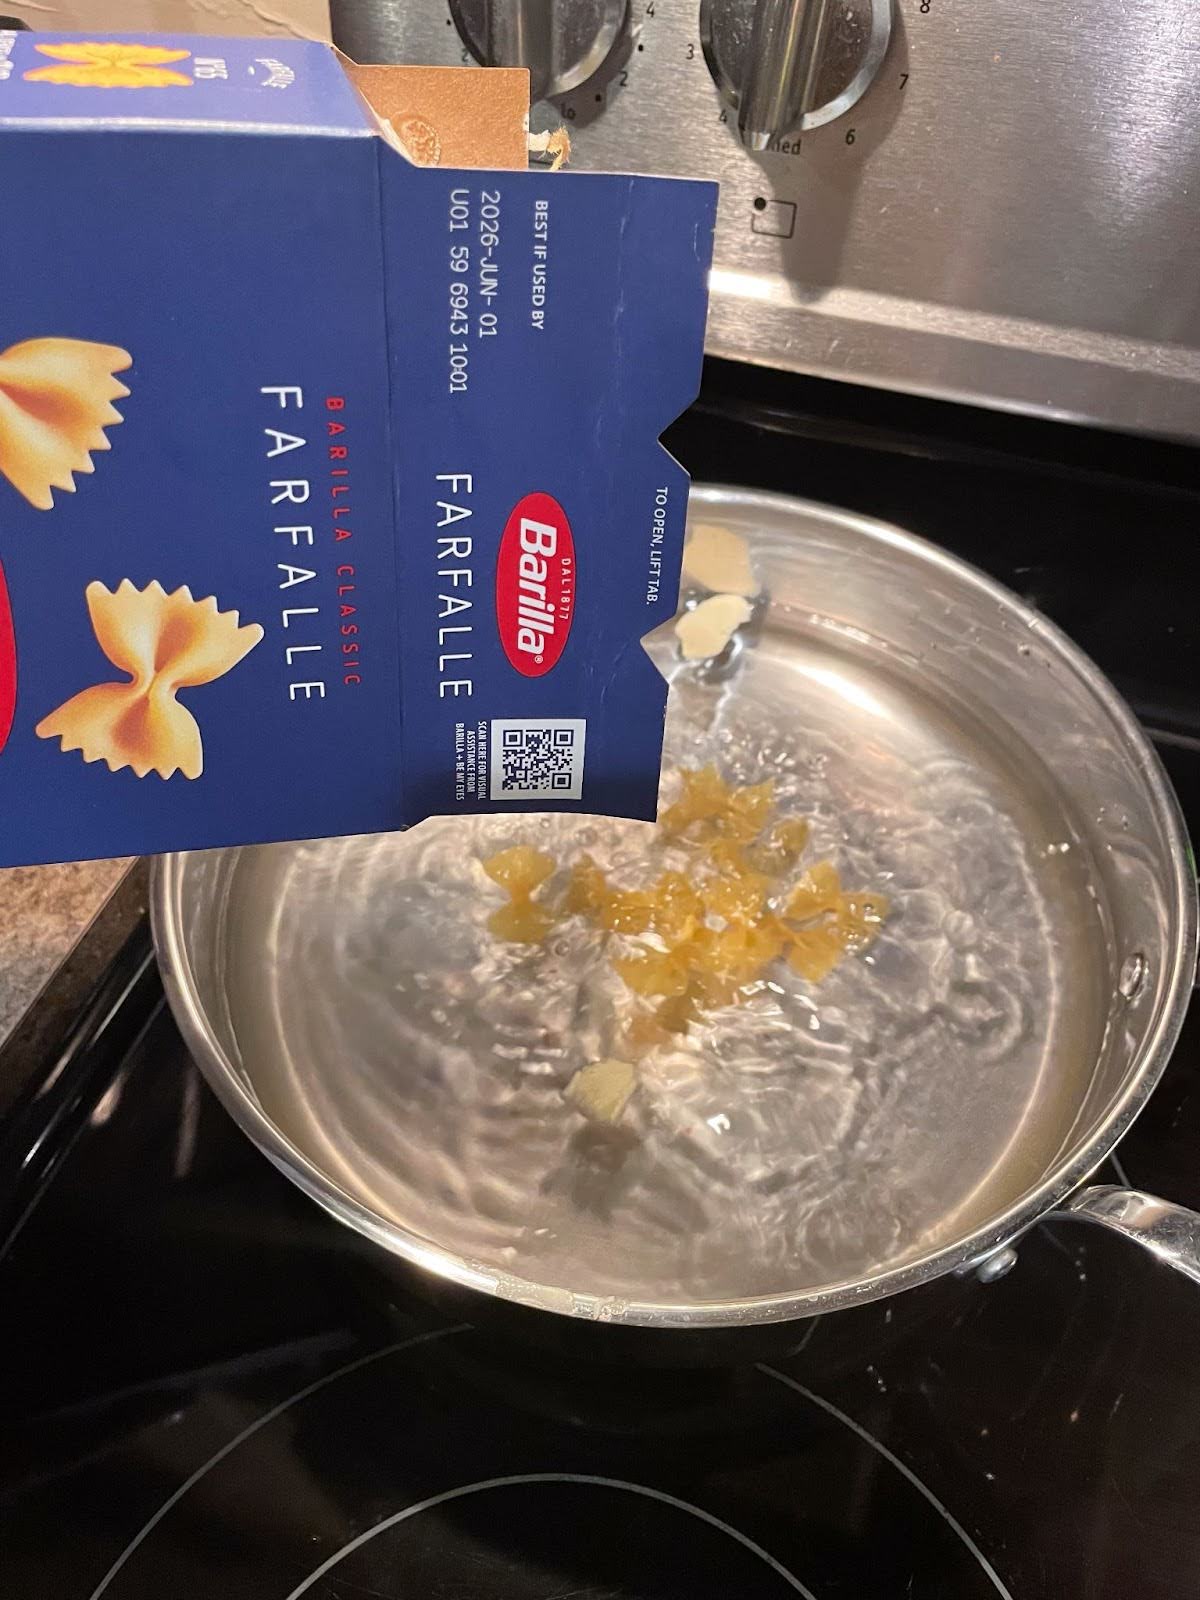
After letting your water boil, add pasta noodles of your choice, put the lid on and let it sit until the noodles are softened and fully cooked. This should take 10-12 minutes. You should be able to tell when the noodles are fully cooked when they get lighter and they soften up. You can also use a fork to make sure they are done.
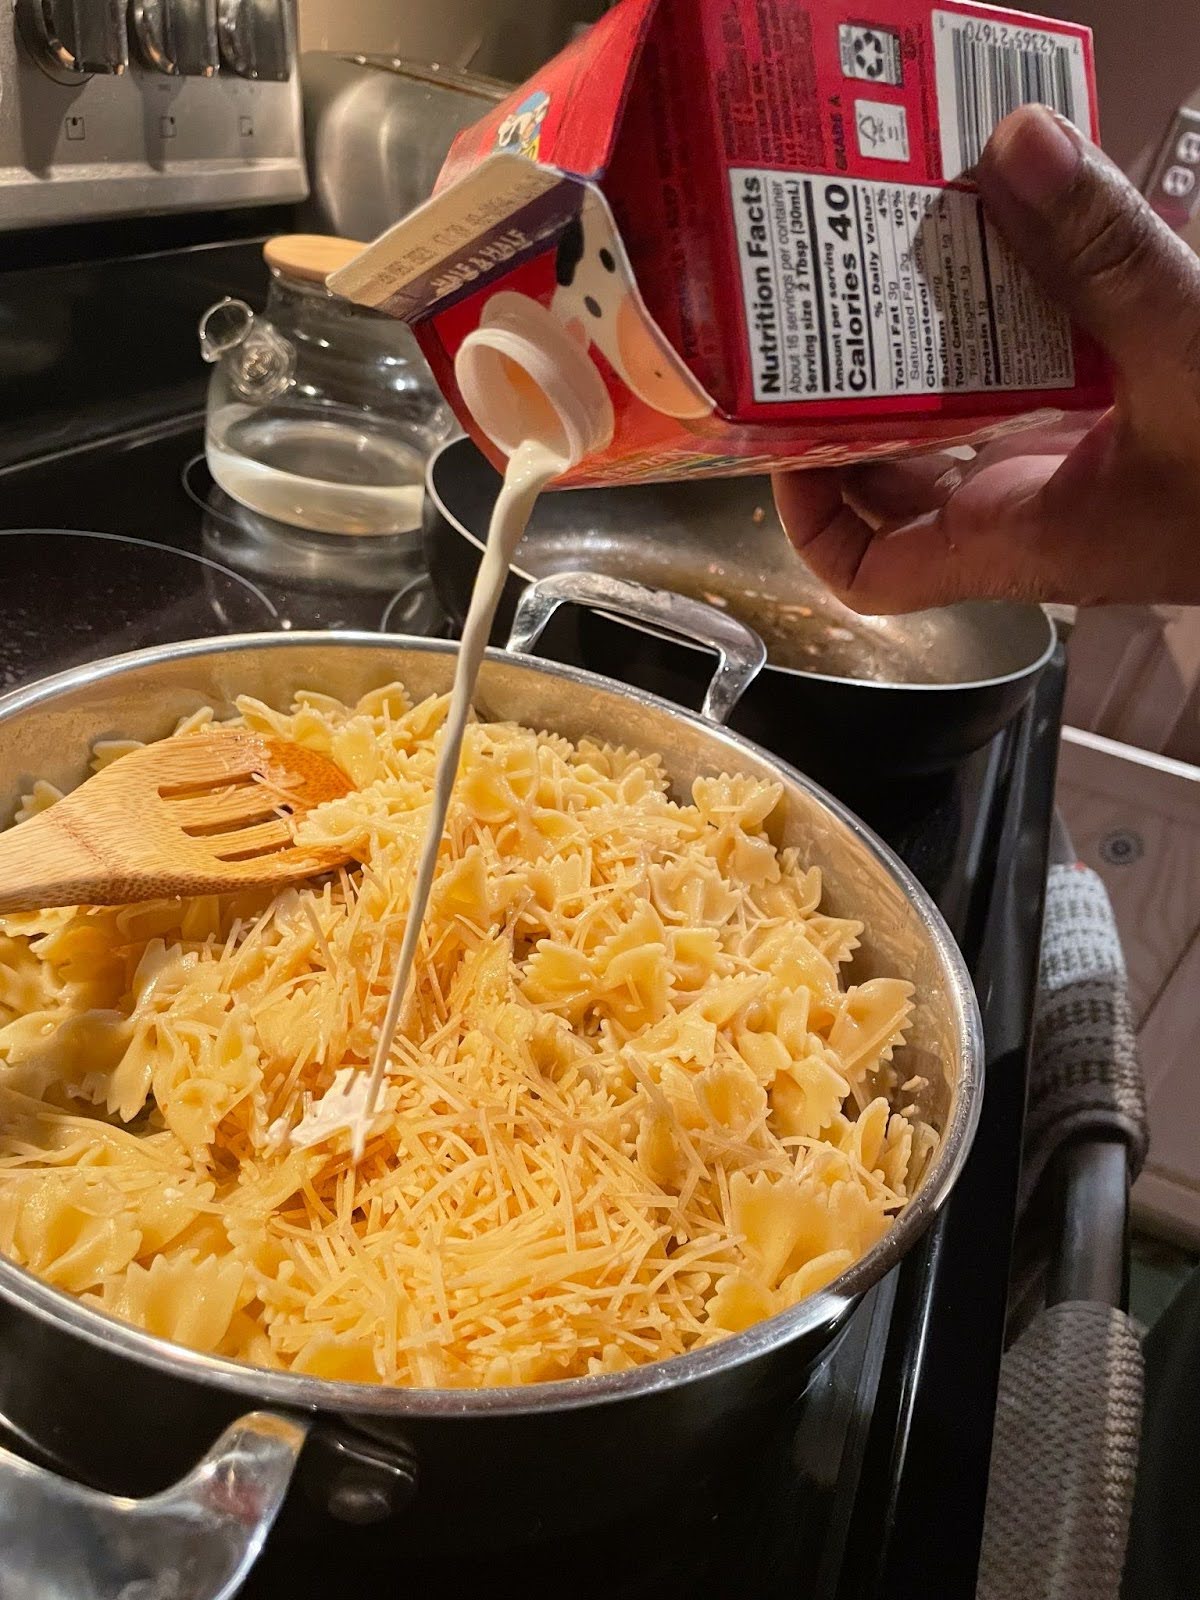
Step 7: Add Toppings
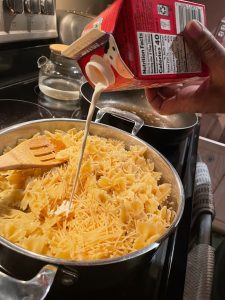
Once your pasta noodles are fully cooked add parmesan, gouda, cheddar, and heavy whipping cream and stir until fully incorporated.
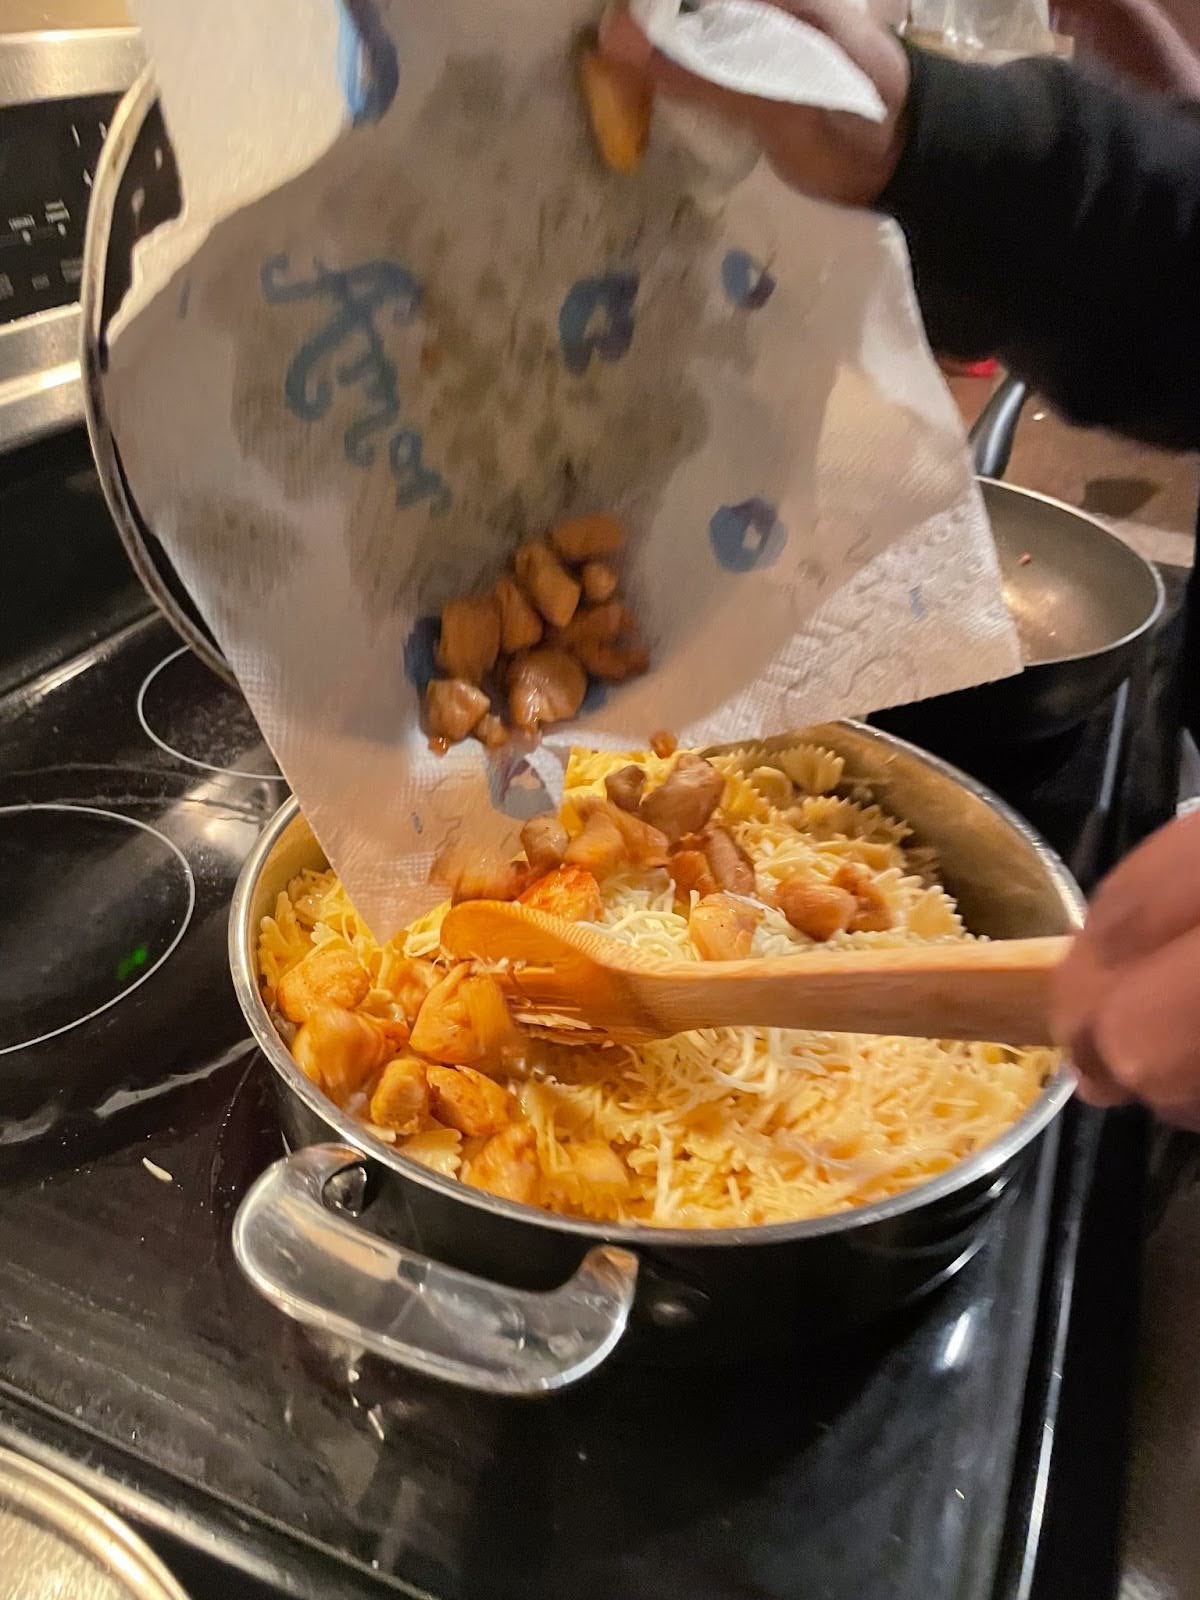
Step 8: Mix chicken in.
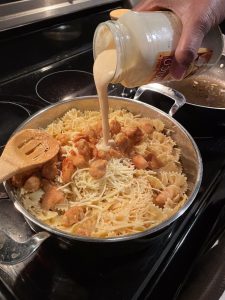
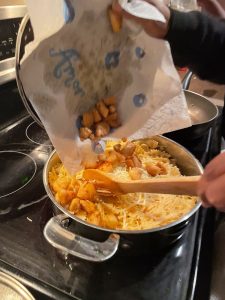
Once fully mixed, add your chicken and stir together.
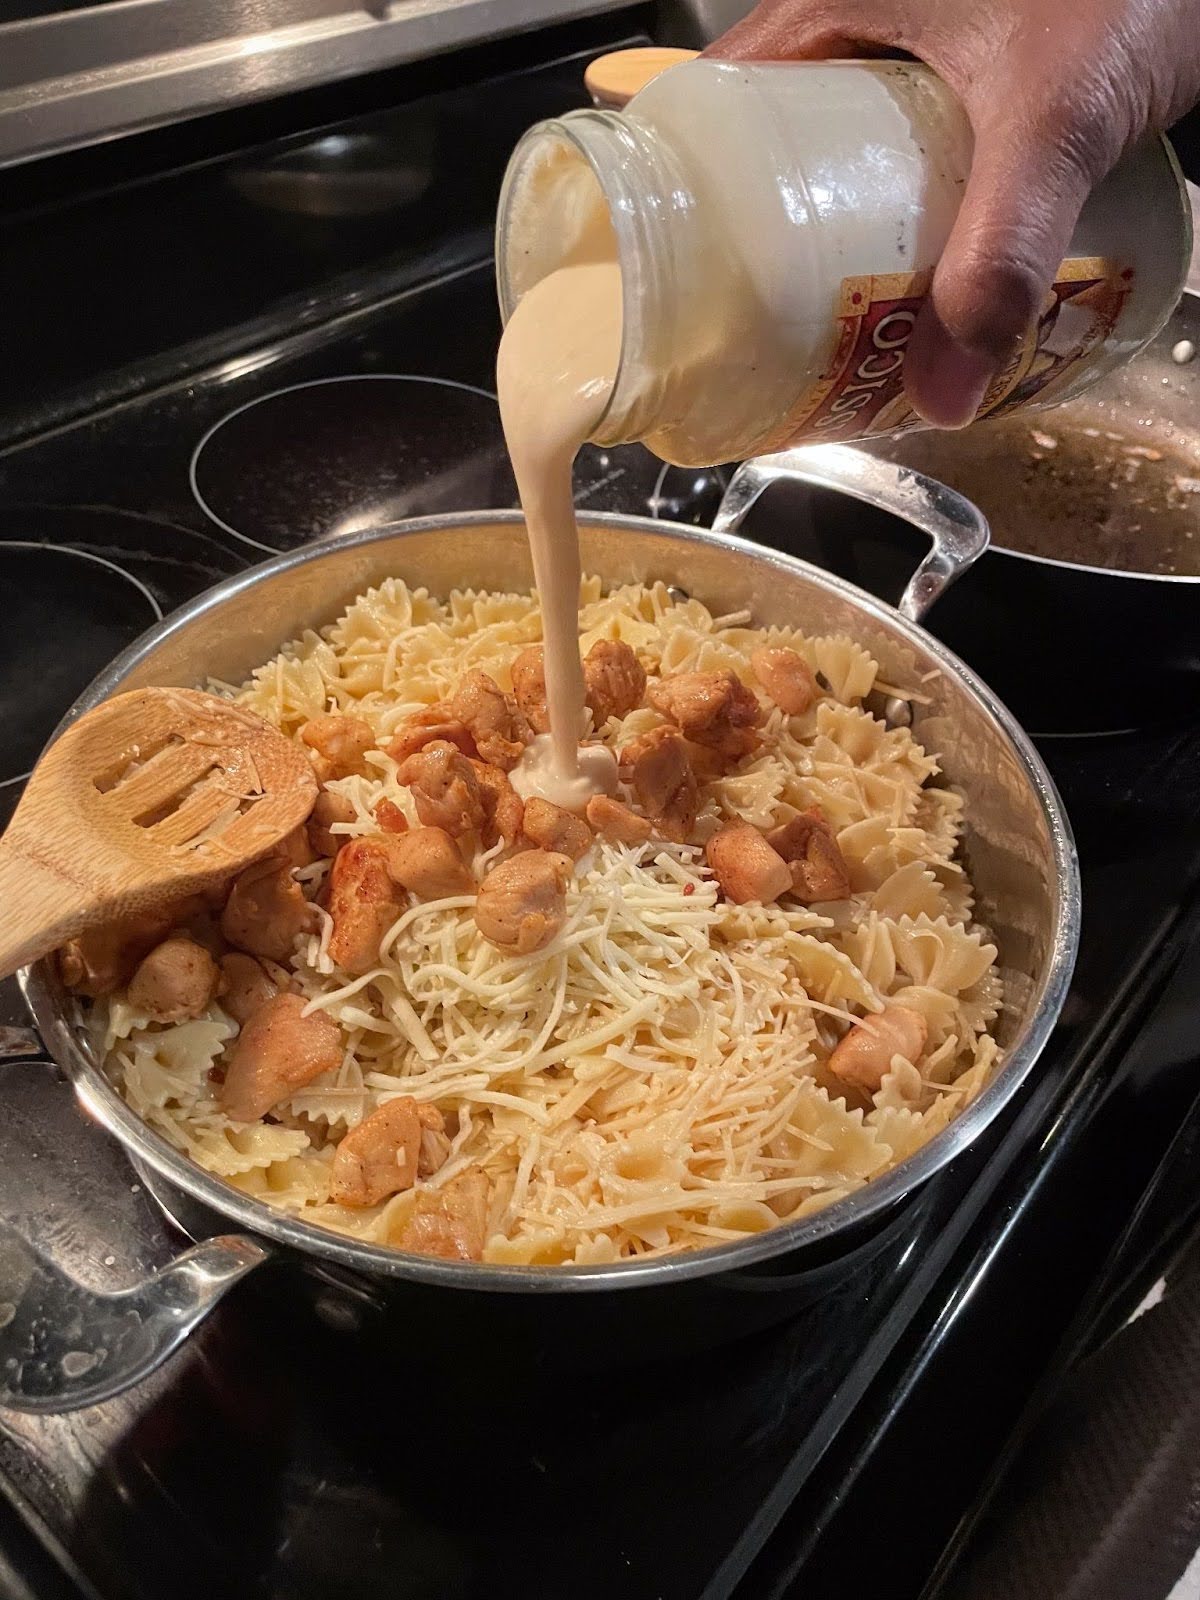
Step 9: Add Sauce
You can now add your alfredo sauce after you have stirred all of the ingredients together. Enjoy!


